
Look up in the main parlor of any brownstone and chances are you’ll see a ceiling medallion (also known as a ceiling rose by our UK friends). Made of plaster, they’re often large, round, elaborately detailed and paired with a chandelier. Along with stoops, pocket doors and high ceilings, they are simply part of what make a brownstone a brownstone.
In writing this post, I got to wondering what history, if any, was behind ceiling medallions / ceiling roses — and it turns out there’s quit a bit. As would make sense, the older, English term “ceiling rose” came first, and stems from the flower’s apparent, ancient meaning of secrecy and confidentiality.
In Roman times, it was the custom to hang a single red rose over the table at meetings where sensitive information was to be discussed. This meant that all conversation taking place under the rose (sub rosa) was top secret, and anything revealed was not to leave the room. According to Wikipedia,
The physical carving of a rose on a ceiling was used for this purpose during the rule of King Henry VIII and has over the centuries evolved into a standard item of domestic vernacular architecture, to such an extent that it now constitutes a term for a circular device that conceals and comprises the wiring box for an overhead light fitting.
In modern times, rooms where important or sensitive meetings take place are often adorned by an ornate, plaster ceiling rose. So called as a reference to the ancient Roman custom.
I didn’t find as much history on ceiling “medallions”, but I imagine the name simply evolved as designs became either more complex or simplified to the point that they looked less like a flower and more like a metal, or medallion.
So, back to modern day Brooklyn, and our brownstone. After all that wonderful history, we were faced with the reality that our ceiling medallion had long been removed. In its place was a far too large, half-working ceiling fan.
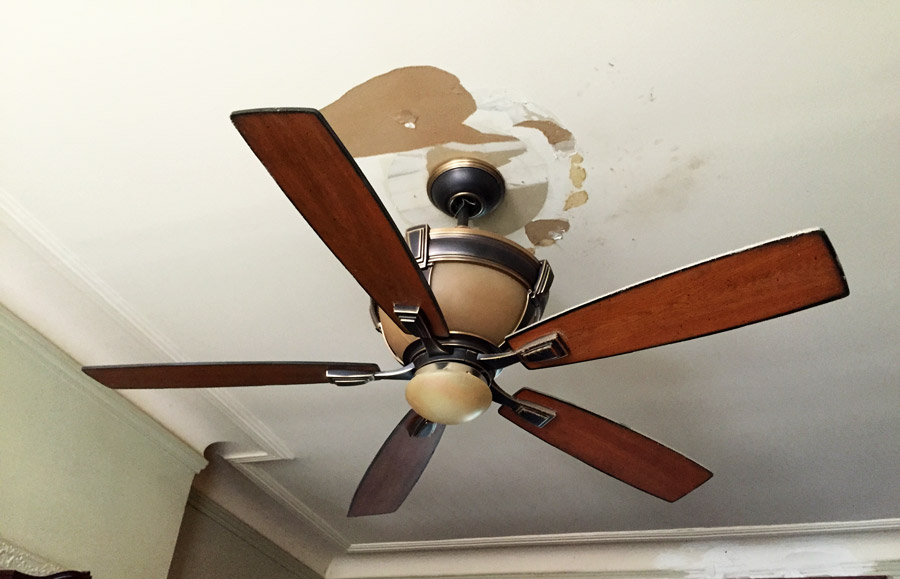
From day one, we knew we wanted to lose the fan, re-install a proper medallion and add some kind of chandelier. Naturally, we decided to start with the medallion, since it seemed like it would go in first, followed by a light fixture. Initially, we sought out to find an actual plaster reproduction, though the expense of real one plus the difficulty of installation led us to consider lighter weight options.
As it turns out, there are quite a few convincing synthetic ceiling medallions that are elegant, yet affordable. While there were dozens of design to choose from, we quickly realized that the center holes of medallions can vary greatly in size, as seen here.
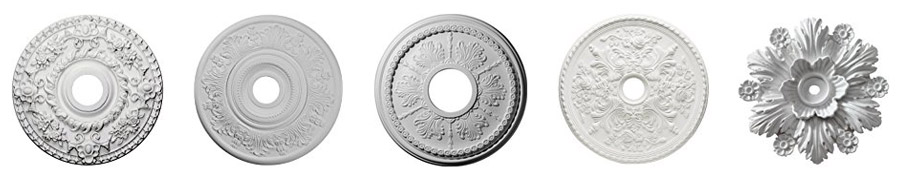
Since we didn’t have a light fixture picked out yet, we didn’t know what kind of center our medallion would need to ensure the two would fit together naturally.
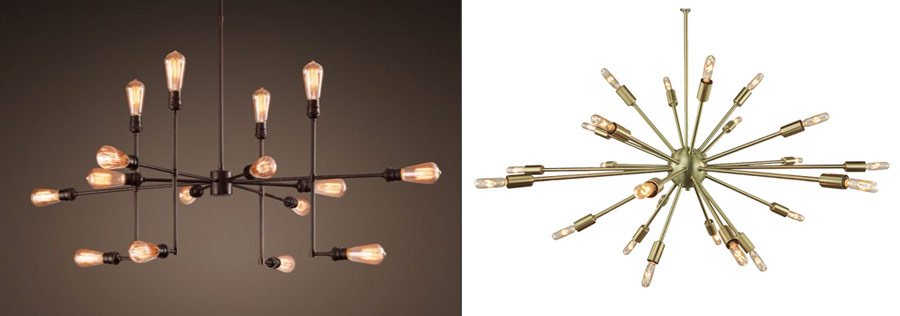
So, we put the medallion search on hold, and started looking for chandeliers. I (Matt) was a big fan of the sputnik-style lighting like the one on the right, while James was leaning more towards an angular design like the one on the left. Thankfully, our preferences weren’t too far apart from a style perspective, and we both agreed that the fixture should be brass — and a bit more modern.
With that in mind, we landed on this fixture: The Mobile Chandelier – Grand from West Elm (photo taken from their website). It had some of the starburst effect that I liked from the sputnik designs (while not looking retro) and the clean modern lines James was looking for.
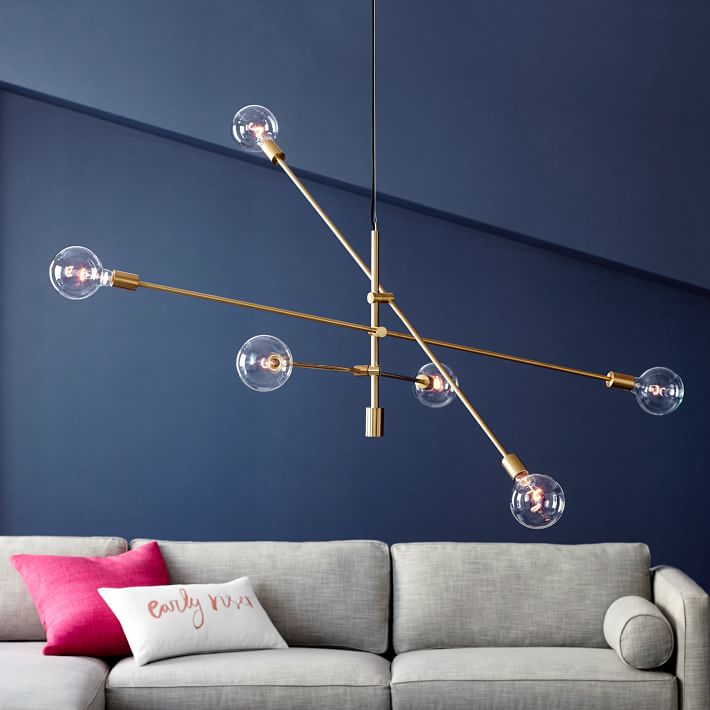
With a chandelier purchased, we now had a canopy size — the metal piece that would connect the light to the ceiling. Ours measured 5 inches, so we set out to find a ceiling medallion that would fit our needs.
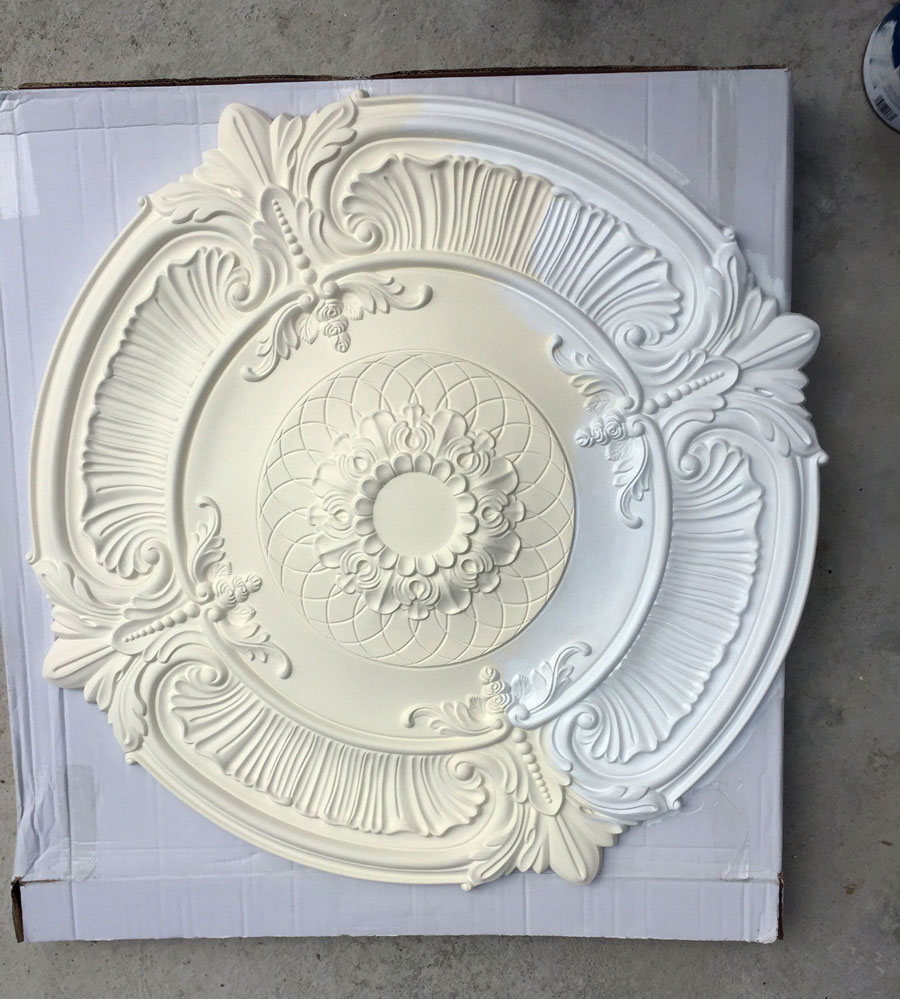
After much scrolling and clicking, we decided on the Attica Ceiling Medallion, by Ekena Millwork, which we purchased from Amazon. Measuring in at 39.5″ high x 39.5″ wide, it’s quite large, though the high ceilings allowed for it — plus we wanted the medallion to make a statement.

The first step was painting the medallion, which you can see happening here. The brighter white you see on the right is White Diamond by Benjamin Moore, which is the same color our ceilings were already painted. Since we didn’t want the medallion to look new, I applied about 6 coats of paint with a brush in an attempt to soften its edges and give the illusion of age.
In between coats, we managed to take down Fanzilla and began tinkering around with the wiring to see how exactly we were going to mount the medallion and hang the chandelier. I’m going to kind of gloss over this part as it proved to be quite the challenge — but know that some literal sparks flew, a visit from the electrician was required, and some creative modifications were made that including drilling wood blocks to the ceiling.
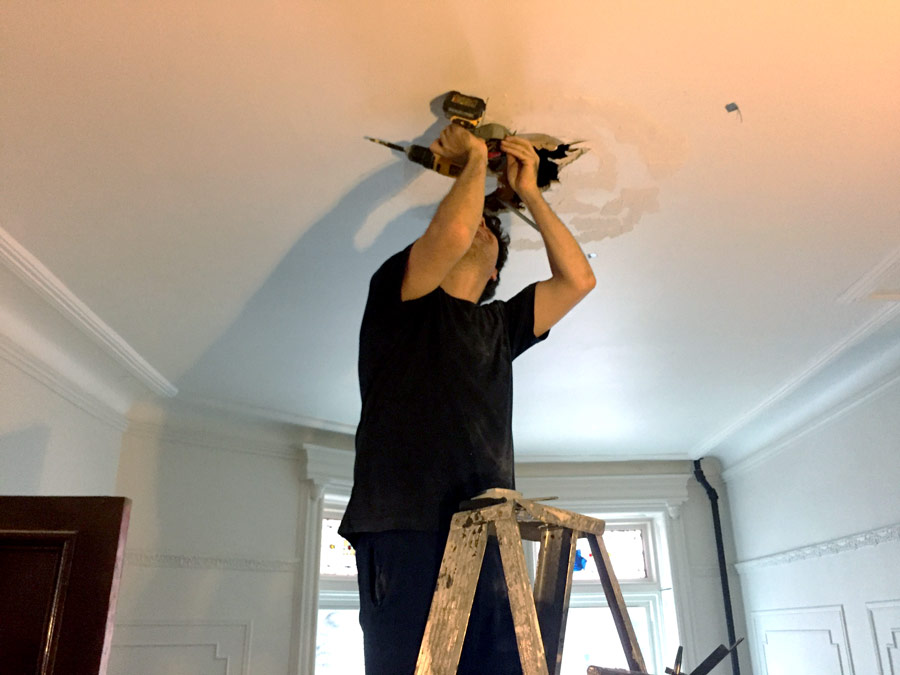
Once we had a plan for mounting everything, I proceeded to drill out the medallion center to accommodate the electrical box.


Meanwhile, James was finishing up prepping to mount the medallion.
I don’t have any photos of the medallion going up as it was a rather tricky two-person job. With each of us on a ladder, one would hold up the medallion while the other screwed it in place. After many trips up and down the ladder to make sure the medallion was on straight, we locked it down, then filled and painted over the screw holes. Next, we caulked around its perimeter and touched up with paint.
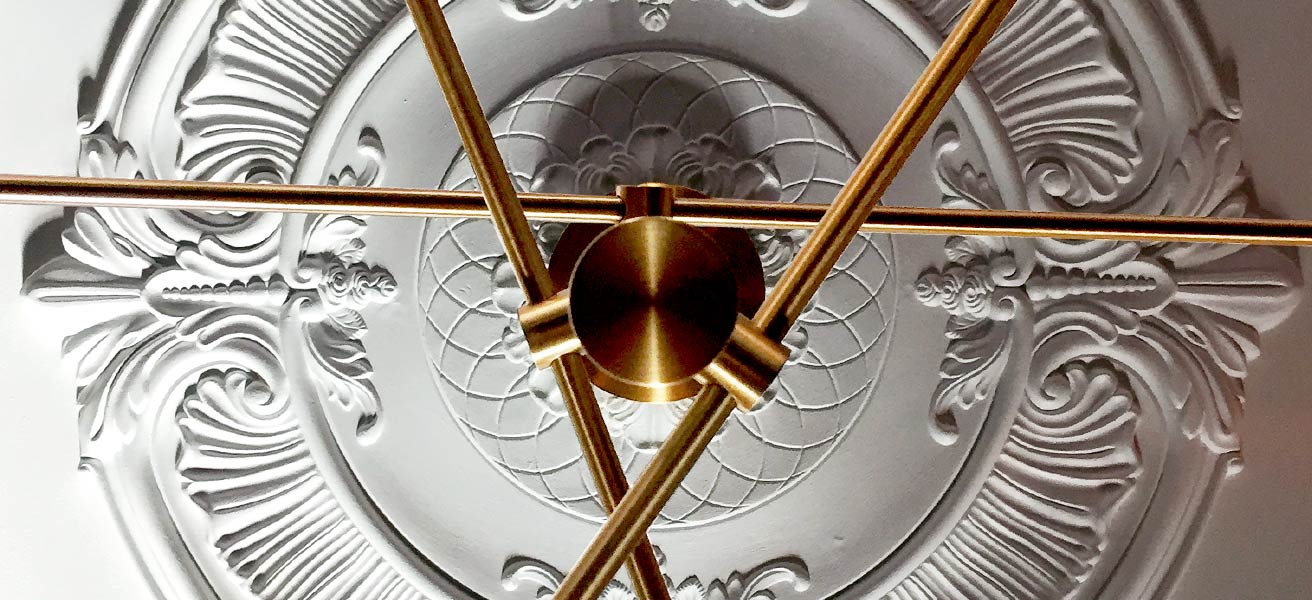
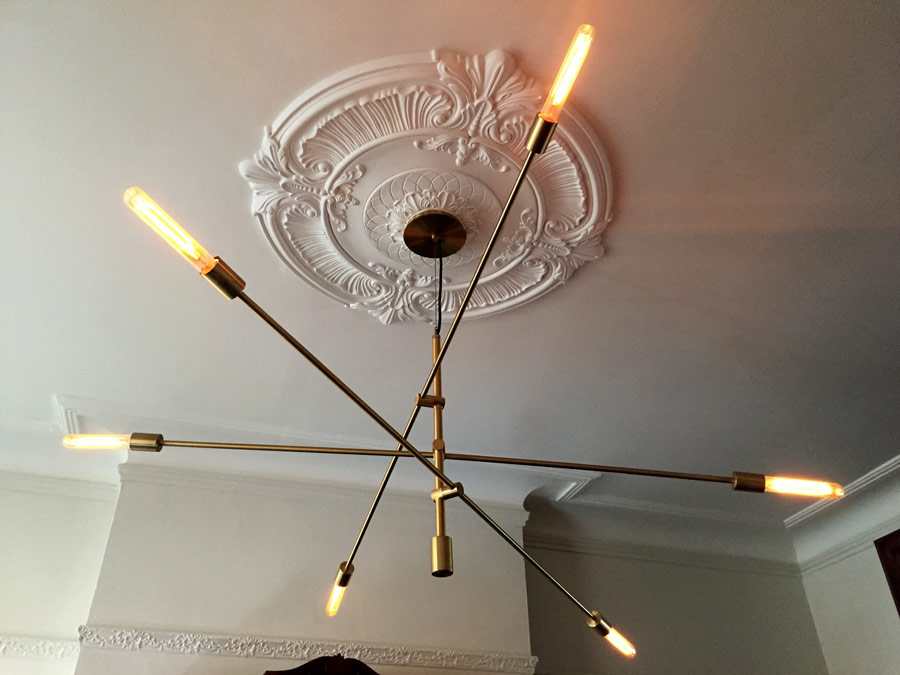
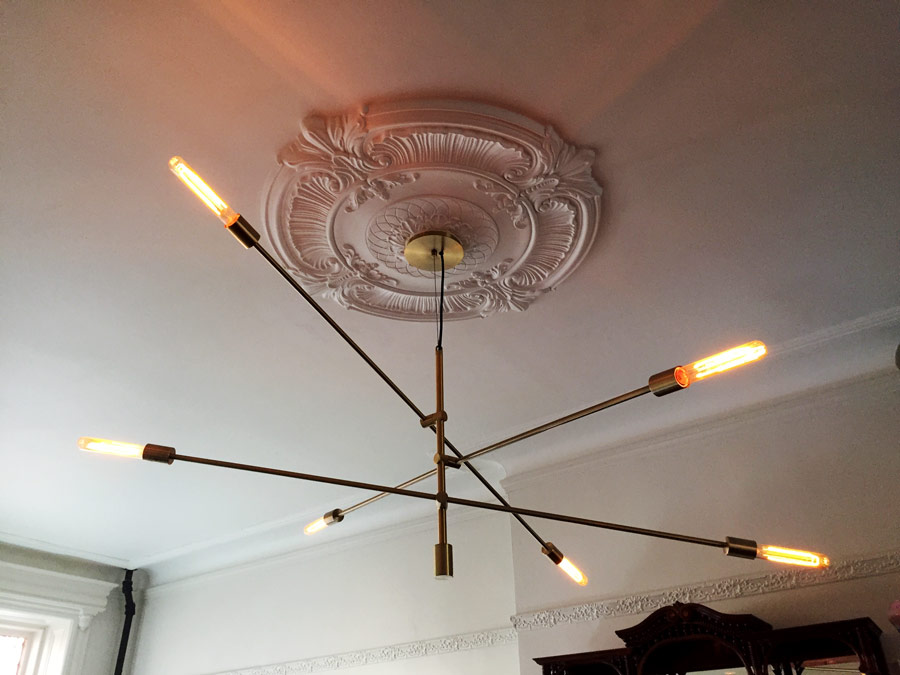
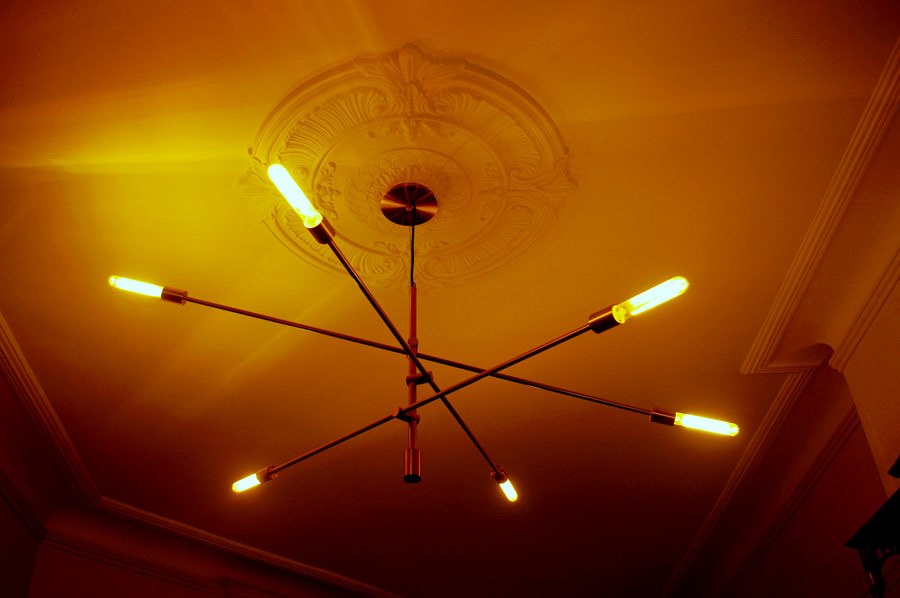
And finally, we hung the chandelier!

While West Elm pictures their chandelier with globe bulbs, we decided to go with long, tube bulbs so as to give the overall fixture a bit more size. In the end, it turned out beautifully. We’ve restored a bit of what was lost, and ensured all our secrets are now safe, sub rosa...


This was absolutely fascinating. I had no idea of the history behind the ceiling medallions. I found your site through instagram – one of those ‘you might be interested in these’ things. I am so glad I did. I went through your entire archive and am really looking forward to more. You two are amazing.
Hi Susan — thank you for the kind words! We’re so glad you’re enjoying the blog!