When it comes to houses, bathrooms are always a big deal. Bedrooms and other living areas are usually defined more by the furniture put in them, but like kitchens, the bathroom is a chance to make a (splish) splash in the overall story that is your home.
You may recall our two past bathroom renovations for our tenant bathroom and half-bath water closet. Today, we’re going to show you our upstairs bathroom, and the only full bath in our part of the house. Come to think of it, this is the first time we’ve featured anything from the top floor of the house! Aside from our bathroom, most of our renovation focus has been on rental unit and the more public parts of the house. So, there’s still plenty to do upstairs — we just haven’t gotten to it yet!
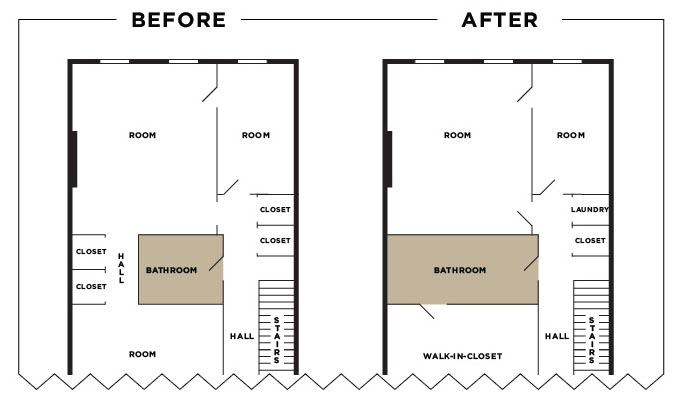
Let’s first take a look at the before and after floor plans of the top floor of the house. The bathroom, both before and after, is located at the top of the stairs and directly to the left. This puts it’s more or less in the center of the house, so it has no windows, but does have a skylight.
Notice that the original bathroom was quite small at less than 50 sq feet. Behind it was a hallway with two side-by-side closets that connected the south-facing bedroom to the middle room that we now use as a walk-in closet.
In considering what we wanted to do, the first thing that came to mind was how to make the bathroom larger. Look at these photos and you’ll see that for a primary bath, it was just too small and dark—even with a skylight.
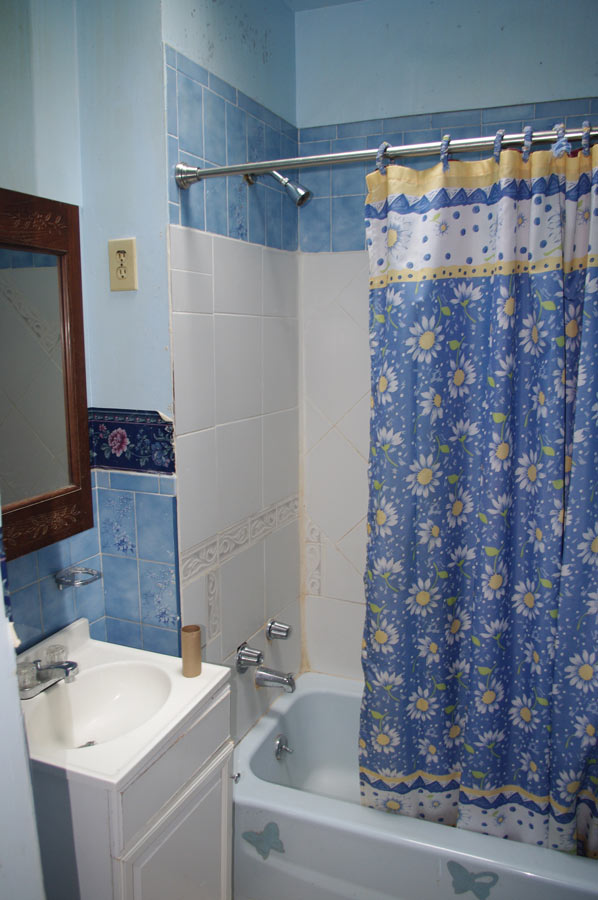
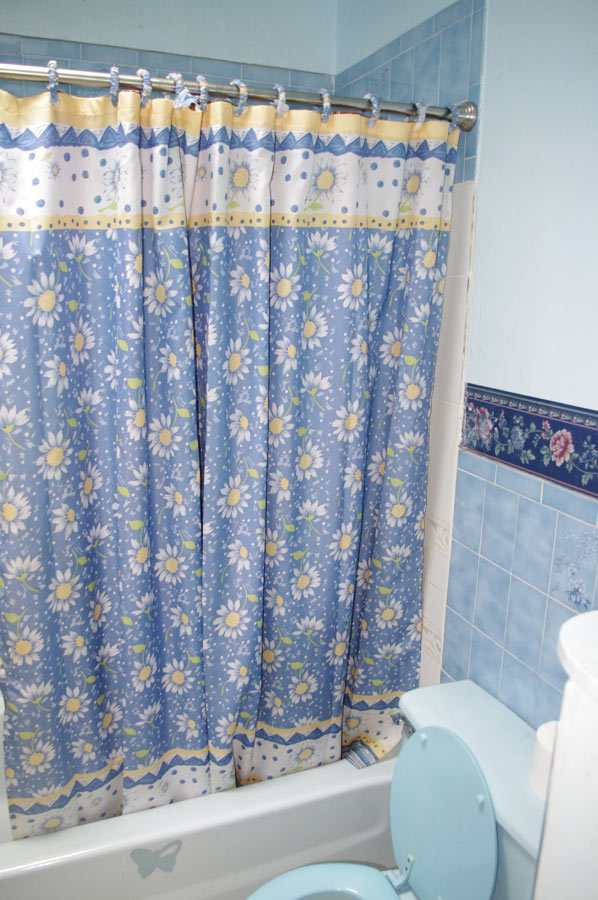
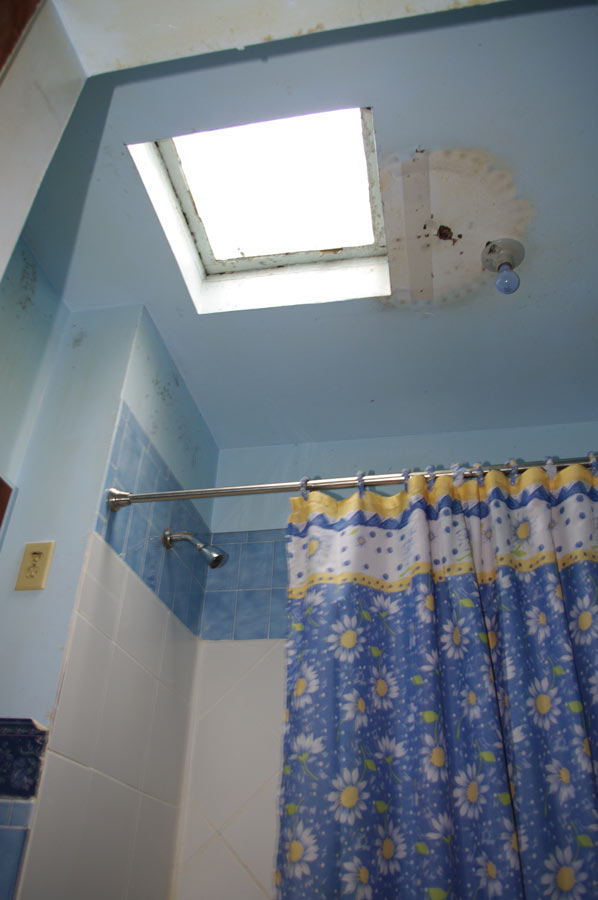

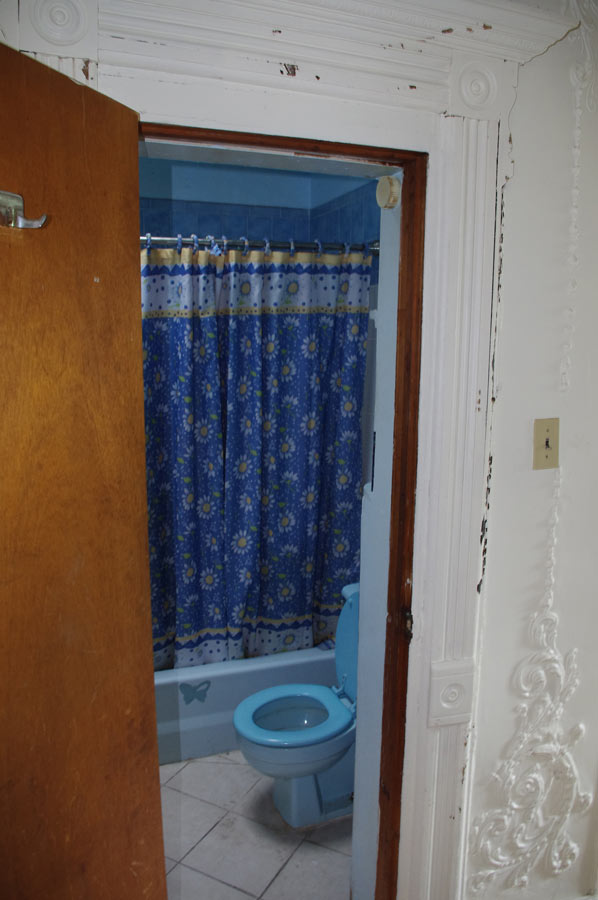
Needless to say, the room was pretty much a disaster— leaky, moldy and outdated. Given that there was nothing original about it, we decided to gut it and start over!
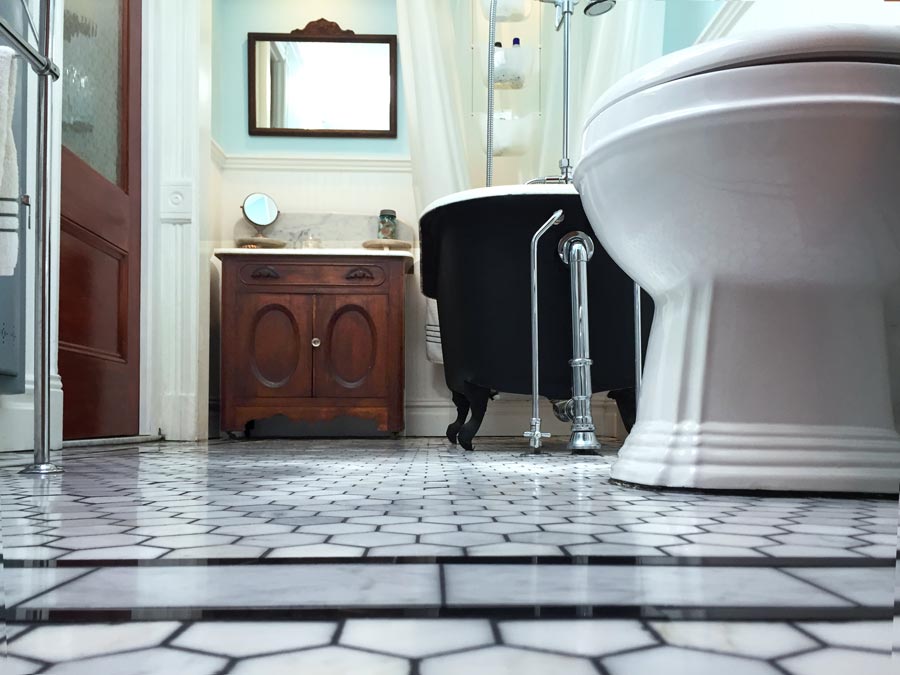
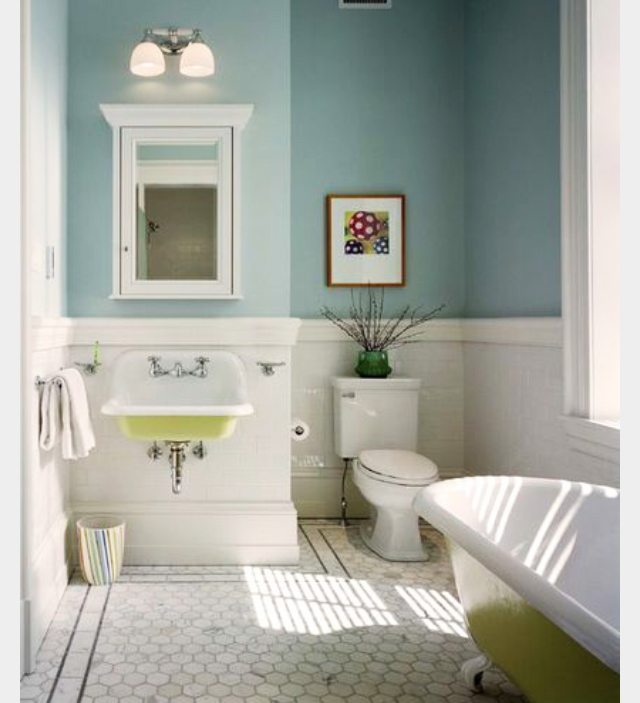
While we had gone modern with our kitchen, and vintage-modern with our tenant bathroom, we really wanted our bathroom to look vintage. With that in mind, we poured over Pinterest for some inspo, with this image coming pretty close to what we imagined. The key thing to notice here is the marble hex tile floor with black borders. We really liked this design and set out to reproduce it for our bathroom.
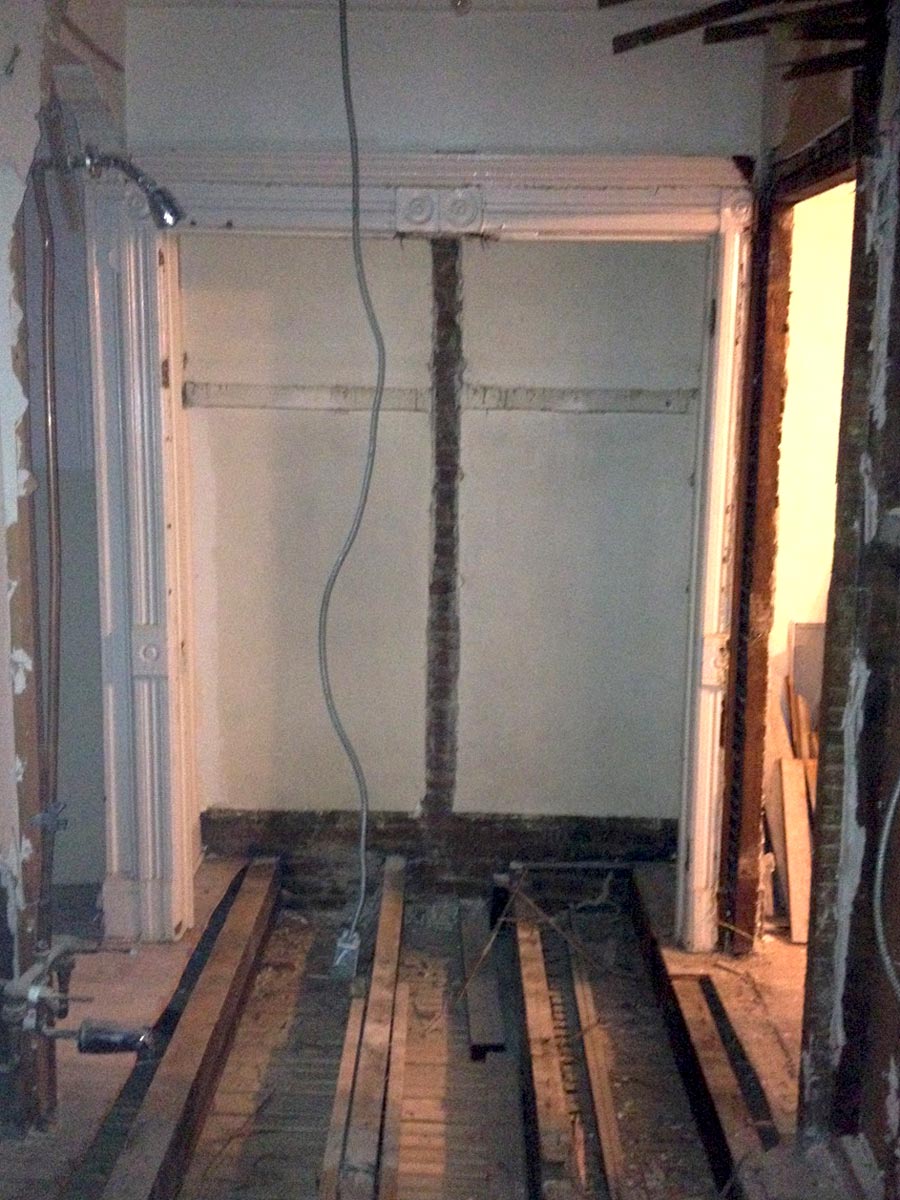
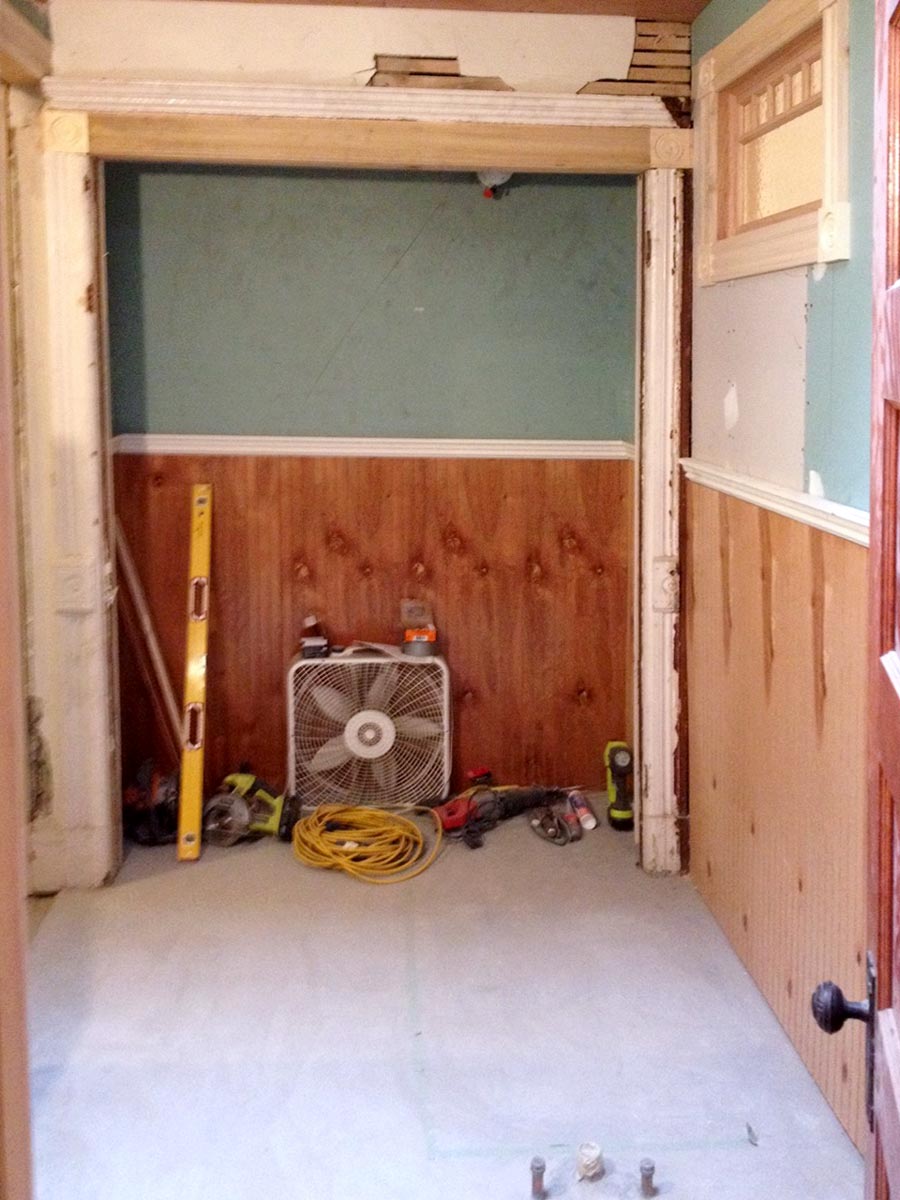
With a general look in mind, the next challenge was how to make the bathroom bigger. If you look back at the “before” floor plan above, note how I pointed out the hallway behind the original bathroom that connected the south bedroom to the middle bedroom. This was where we found our space—by eliminating the hallway and making it part of the bathroom. As for the two hallways closets, they became part of the space, creating a small alcove at the back of the room. Here’s how they looked before we began:

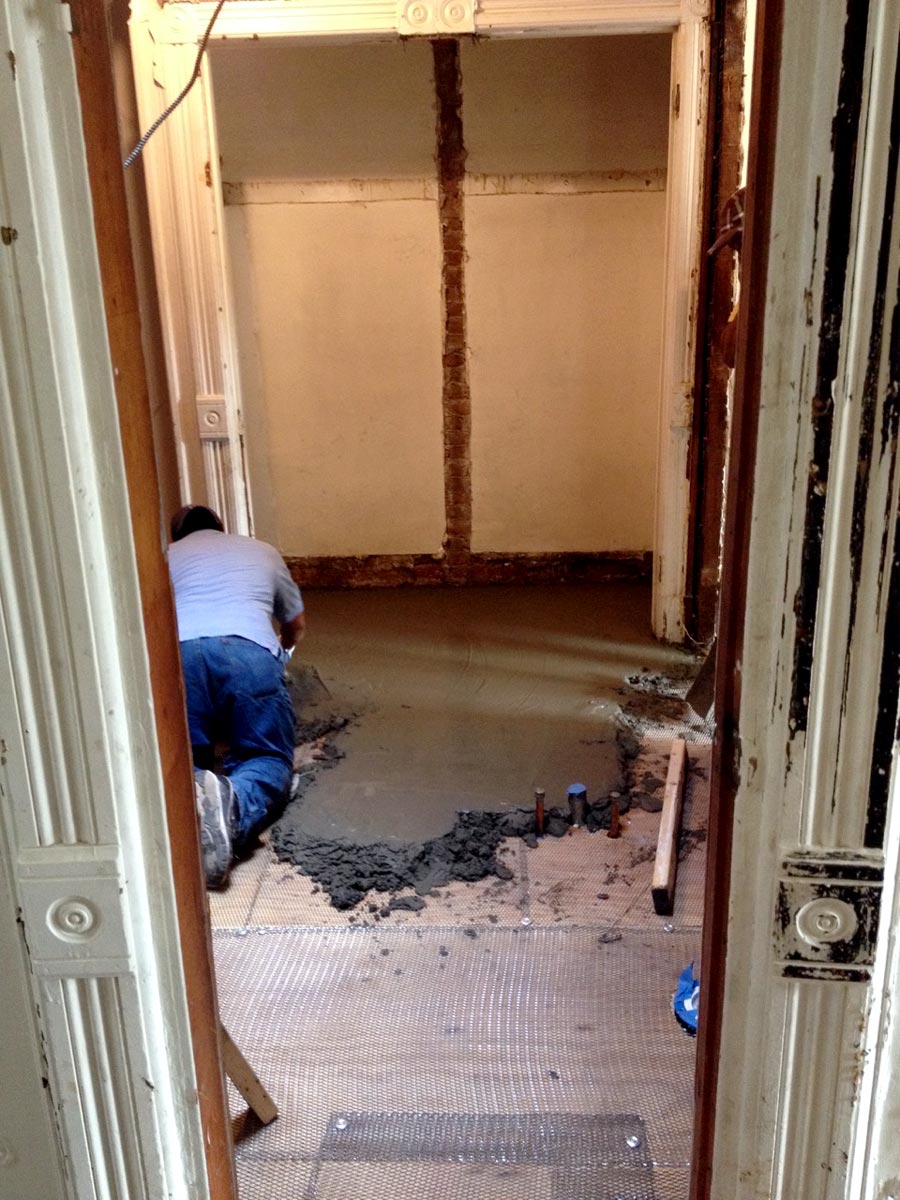
Demo was the next step—tearing out the old bathroom, ceiling, and pushing out the back wall to create the new room. We then went about deciding how to use all the new space. In the beginning, we had hopes of using the alcove to house either a clawfoot tub or perhaps a double vanity.
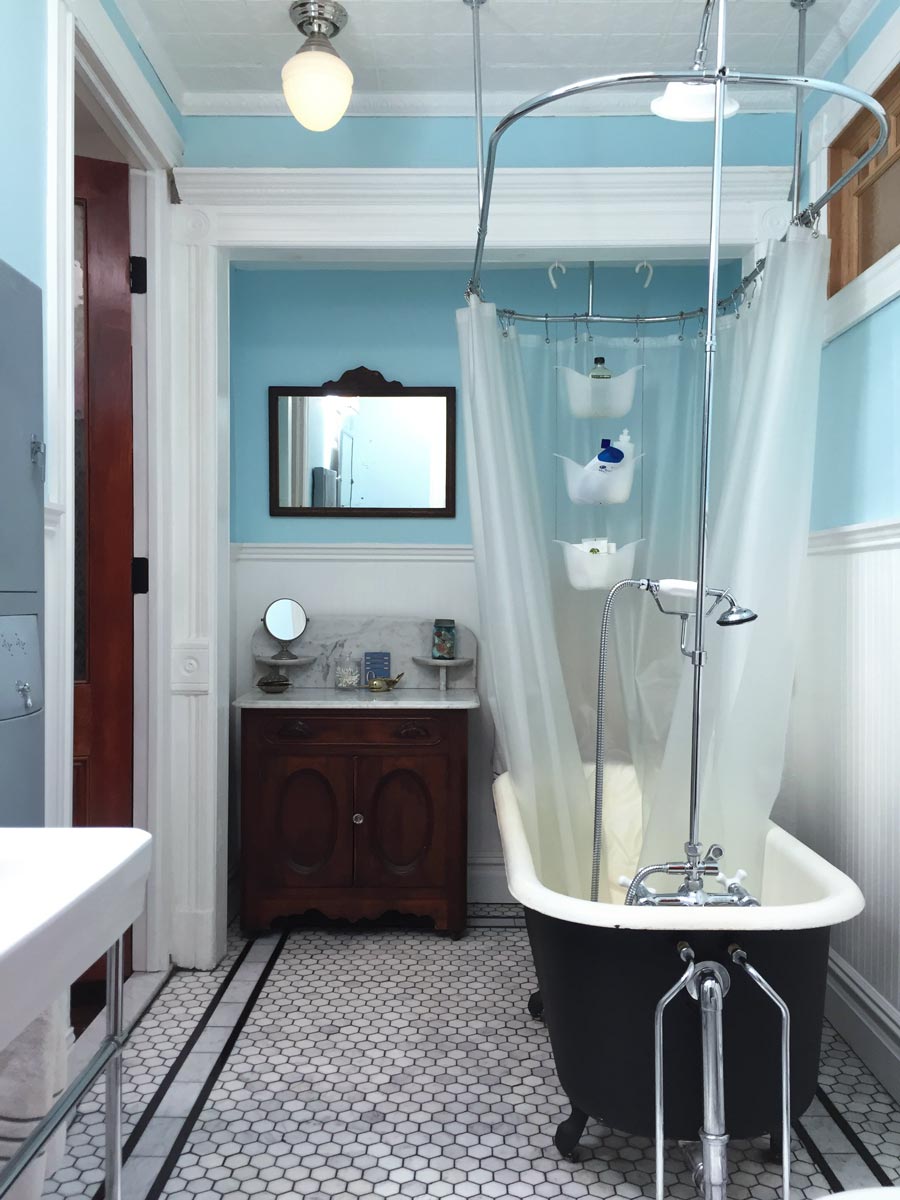
However, our contractors found that this new part of the room would be too far from the main sewer line which was on the opposite side of the house. Sewer lines, as we learned, require a minimum amount of pitch for water to flow down. The farther away you get from the main drain, the more pitch you need. In our case, the alcove was so far away, that the pitch needed would have been higher than the floor! So, we had no choice but to keep the sink and toilet in their original locations with the bathtub running along the right wall with its plumbing on the end most close to the main sewer line. It’s slightly awkward as the tub is exposed on three sides, but we made it work!
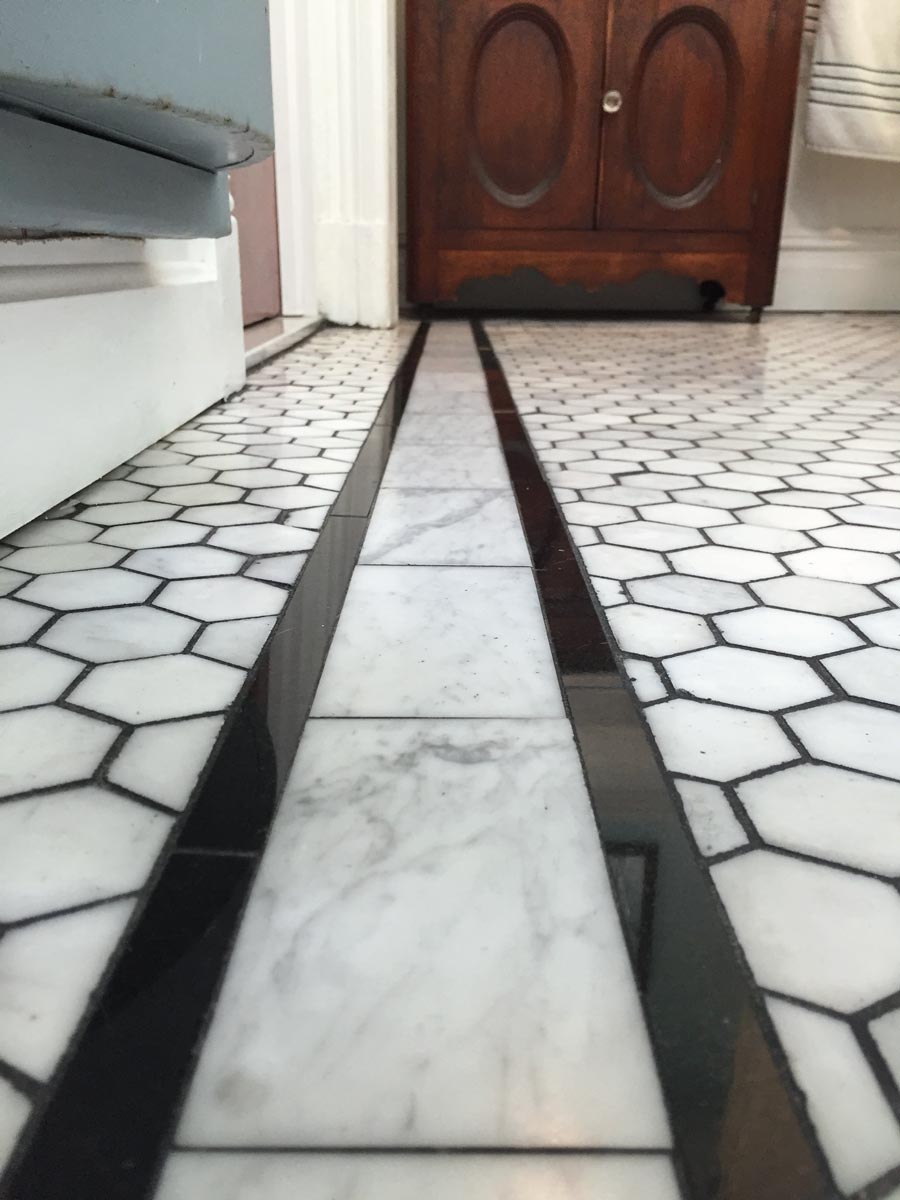
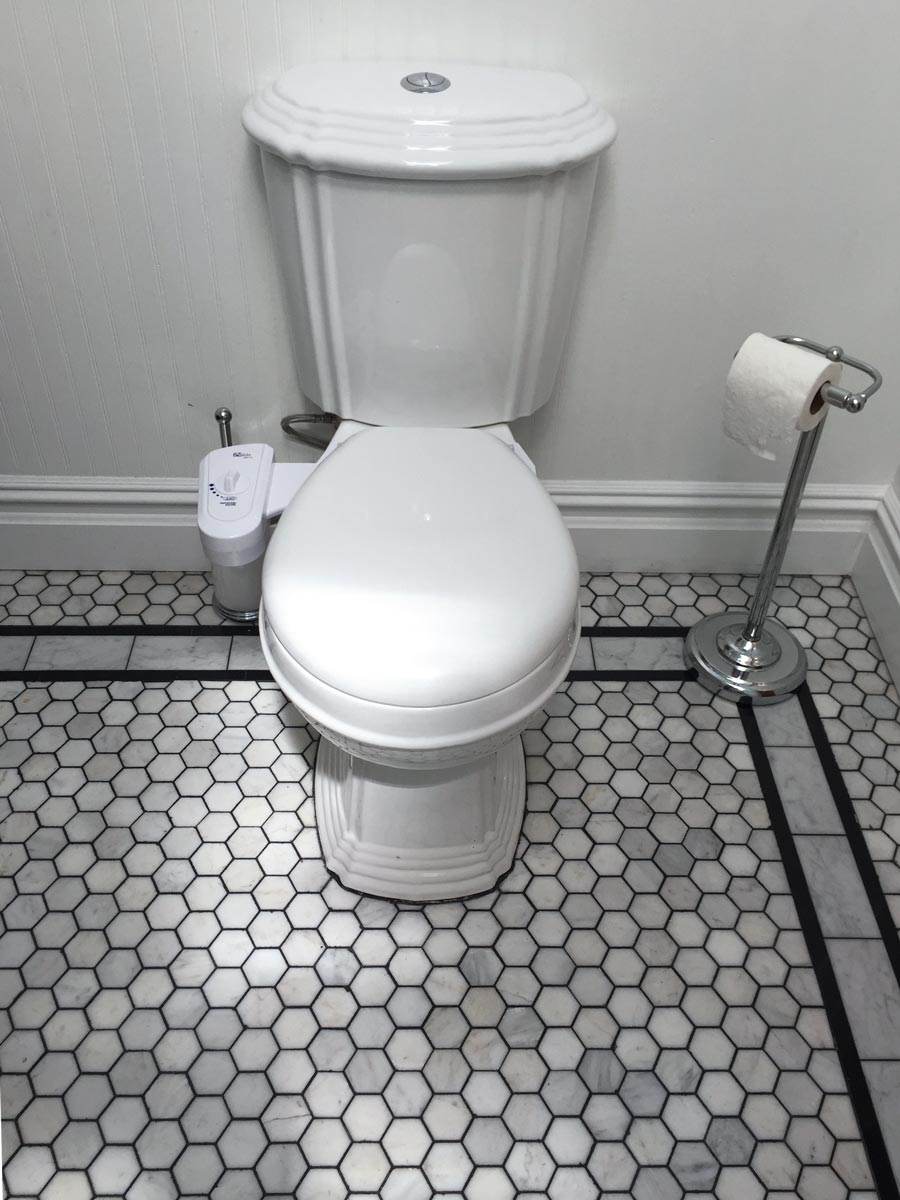
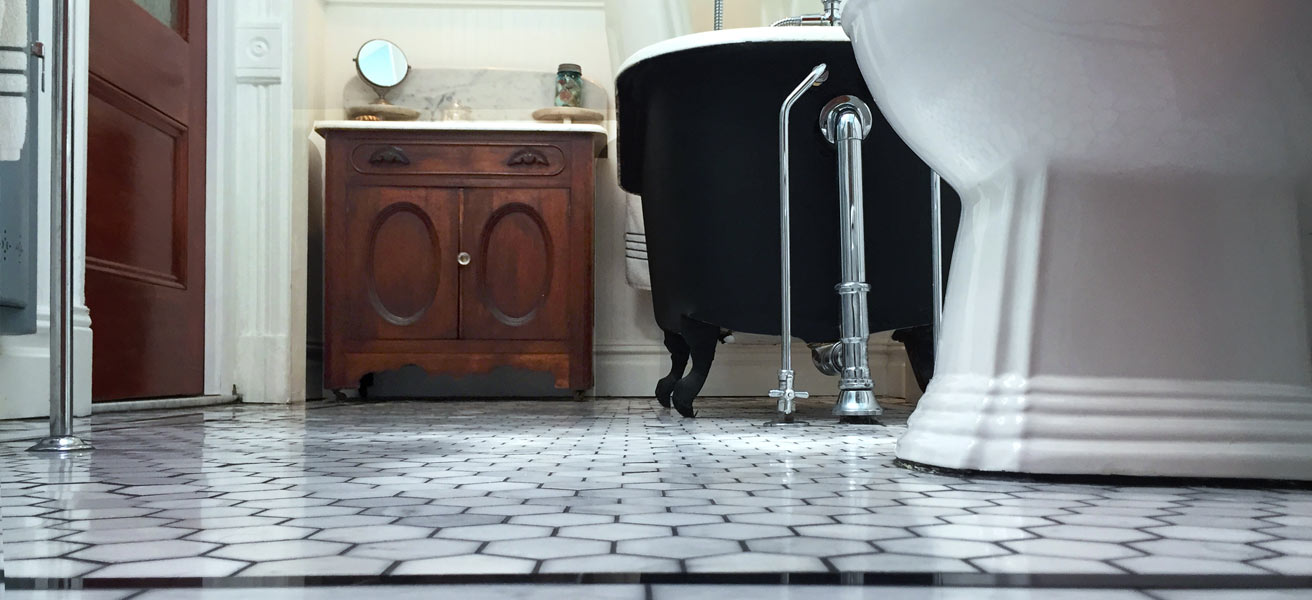
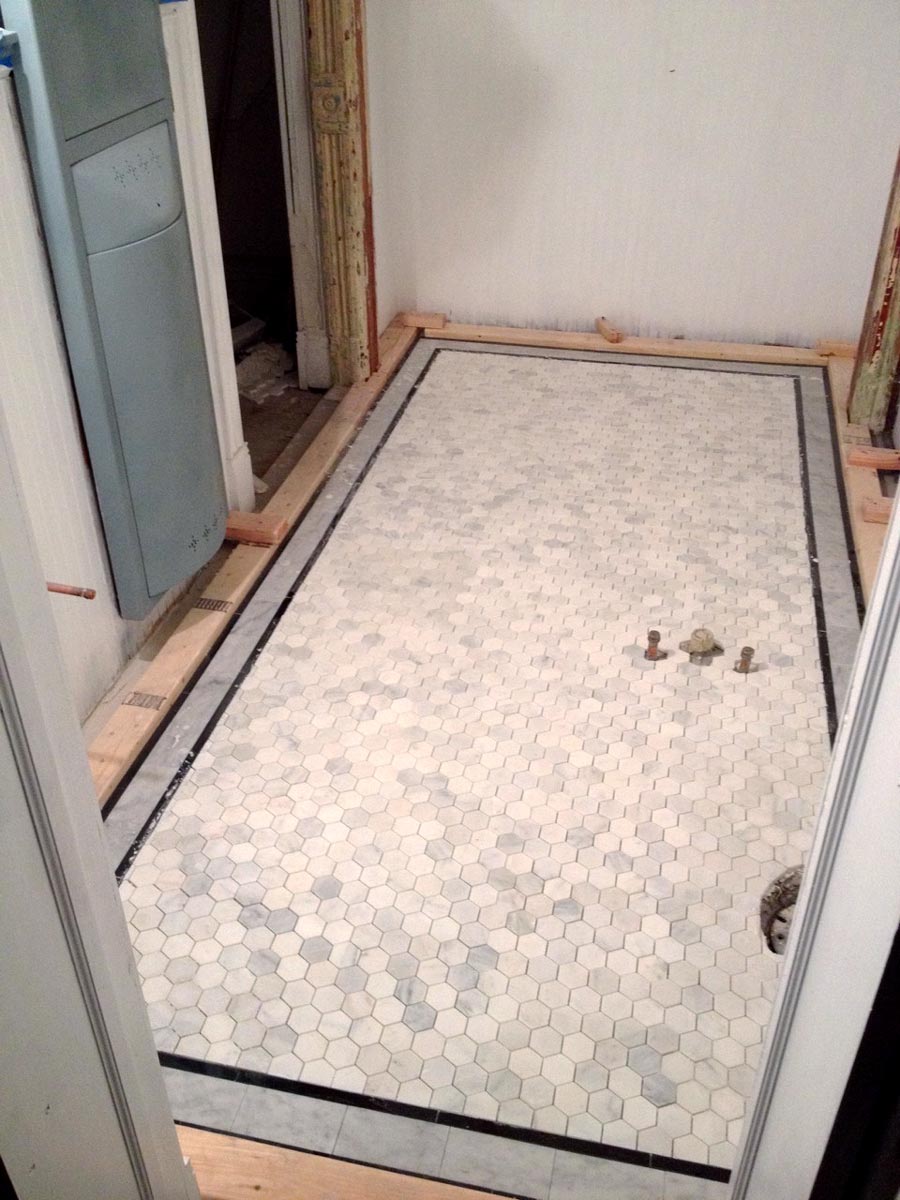
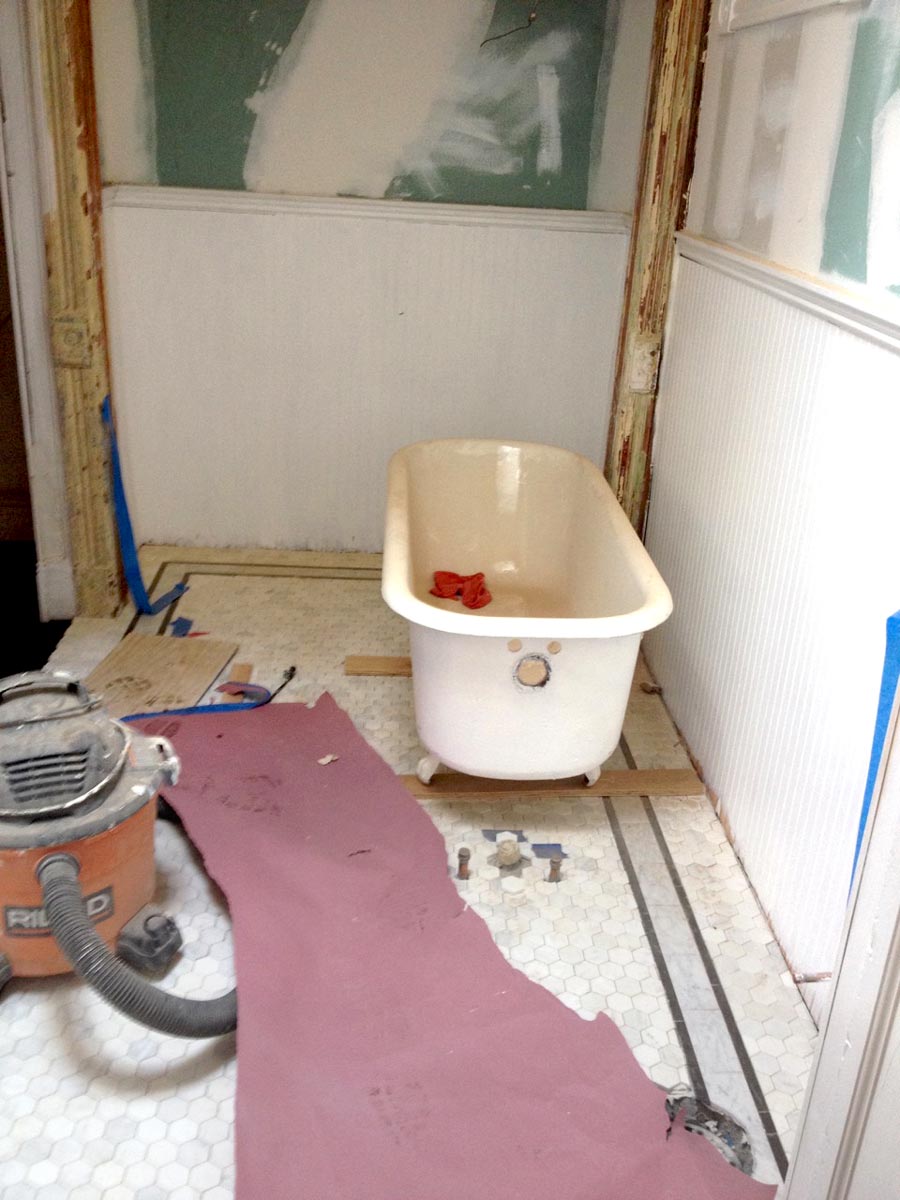
Once settled on the room layout, we began thinking about the floors, walls and ceiling. Looking back at our reference photo, our goal was to reproduce the exact floor design with carrara marble hex tile, marble subway tile border and a black pencil tile perimeter accent. Both marble tiles were easy to come by, but the skinny, black pieces proved impossible to find. We looked at multiple tile stores in the city and online but couldn’t find anywhere that carried a long, thin accent tile. Finally, we came across a store that offered to cut 1 x 1 foot gloss granite tiles into 1 inch x 1 foot strips. We were skeptical of their ability to get a straight, crisp line, but decided to try it, and they came out perfectly!
 For the walls, we went with classic beadboard in white. As is typical for us, the day we went to buy them, Home Depot was out of the natural and white primed stock. So, we paid more for the stained / sealed ones — which we ended up just painting over anyway.
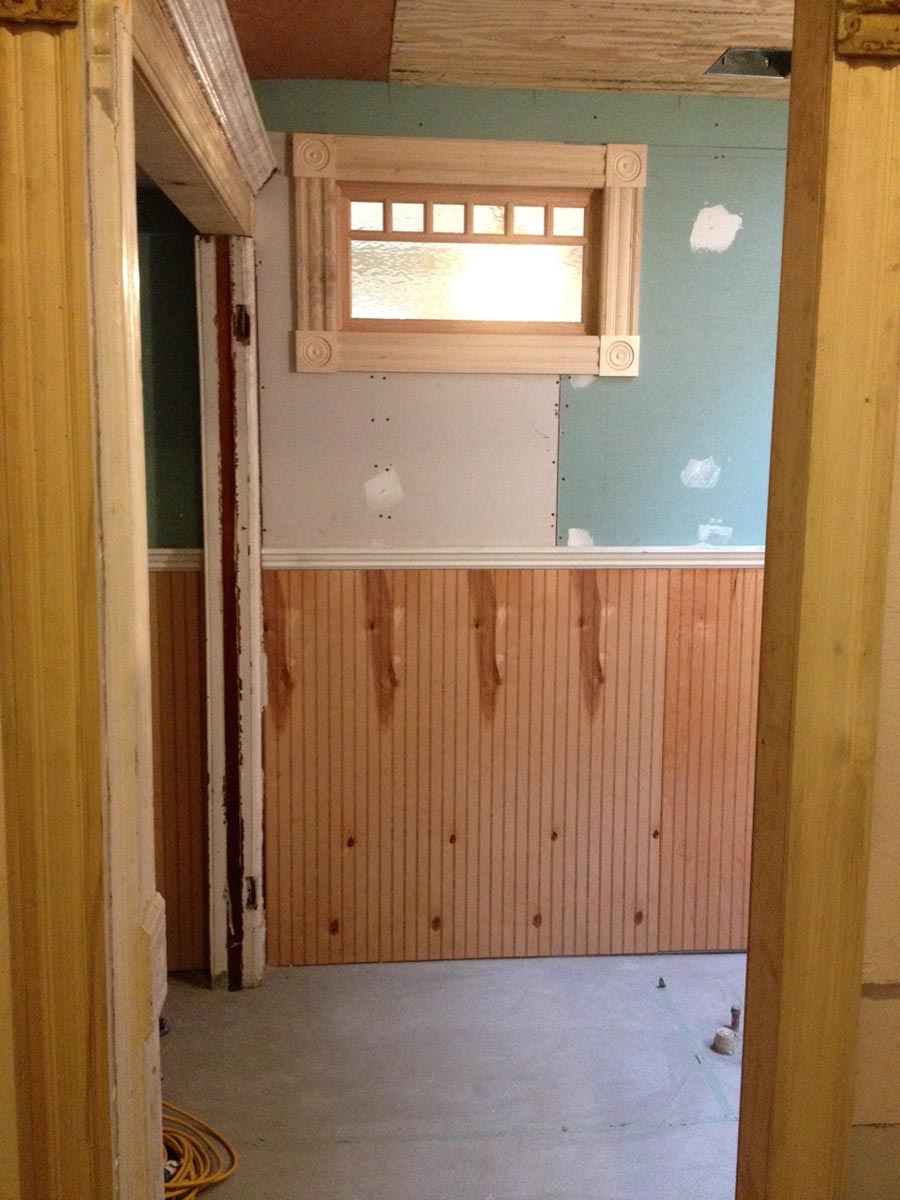
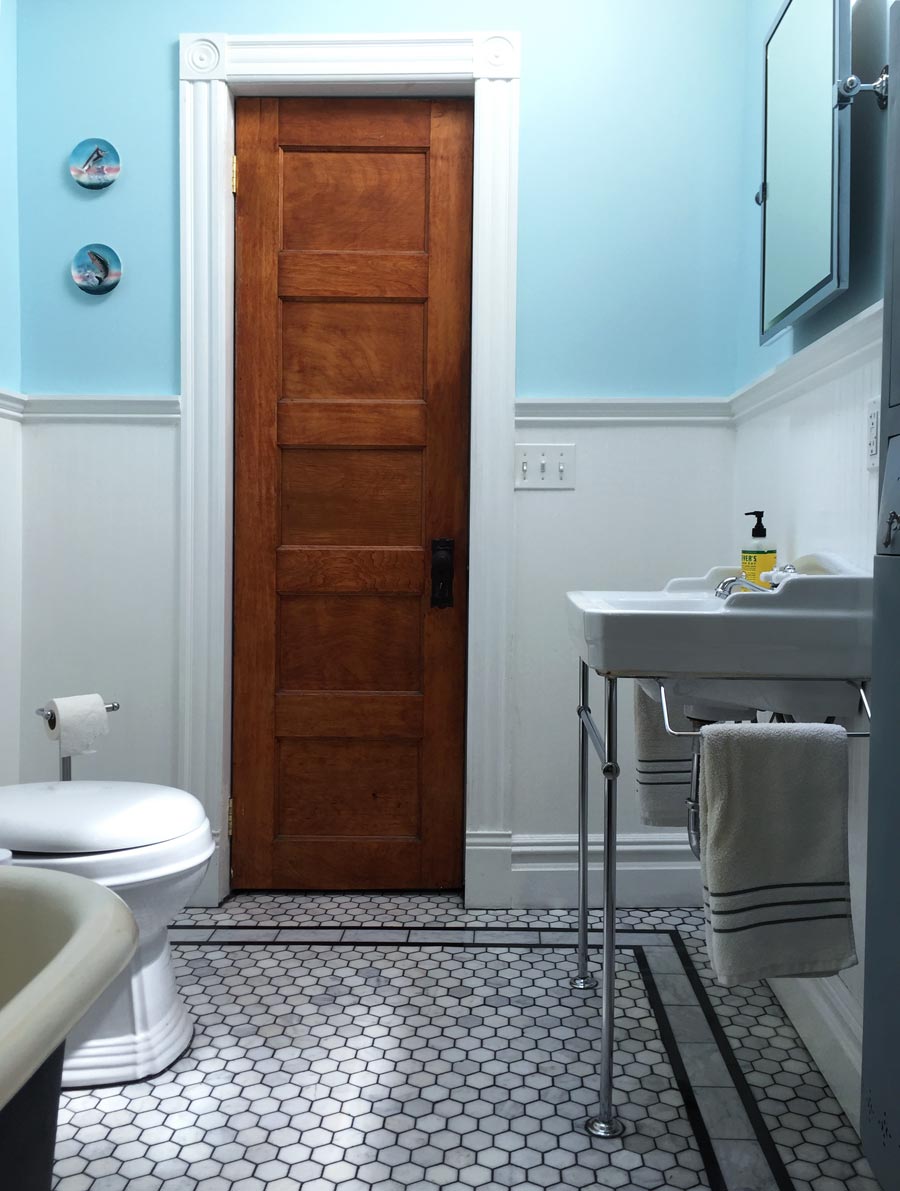
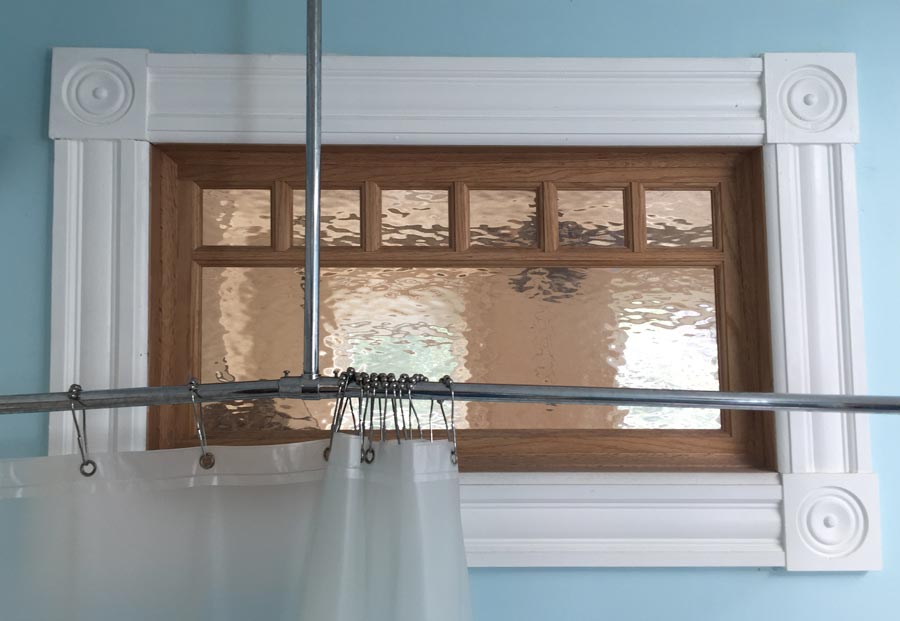
In the photos above, you probably noticed the transom. This was installed where one entrance of the old hallway we took over used to be. Since the bathroom is in the middle of the house, we felt the transom would help bring in light from the room next door that has windows.
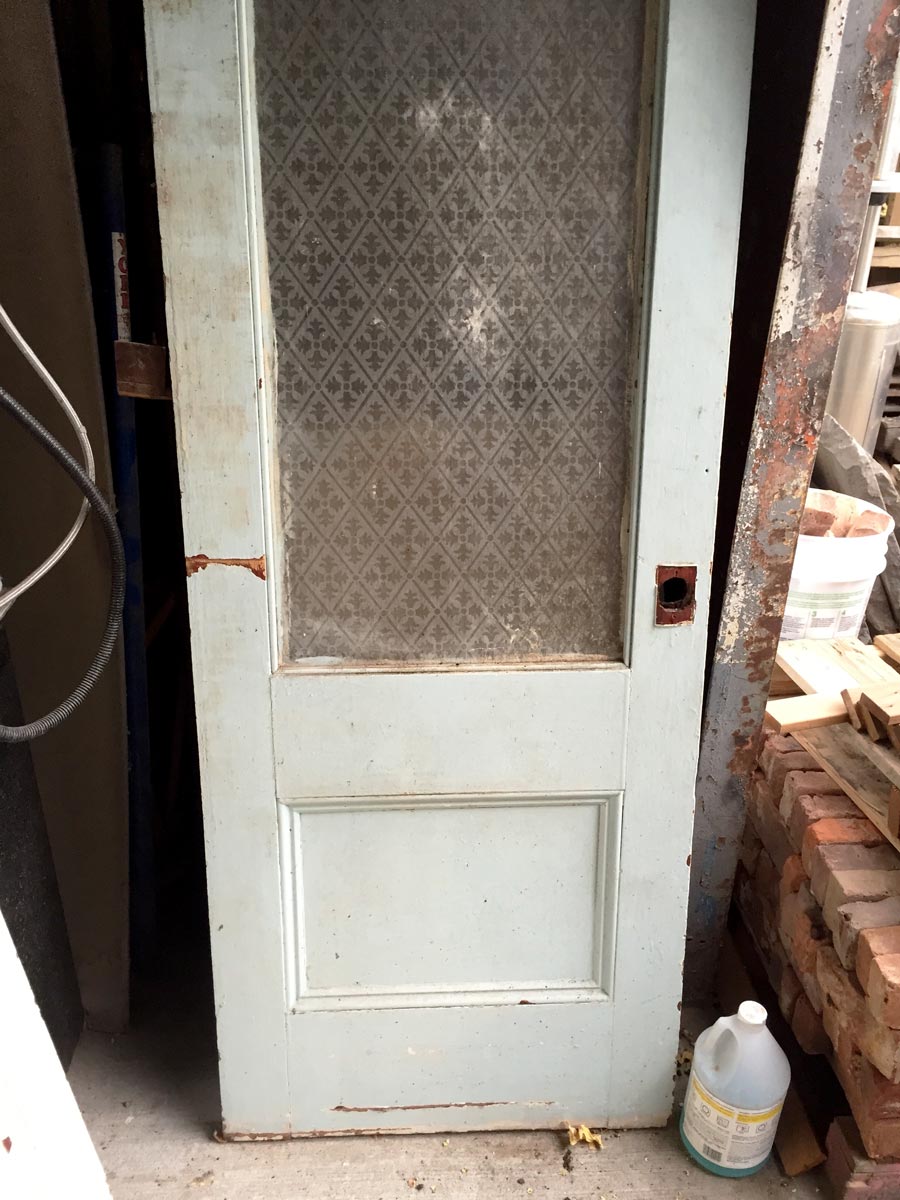
On the other side of the old hallway, we wanted to create a 2nd doorway into the bathroom that would connect the future master bedroom / closet. For this, we sourced then stripped / stained this vintage glass panel pocket door off Craigslist. We didn’t have a pocket to slide it in, so we added hinges!
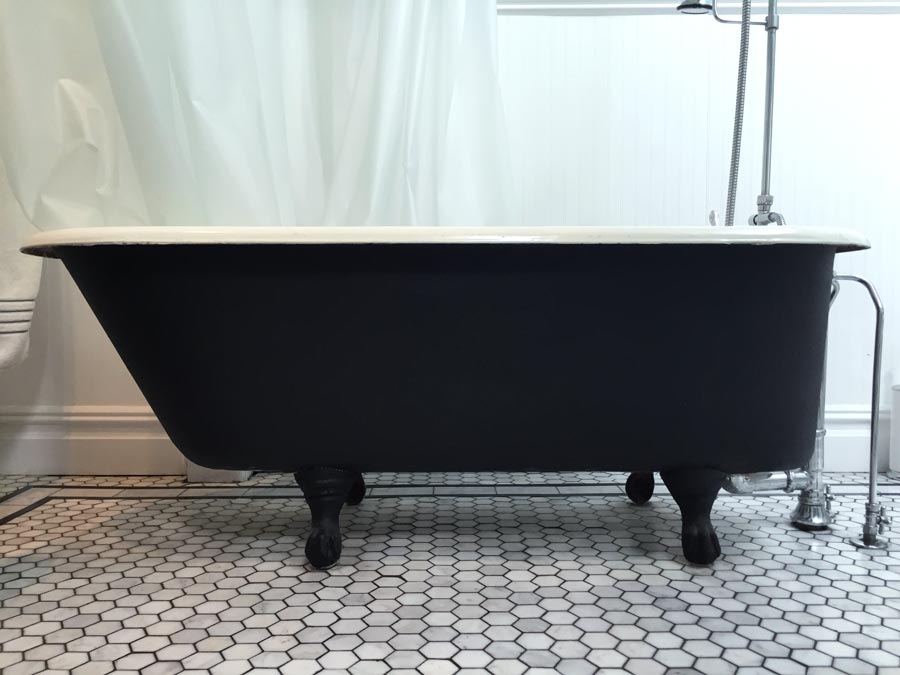
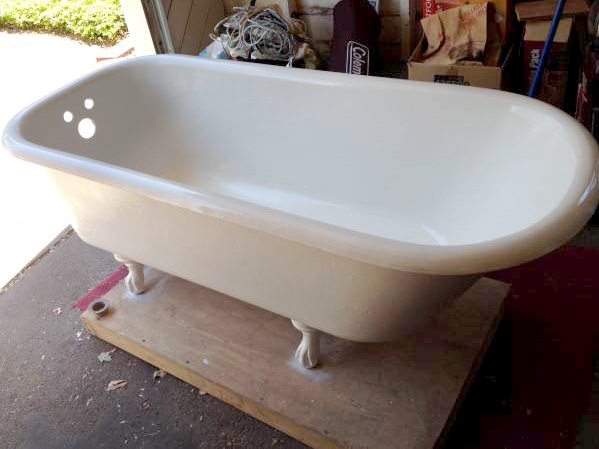
For the bathtub, we really wanted a clawfoot design but all the new models we looked at were way too expensive. So, we turned again to Craigslist and for $300 found this original cast-iron tub that had been removed from a 1901 farmhouse in upstate NY. Unlike a lot of salvage tubs, it was in great condition, though we did paint the underside and legs black for a crisp, clean contrast.
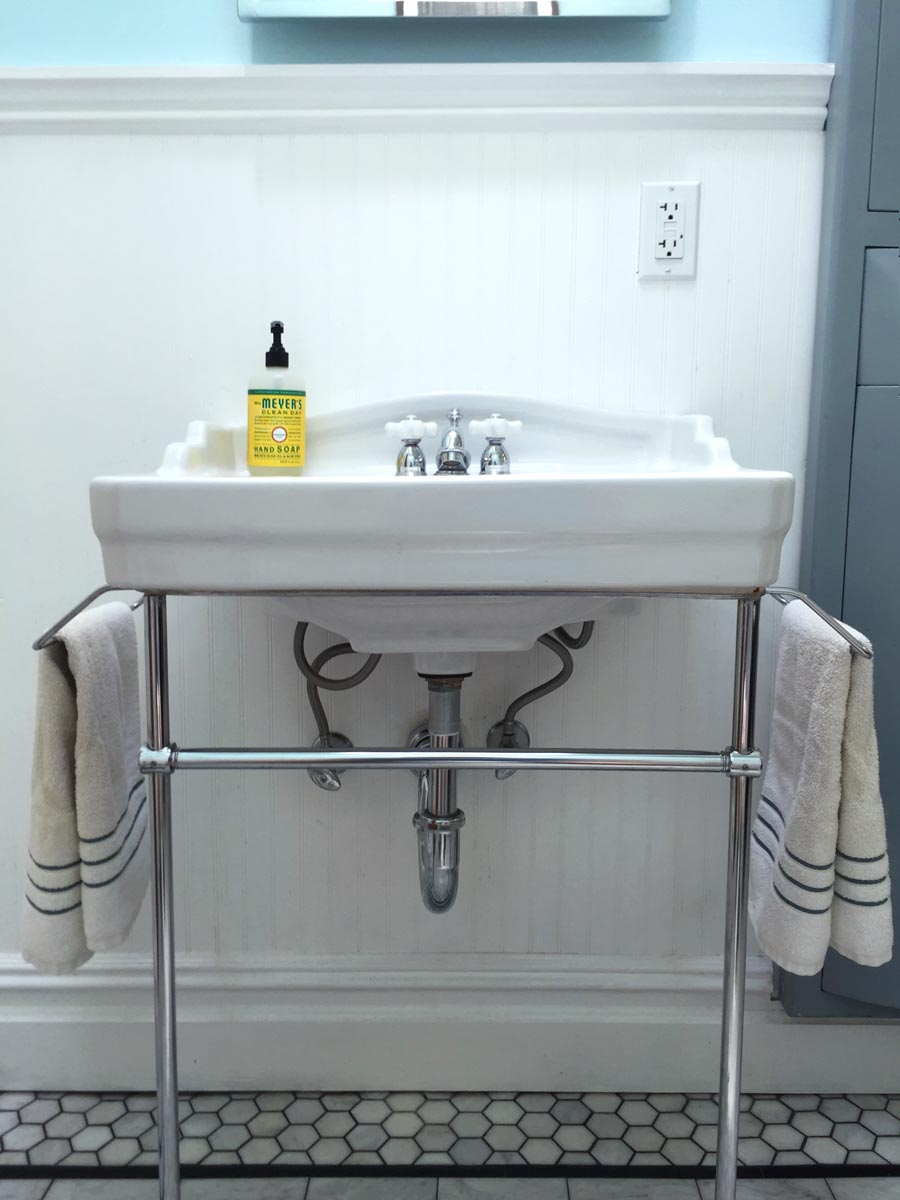
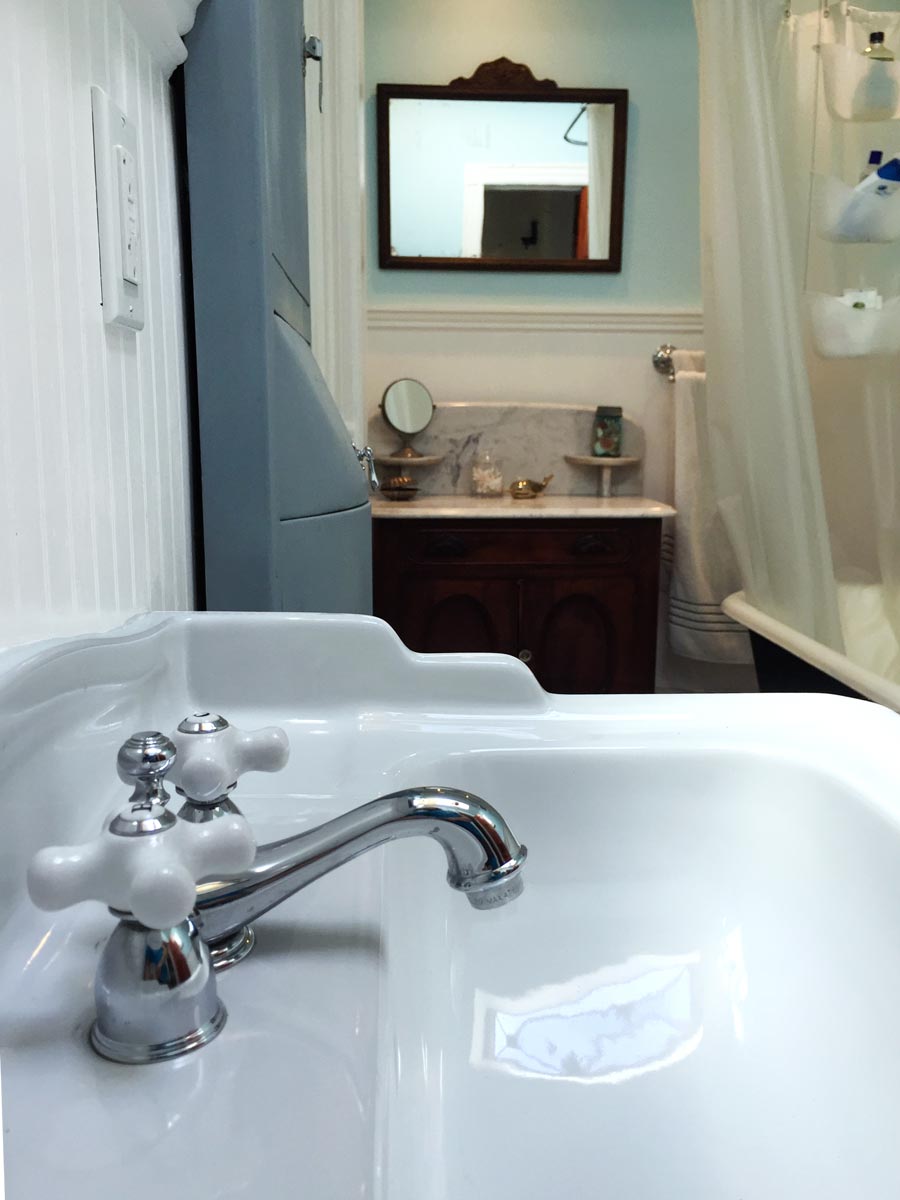
 For the toilet, we made things easy and got the same model we used in our downstairs water closet. The sink was a bit trickier since we had to stick with where all the original plumbing had been. We kept wanting something larger but simply couldn’t do it for fear of making the space between the door, toilet and sink too tight. Ultimately, we decided on this vintage-inspired single-basin design from The Mine.
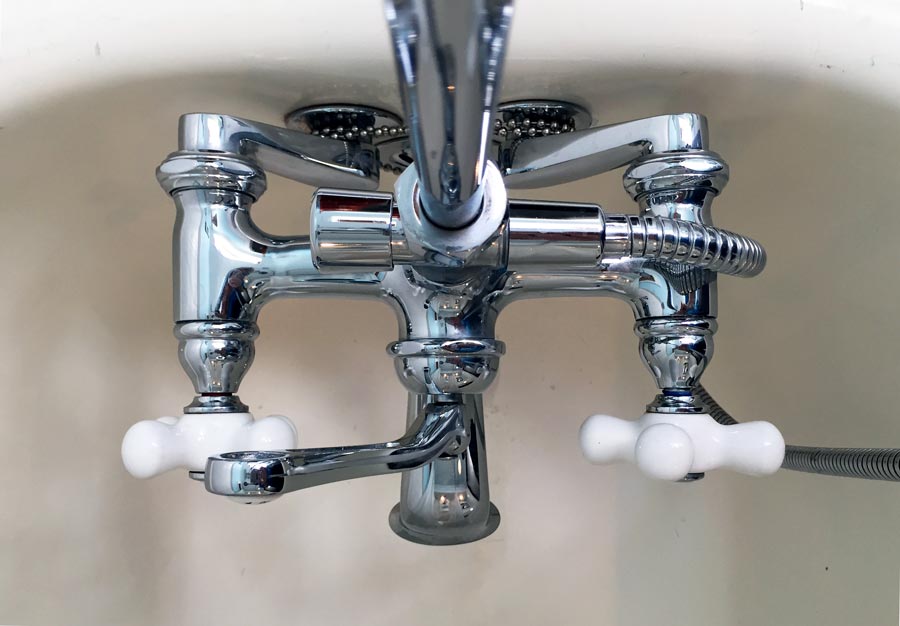
Since both the tub and sink were vintage designs, both also needed vintage-looking hardware. None of the big box stores carry those styles, so we had to do a little digging and eventually found KB Distributors, an online store that had everything we needed without breaking the bank!
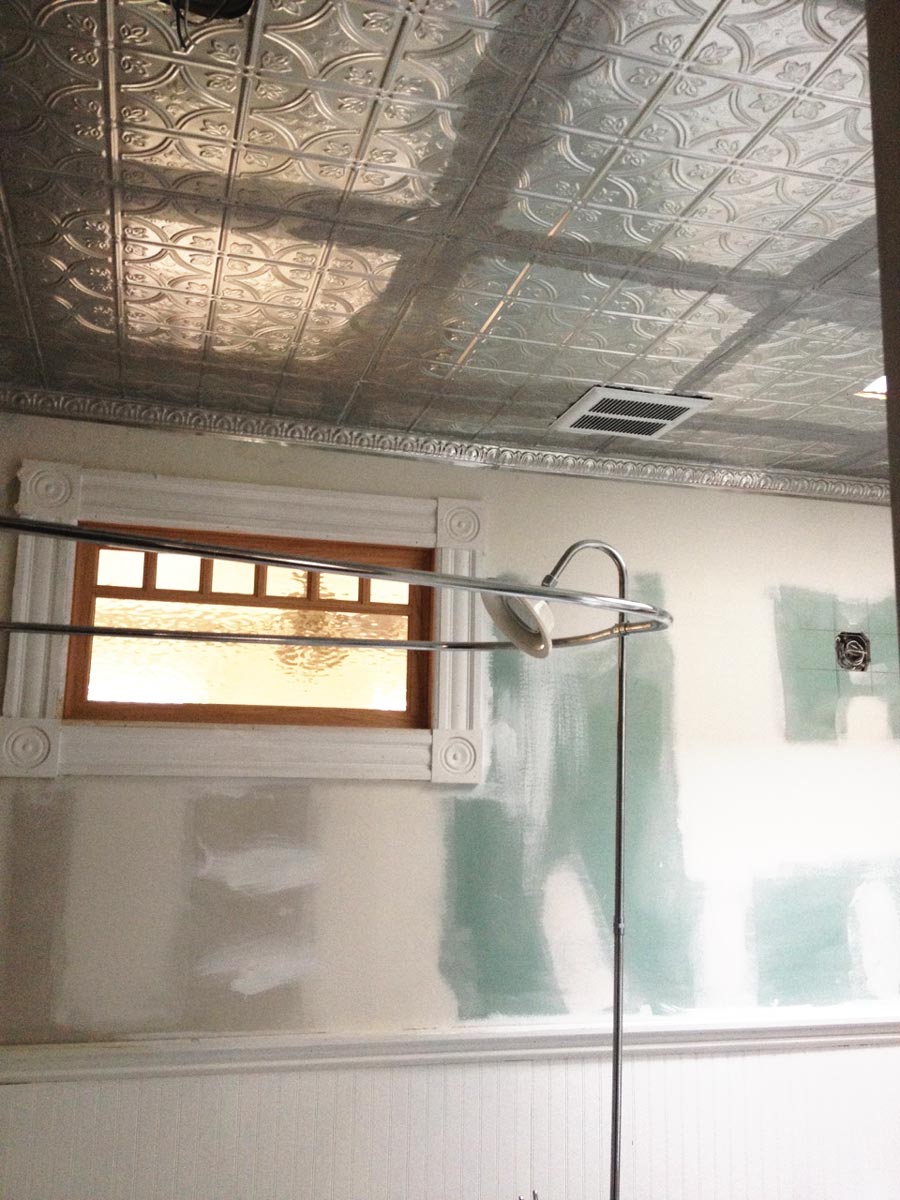
On the ceiling, our contractors first opened up the skylight shaft to let more light in, then installed a new tin ceiling that we purchased from American Tin Ceilings. Once installed, we painted the tin white.
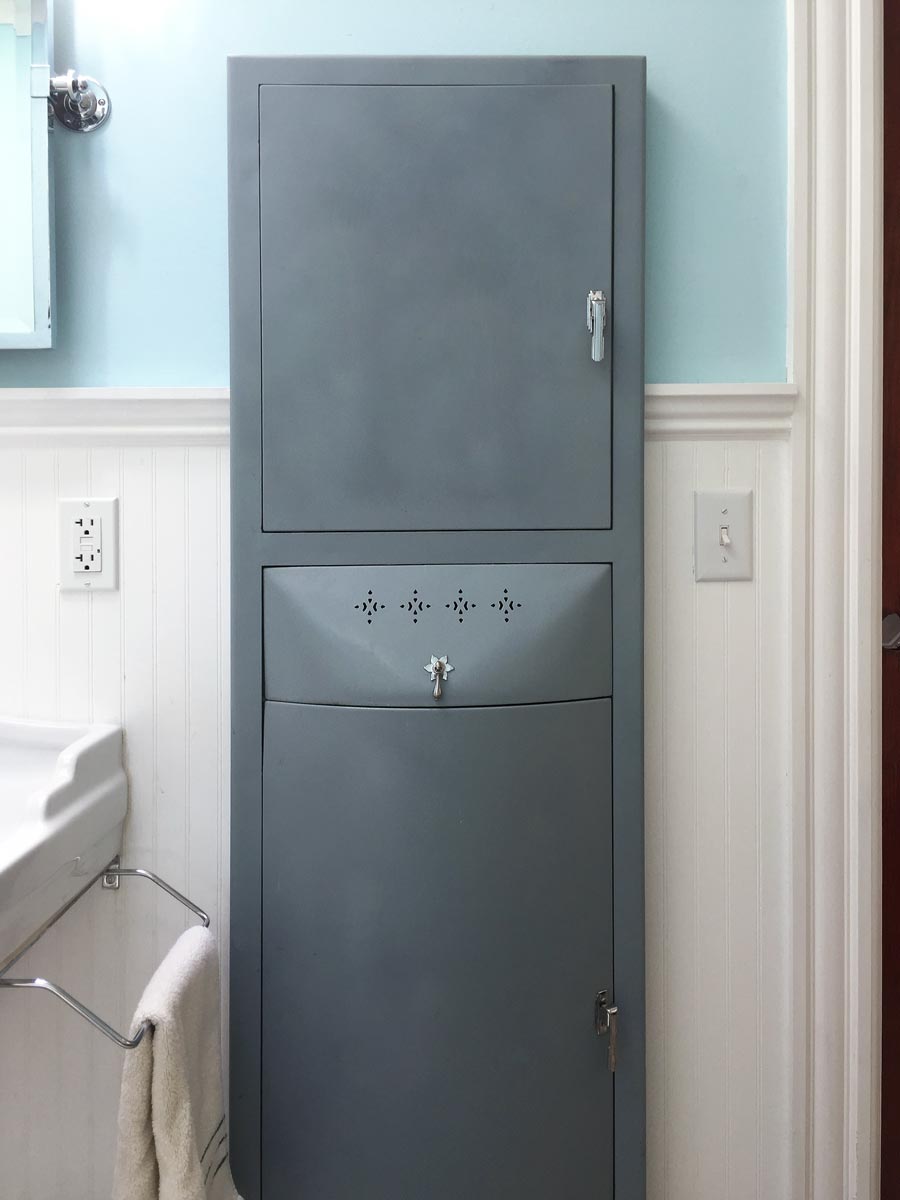
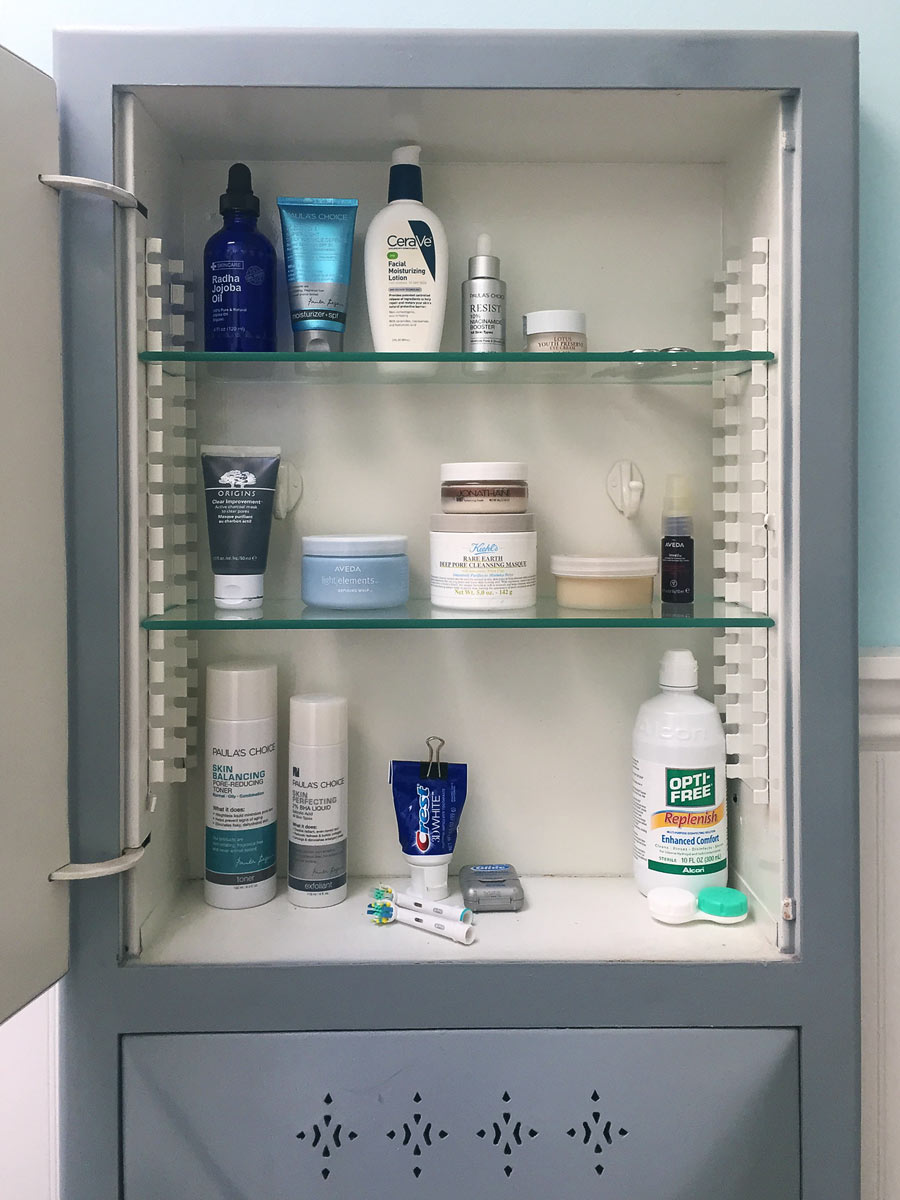
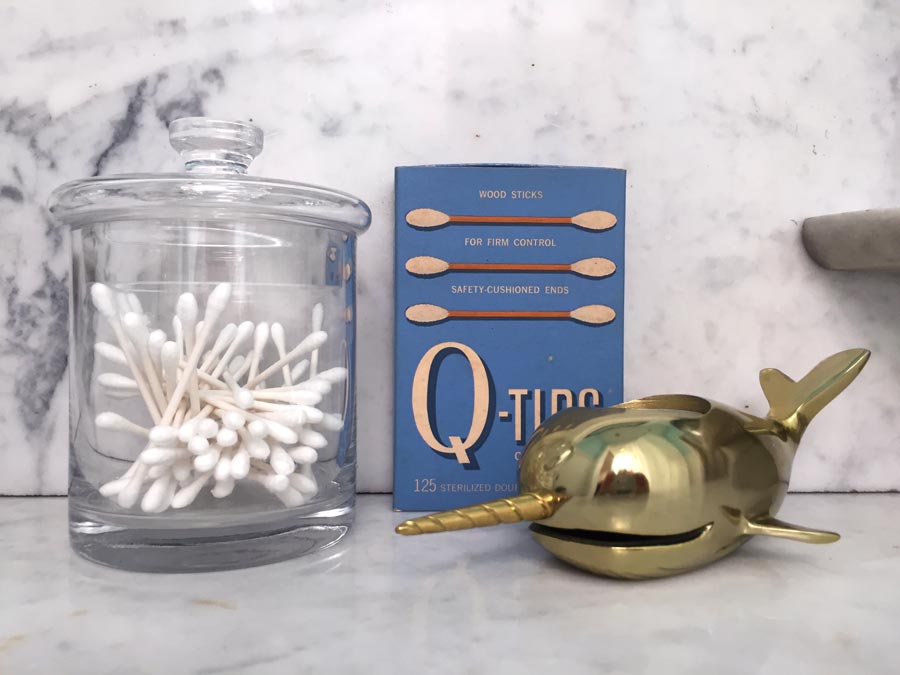
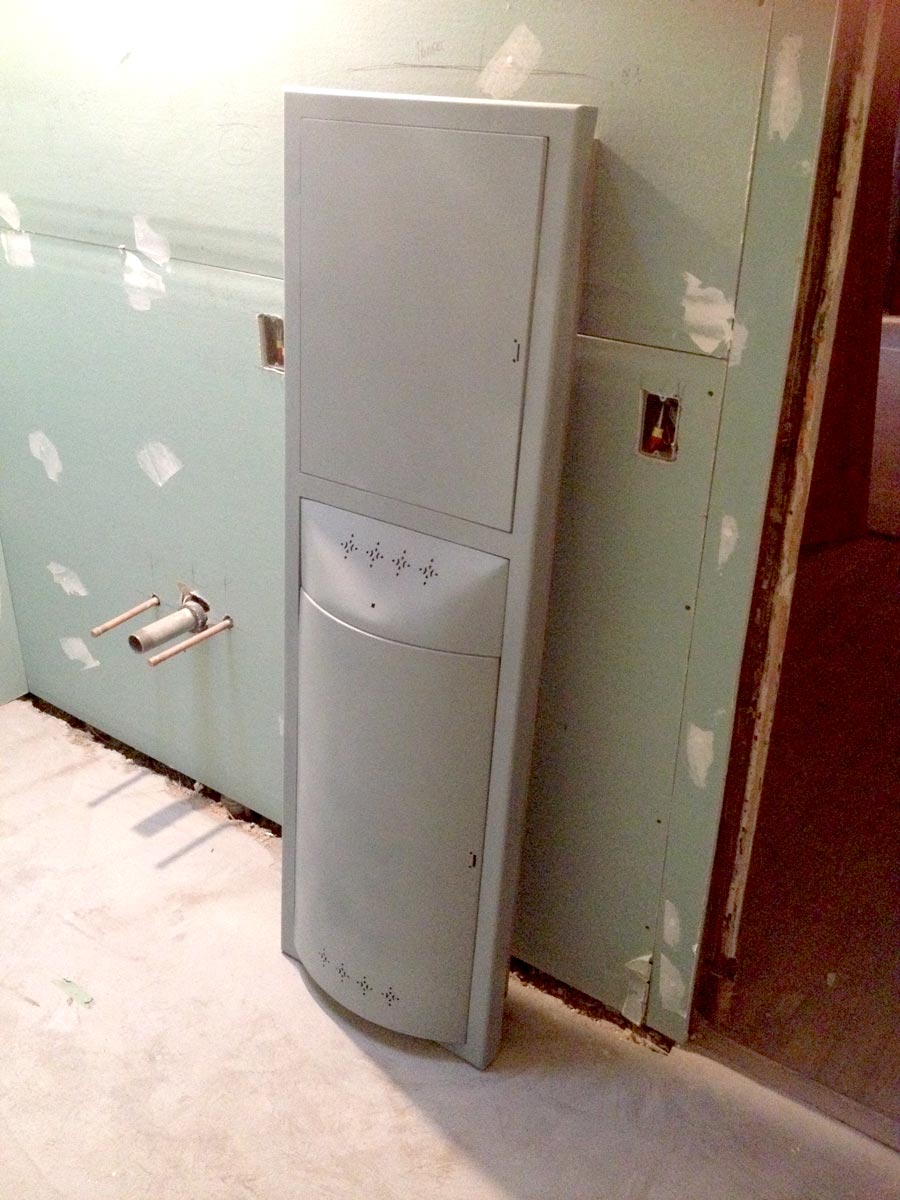
Above the sink, we’d planned on installing a recessed medicine cabinet. But that was before we discovered a vintage metal medicine cabinet / clothes hamper combo at New York Old Iron, a super-cool salvage yard next to the Gowanus Canal in Brooklyn. It was a little rough when we found it, but it cleaned up well after a new coat of paint. At about 4 feet tall, it provided a good amount of storage which left the space above the sink available for this simple, pivoted mirror (the Kensington Pivot Rectangular Mirror) from Pottery Barn.
Last on the list was lighting. Since the bathroom we started with had been so dark, we were a bit paranoid about the new room being bright enough and decided to include three different light sources plus the newly enlarged skylight. In the alcove (formerly two closets) we installed two basic recessed spotlights. For above the sink, we debated between double sconces or a single overhead light, but eventually agreed on this retro-inspired fixture (the Winton Bath Bar) from Lumens. And finally, above the bathtub, we found a simple but elegant victorian inspired fixture from Home Depot (which they have since discontinued).
Once it was all put together, this was the end result!