Several years ago, we started noticing a trend in smaller restaurants where the toilets and sinks of restrooms were in different rooms / spaces. Basically, the sink would be out in the open, often visible from or adjacent to the dining room, and the toilet would be in a small room with a door, or water closet. While this setup had the practical purpose of being able to wash your hands while someone else was doing their business, it also created an opportunity to do something unique with the sink. Since it was sitting out in the main room, it became part of the overall decor, and oftentimes a focal point. With this is mind, we set out to try something similar in our house.
In our last post about how we designed our pantry, we showed you this floorplan, but it also applies to our half-bath design as all of this took place in the same space:
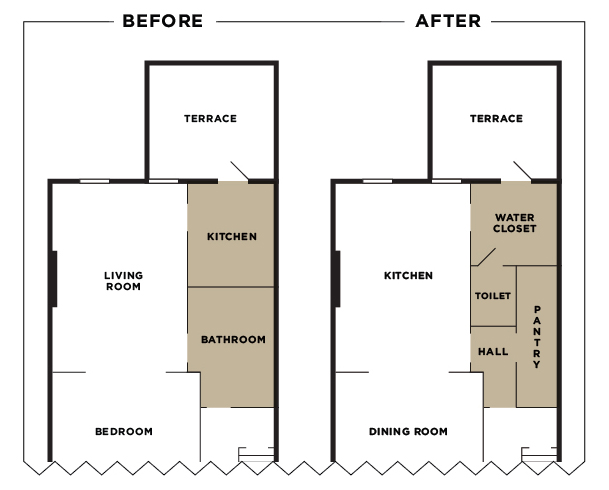
As mentioned in the pantry post, our house came with an incomplete full bath, but since our bedrooms were on the top floor, we felt we didn’t need a shower on the parlor level. So, we decided to re-arrange the space to incorporate just a half-bath and the pantry.
Demo
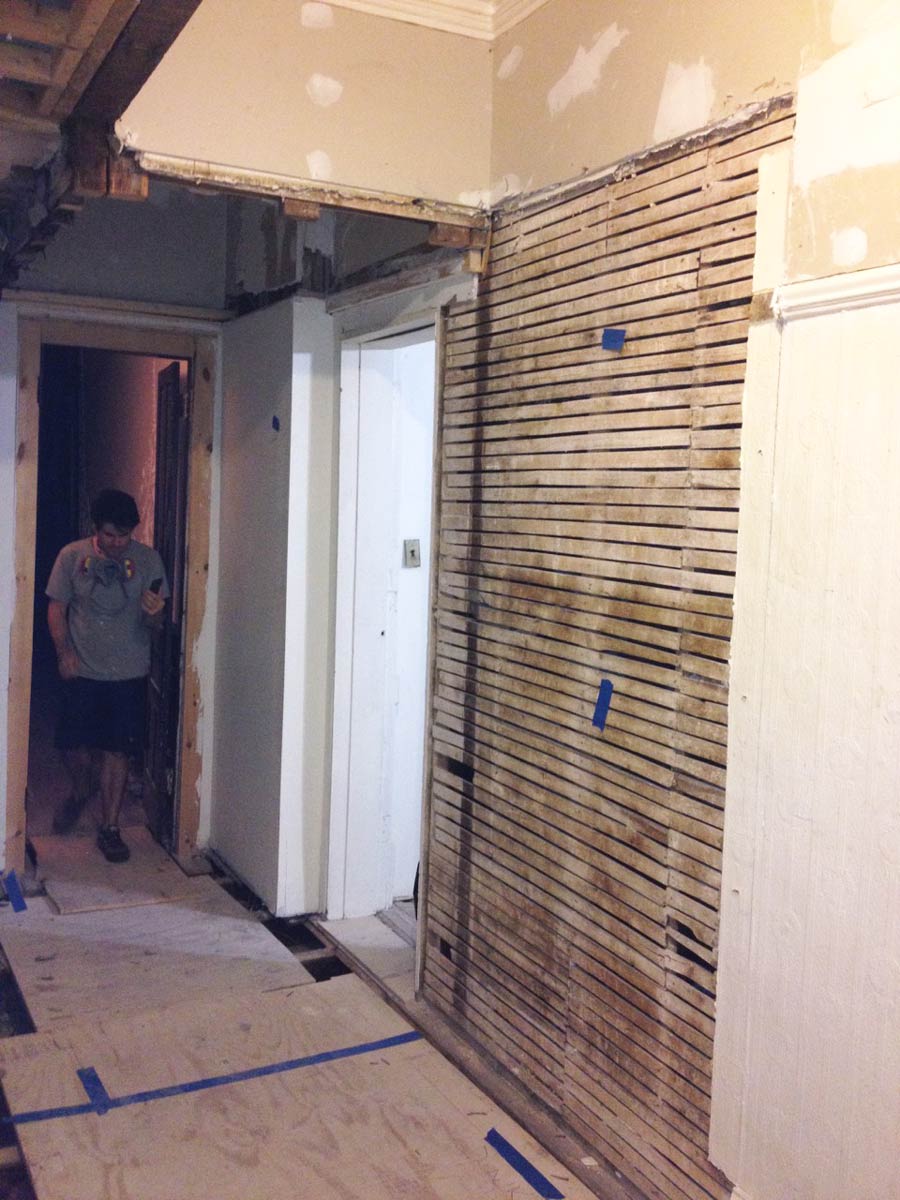
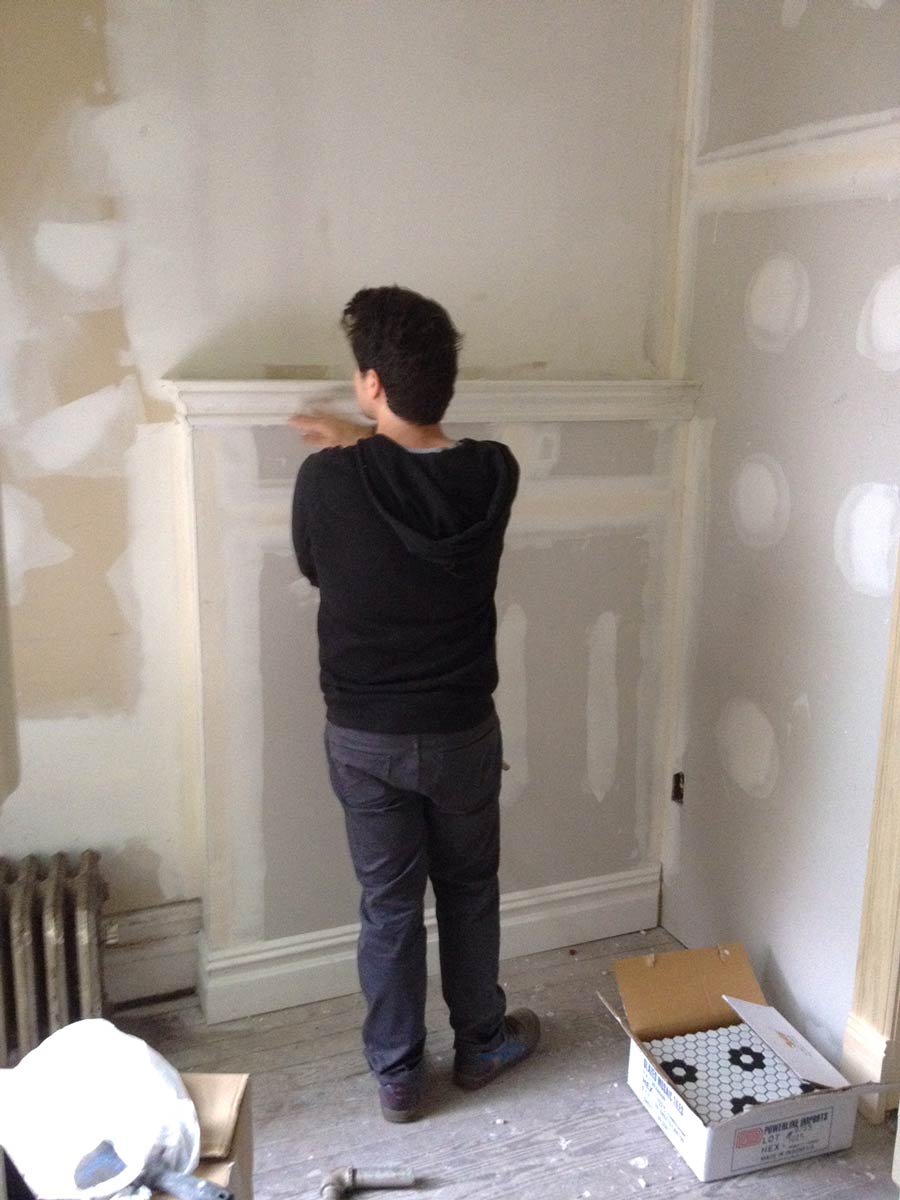
These images are also from the pantry post, but are good to see again as they show the raw space we were working with once we removed the wall between the previous kitchen and bathroom (see “before” floor plan above).
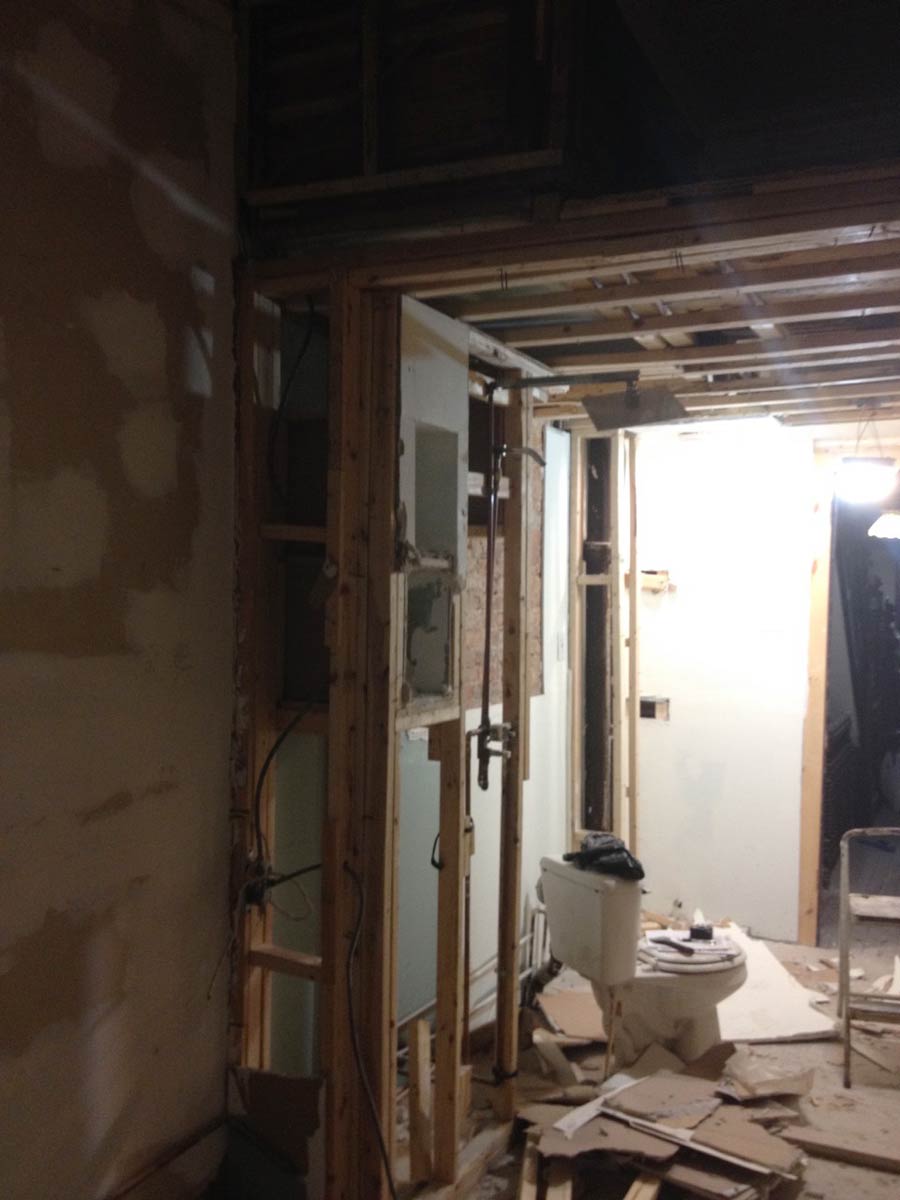
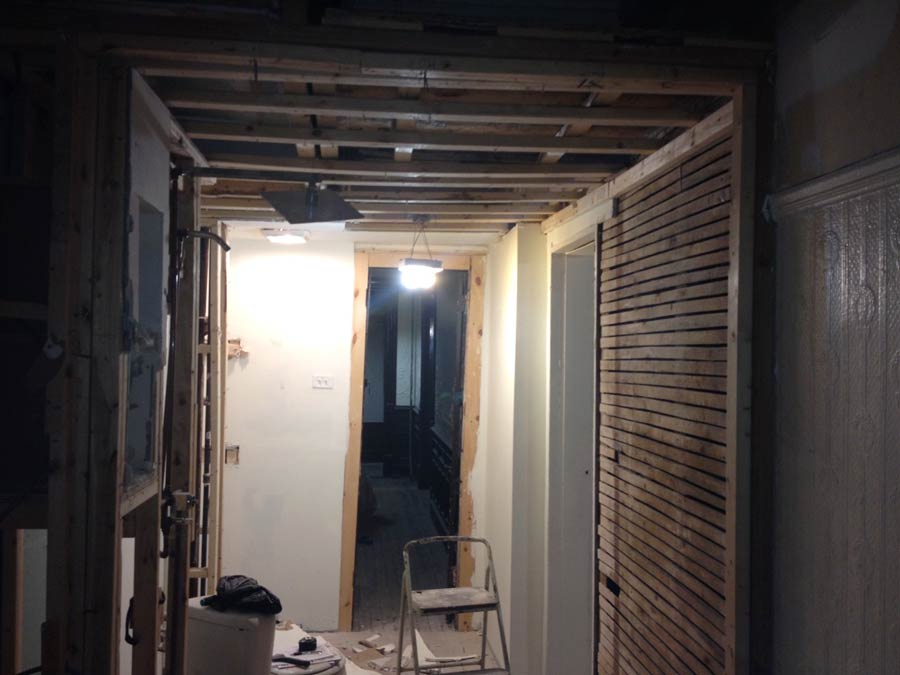
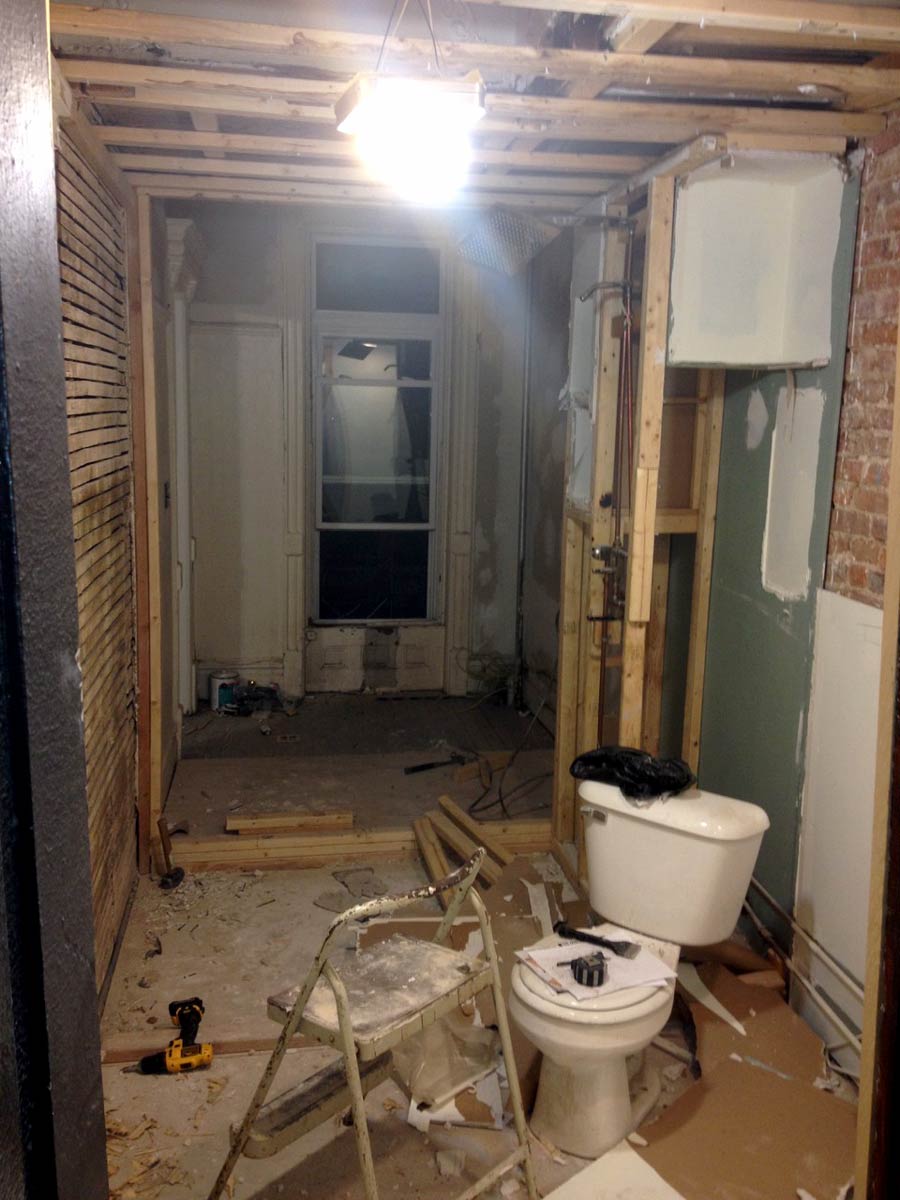
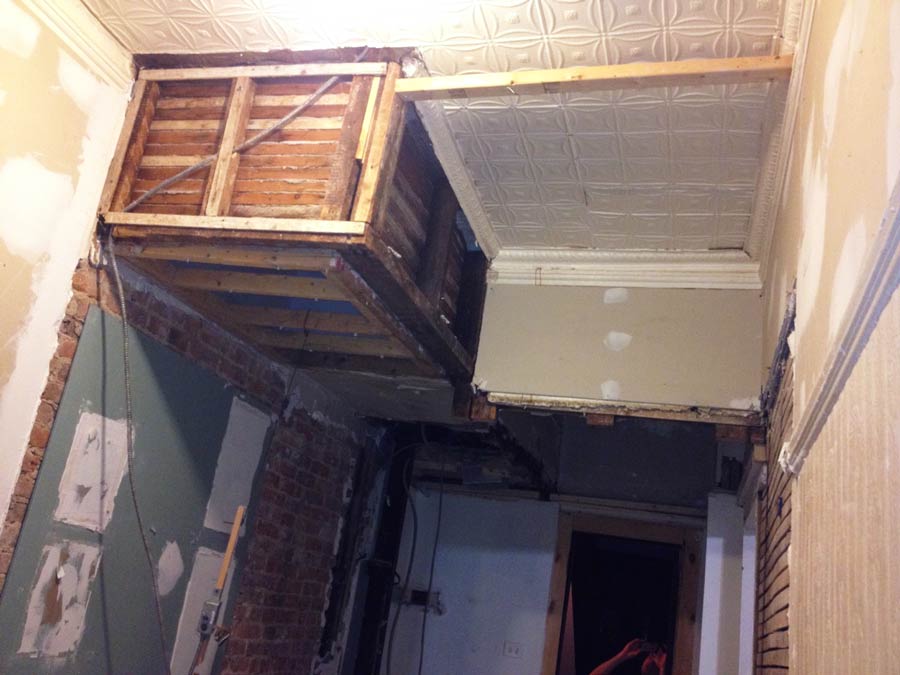
This next two photos show the exact area where we put the half-bath / water closet. In the first photo below, you can see where the tin ceiling cuts around that wooden box in the ceiling to make an L-shaped space to the right. We actually discovered this during demo, as that part of the ceiling had been covered up by the previous bathroom.
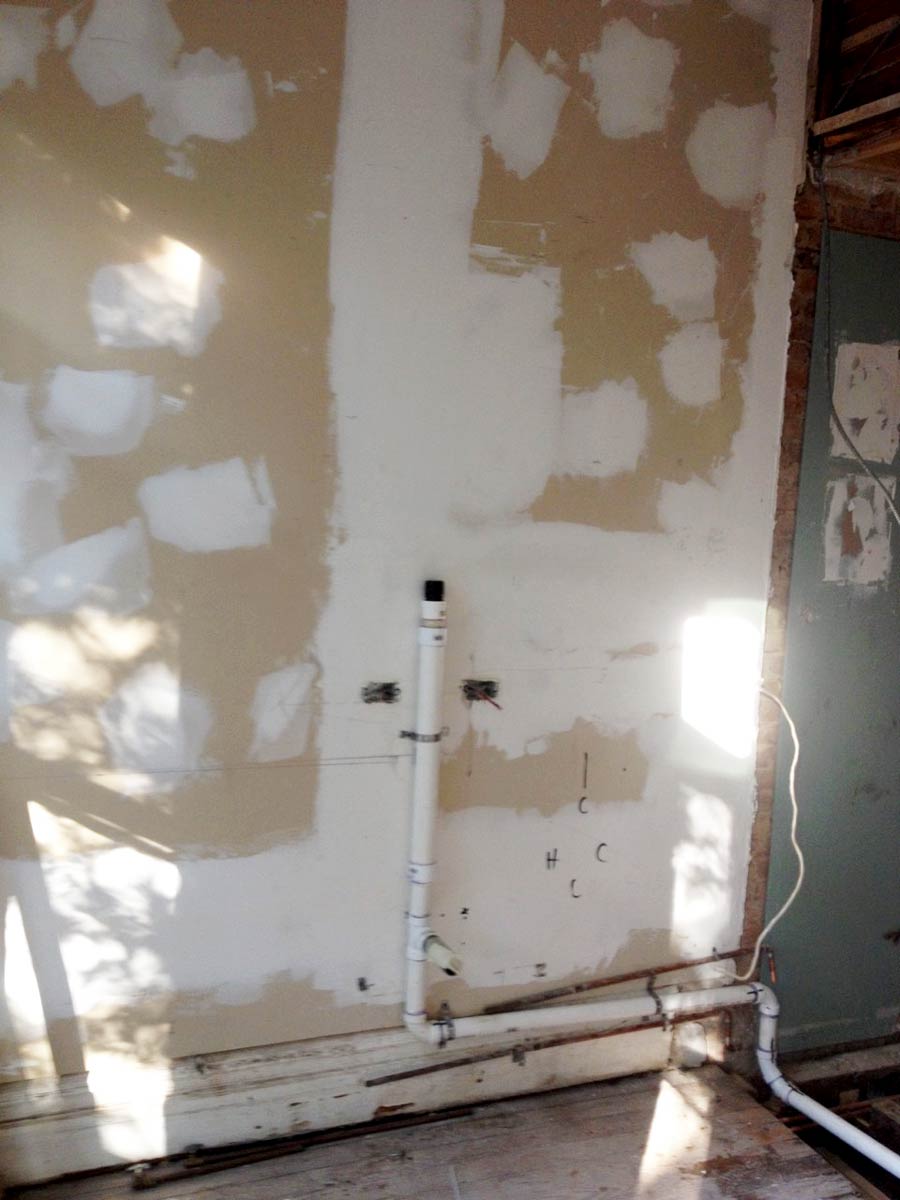
This photo shows an exposed wall of plaster and lathe that was uncovered during demo. We put a new wall between the lathe and the doorway where the long piece of blue tape is seen on the floor in the middle — then another small wall perpendicular to it which created a small space for the new toilet.
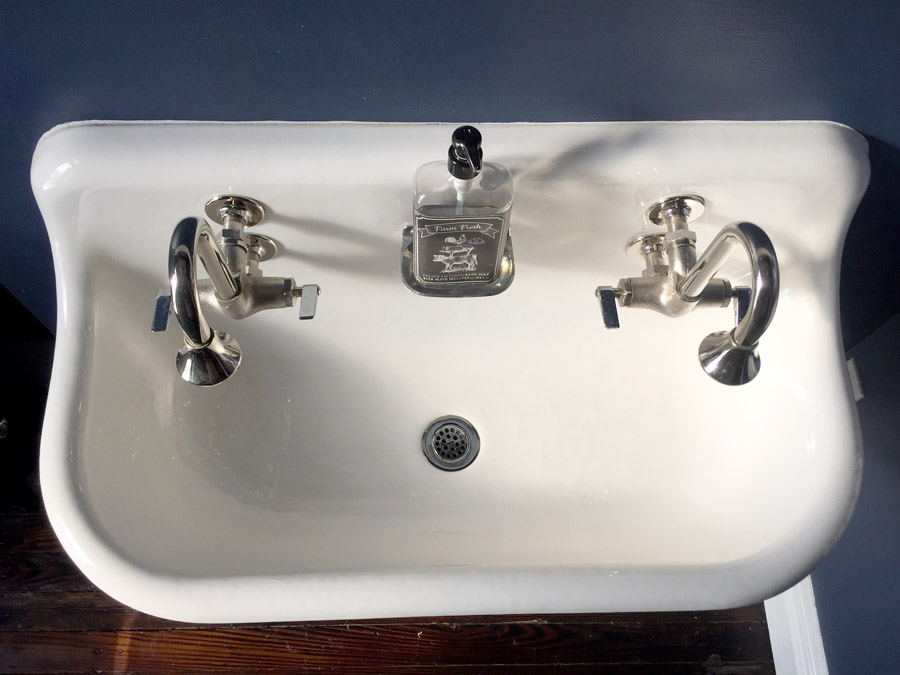
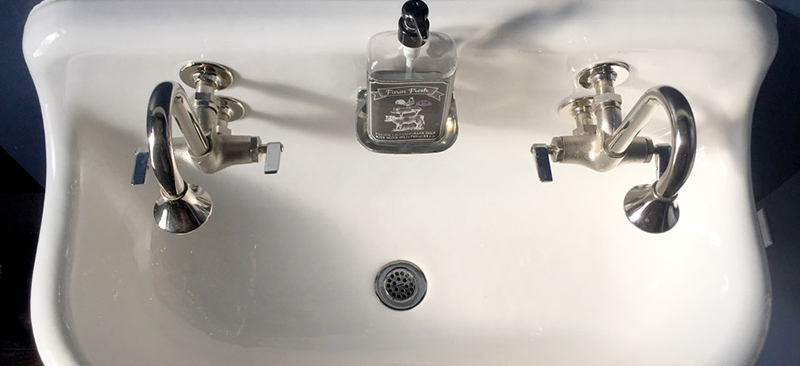
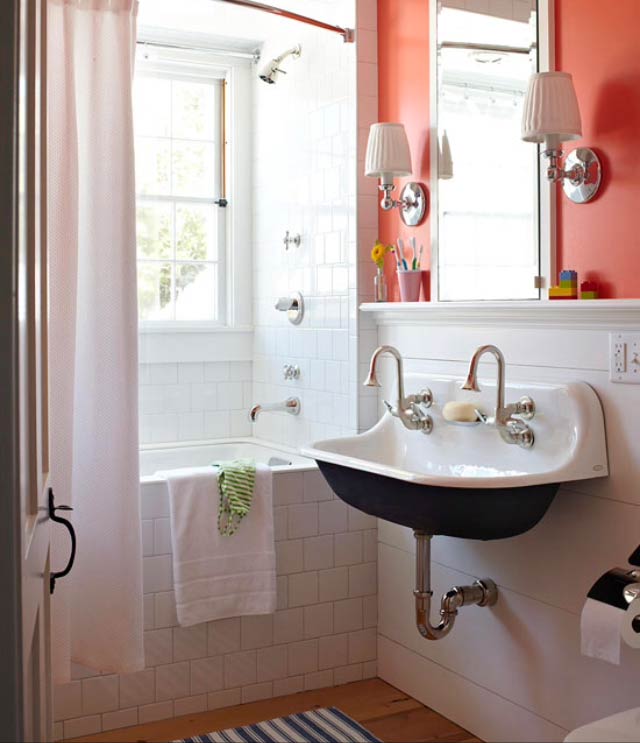
So, let’s pause here to talk about our sink search. Before we even started demo, we had found this pic online of the Brockway Wash Sink by Kohler. We wanted the sink to be a showpiece, so this one was pretty much perfect from its aesthetic to its size.
Sink Setup
Now, getting this sink in place was another story all together. The wall we wanted to put the sink on was solid brick, as well as a shared with our neighbors house. There was no plumbing in this area either, so we needed to add that, as well as something to actually mount the sink to.
After speaking with a contractor, we discovered the sink needed a dedicated wall vent as it was too far away from the main vent that served the rest of the house plumbing. If you’re wondering what I mean by “vent,” they are open sections in the plumbing that allow air to escape once waste water starts flowing through the system. Without venting, the house plumbing vacuum system wouldn’t work correctly and result in a water lock, which is basically a clog made of an air bubble. Here’s a shot of the sink air vent once in place.
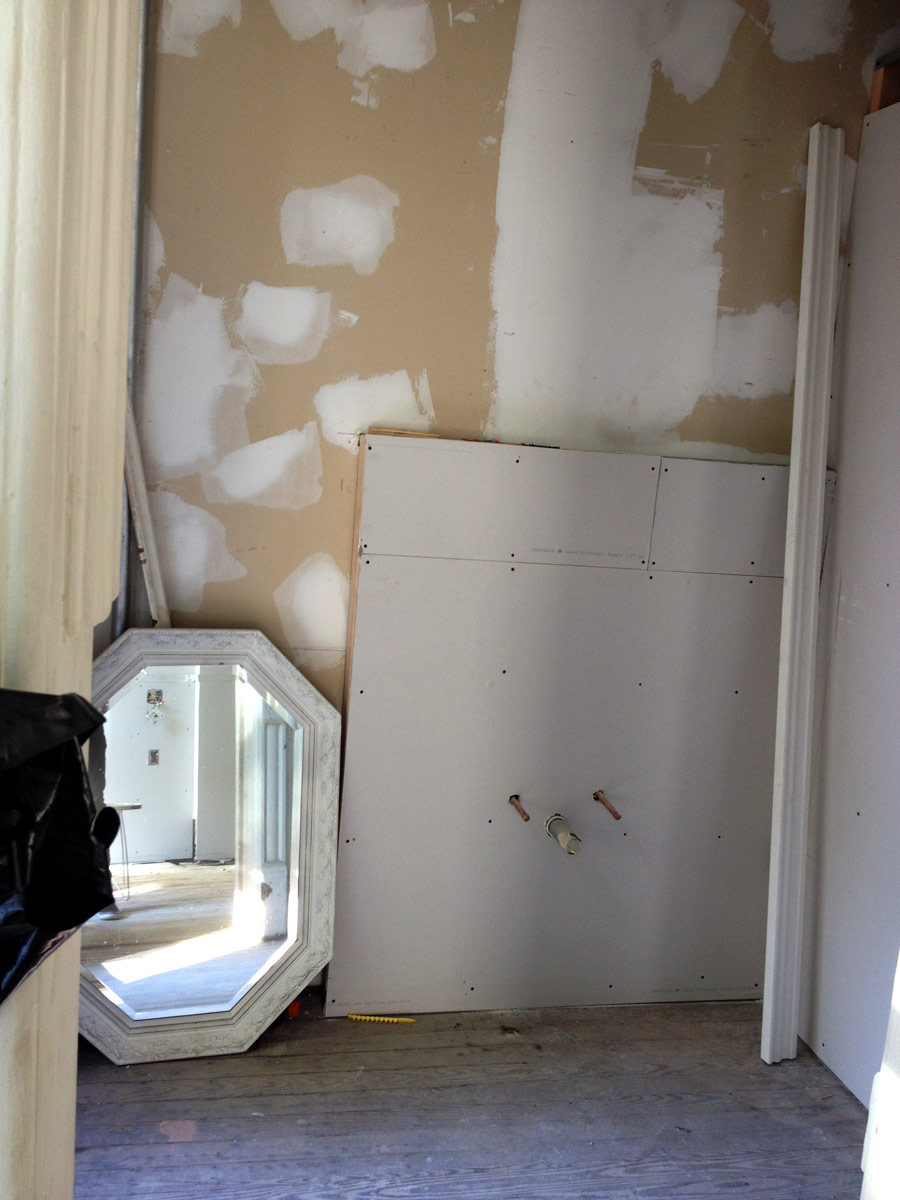
With the plumbing taken care of, the next step was adding some structure to mount the sink too. This was basically a framework of 2×4’s covered with sheetrock. Unfortunately, the vent had to be a certain height, which dictated the height of the framework. It was a little taller than we would have liked, but we had no choice but to work with it.
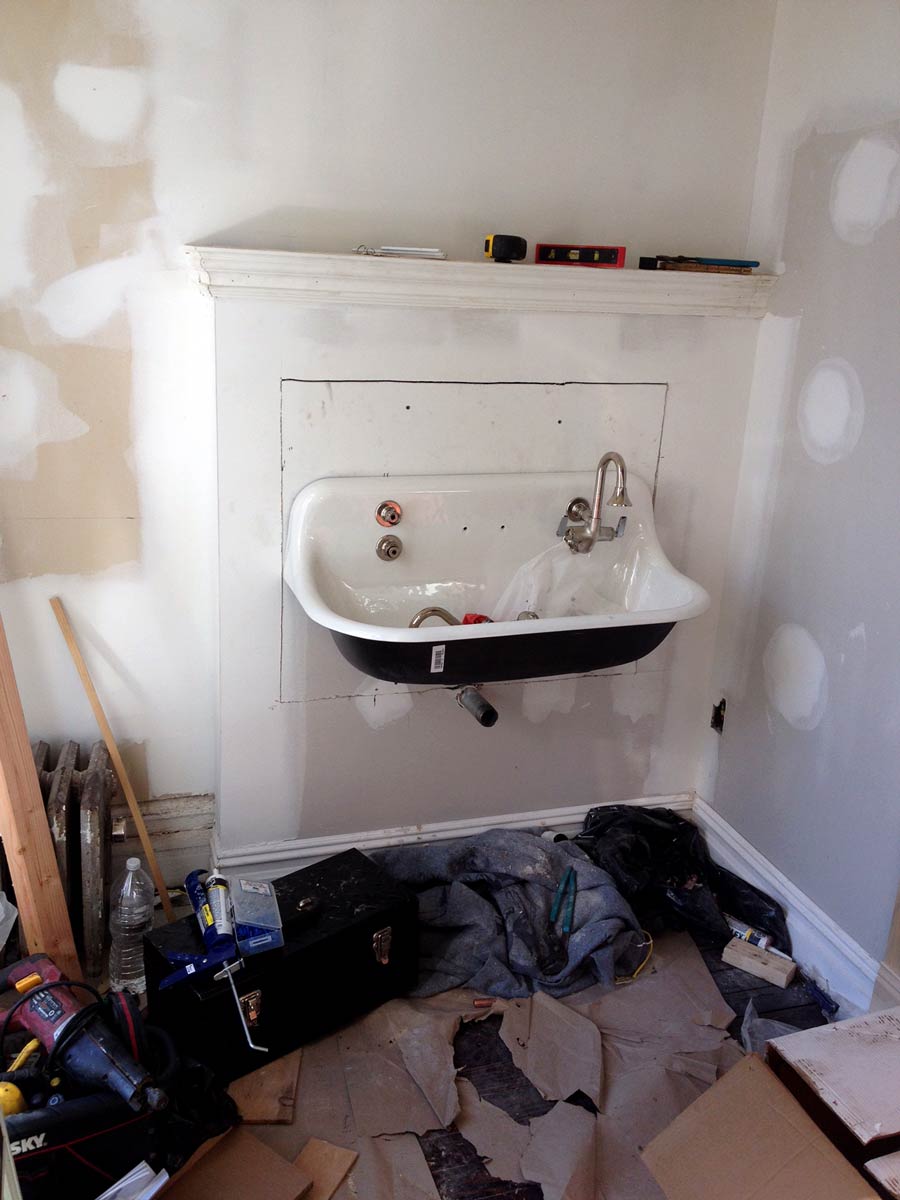
Here’s a shot of how it looked once completed (with Inspector James giving it the White Glove Test). With baseboard added at the bottom, and a crown moulding on top, it turned out looking pretty natural with the space. Note that the new wall separating the pantry from the water closet had gone up to the right.
The next step was mounting the sink. It’s made of cast iron, and took the plumbers a while to position.
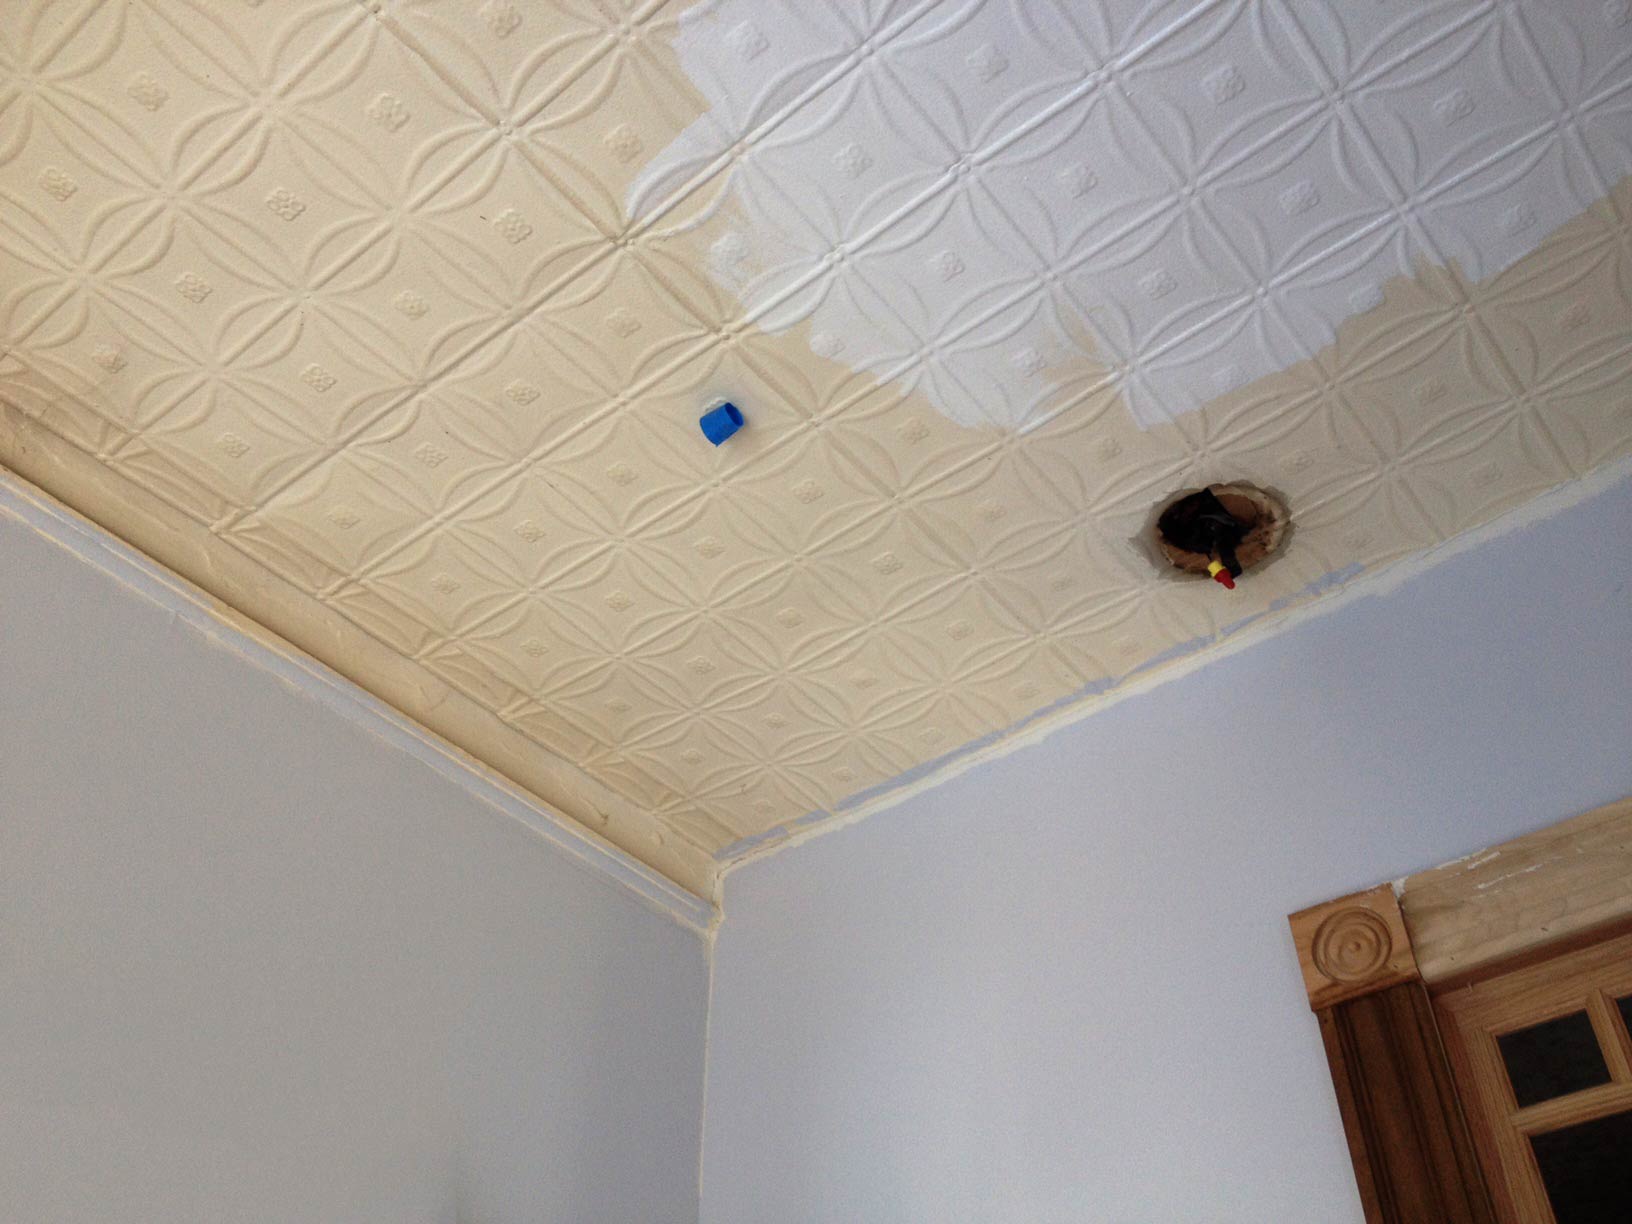
Above the sink, the tin ceilings also got a fresh coat of white paint — seen in-progress here. Note the location of the original light fixture. Once in the center of the room, it was now off-center since we added a wall. So, we had an electrician relocate the wiring via conduit to directly above the sink, which is where you see that piece of blue tape.
Water Closet Construction
While the sink situation was playing out, the actual water closet was being also being pieced together. Following the original floor plan (based on the tin ceiling we had discovered) the room ended up being about 5′ deep and 4′ wide. While small, it was plenty of room for the toilet, and enough room to move around comfortably in the space without feeling cramped. Since this is the parlor floor, the ceilings are also high, adding some open-ness to an other wise small room.
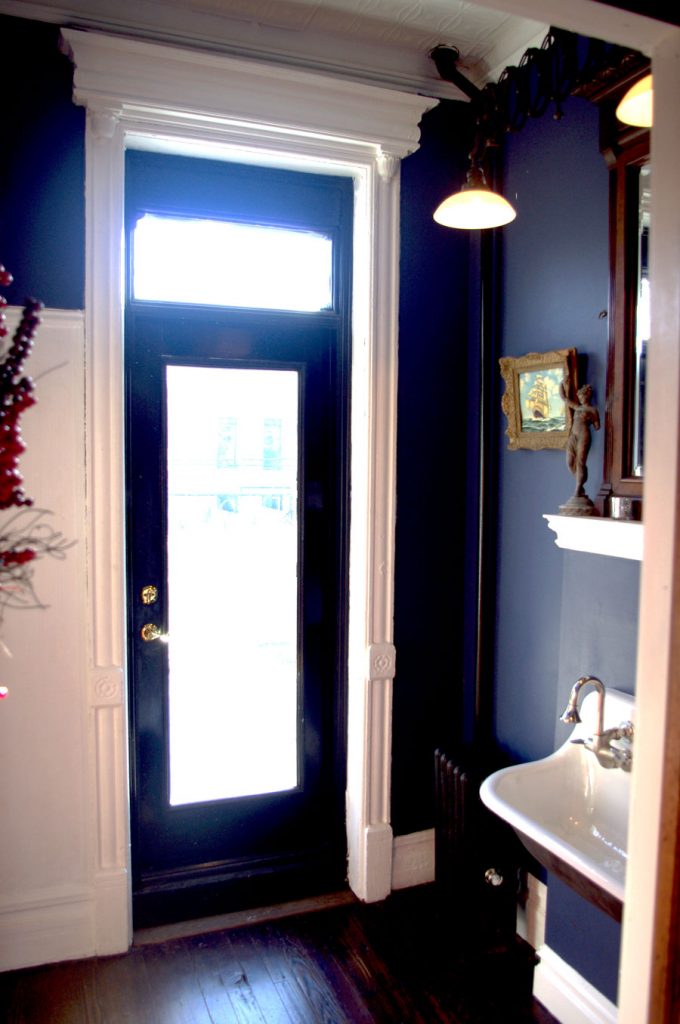
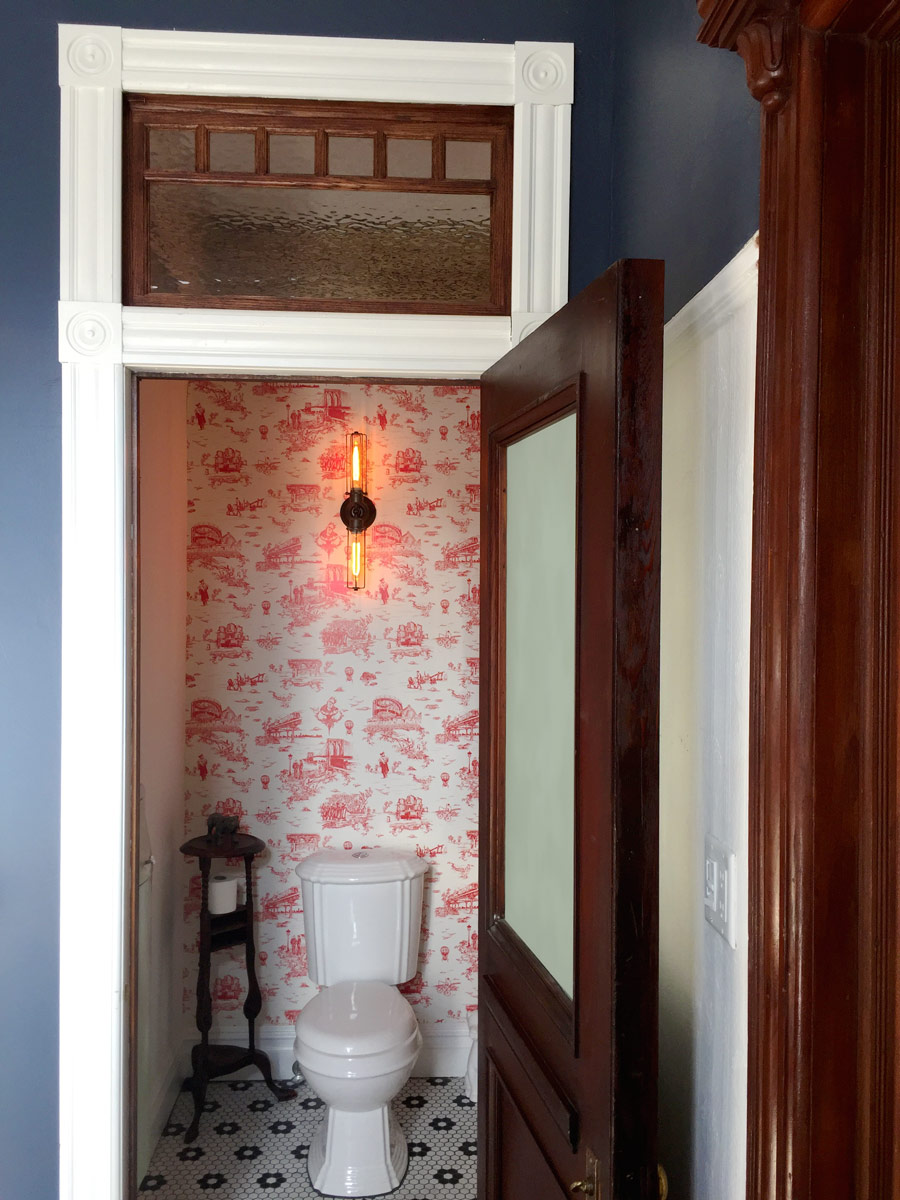
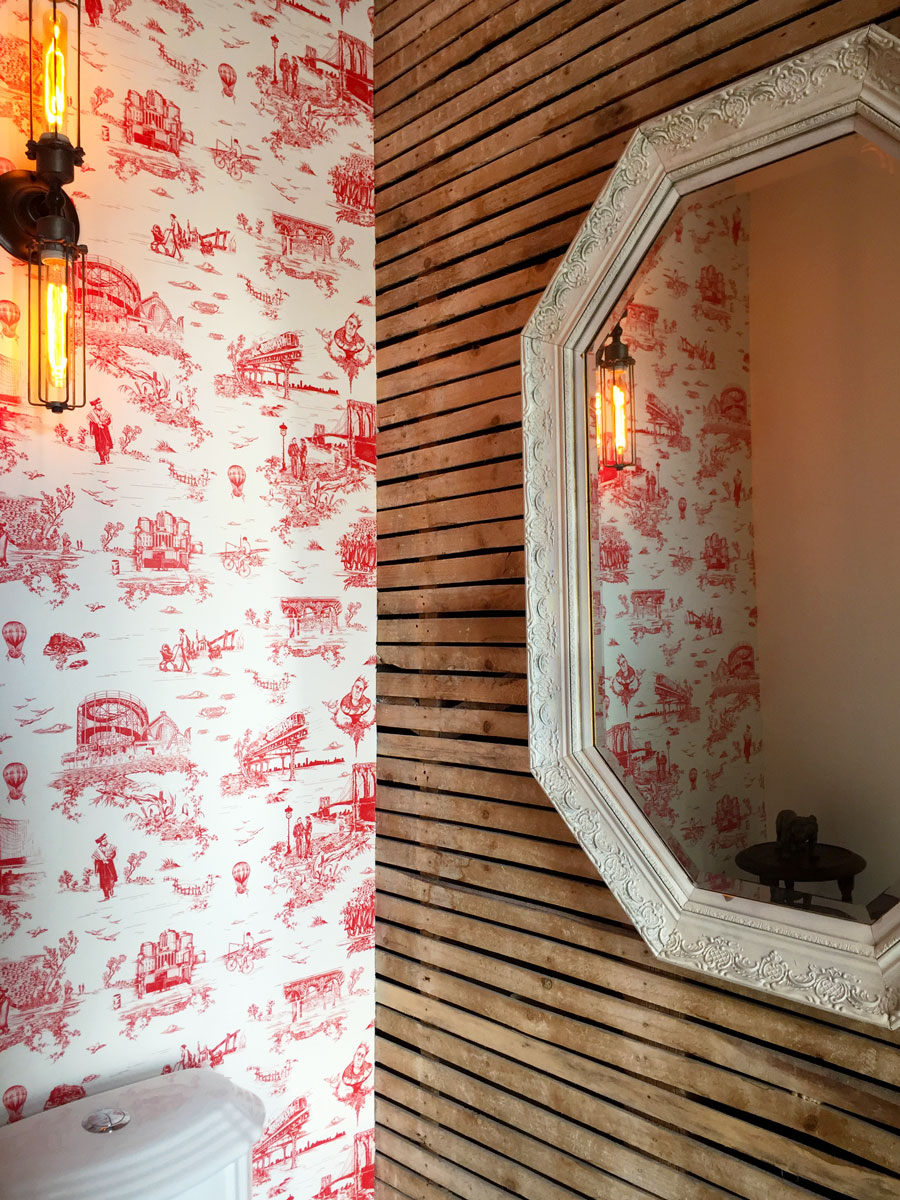
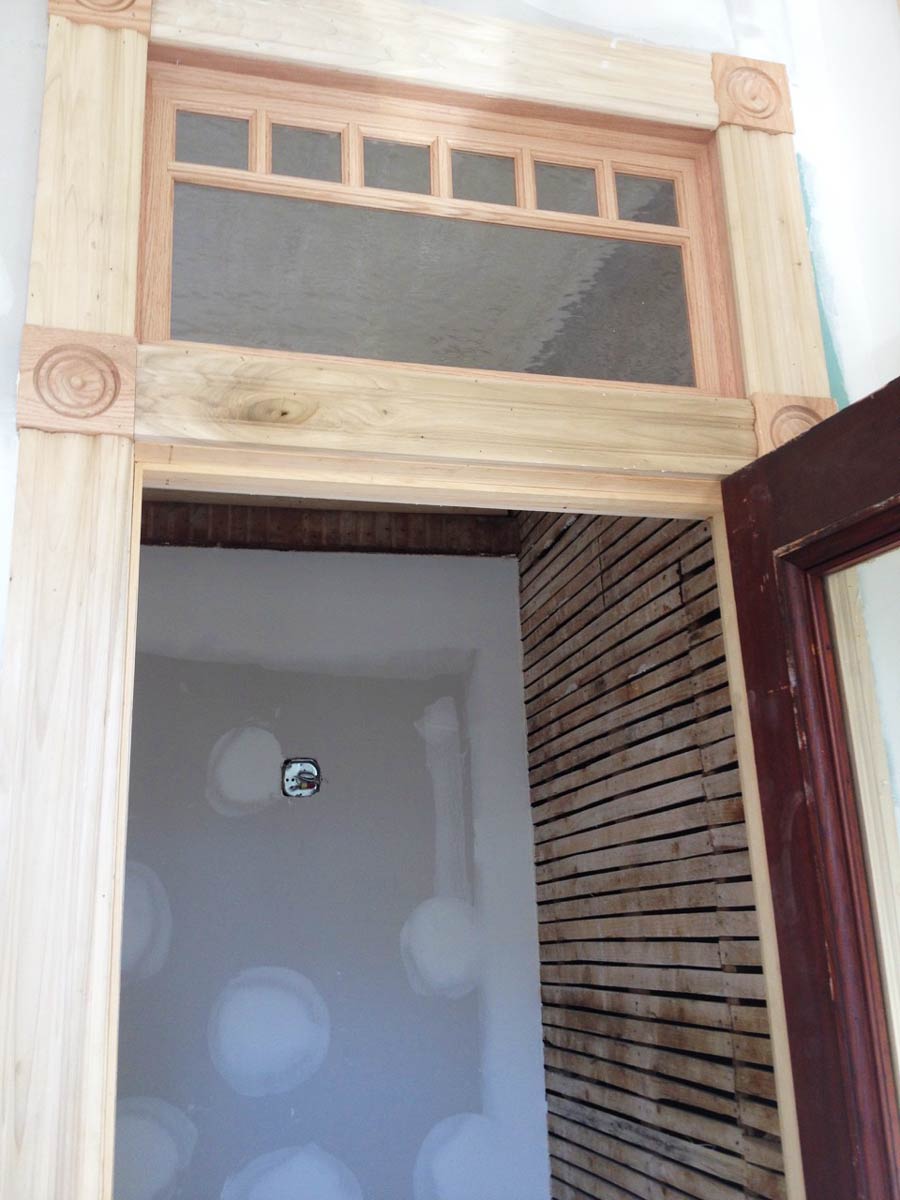
However, one concern we had was light. We didn’t like the idea of the water closet being closed off completely, so we decided to add a glass door with a window transom. The door we found at a local vintage salvage store, and the transom and door moulding we ordered new. Here’s how everything looked once installed. Note that the back wall separating the water closet from the pantry hallway is in place, and that we’d left the exposed lathe wall for visual interest.
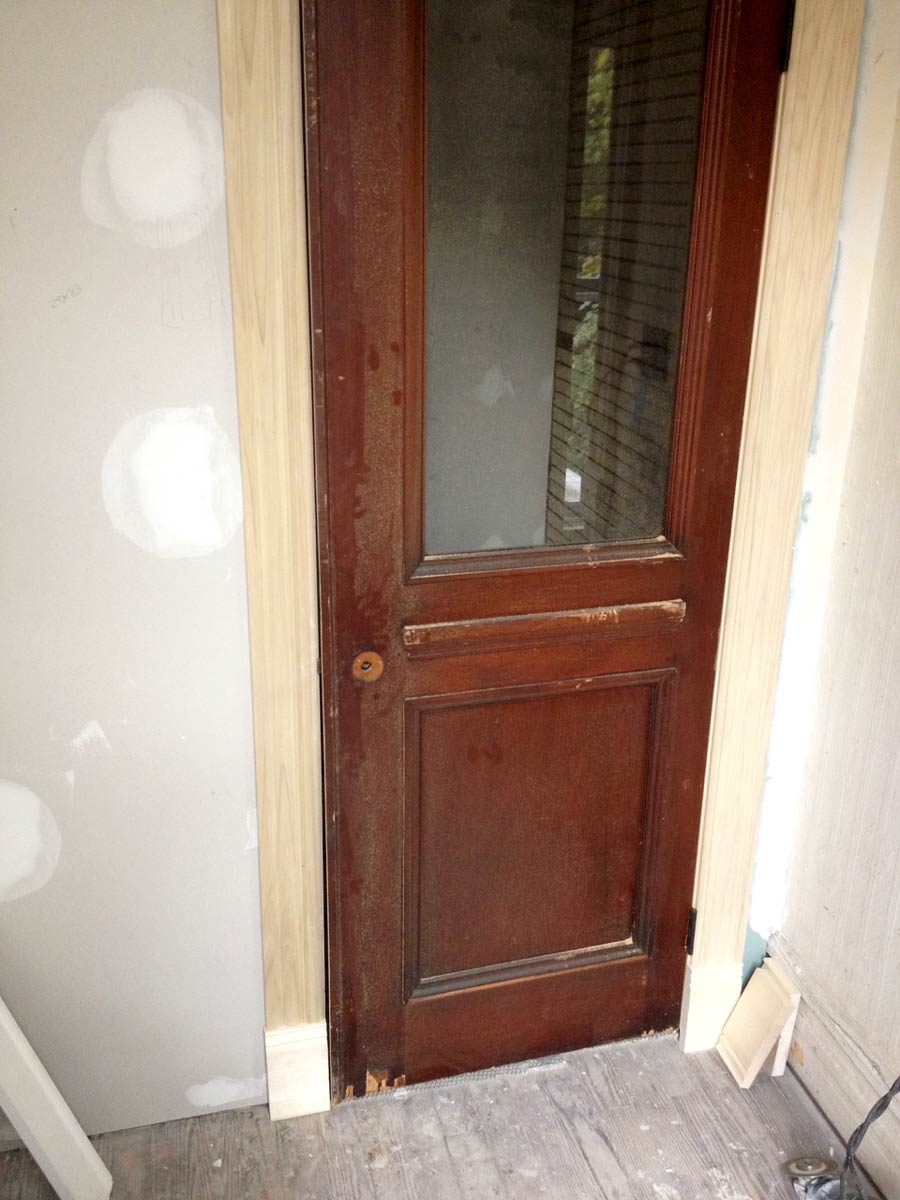
And yes, I know what you’re thinking about the clear glass door. But, we later frosted it, so light is coming in but there’s still privacy.
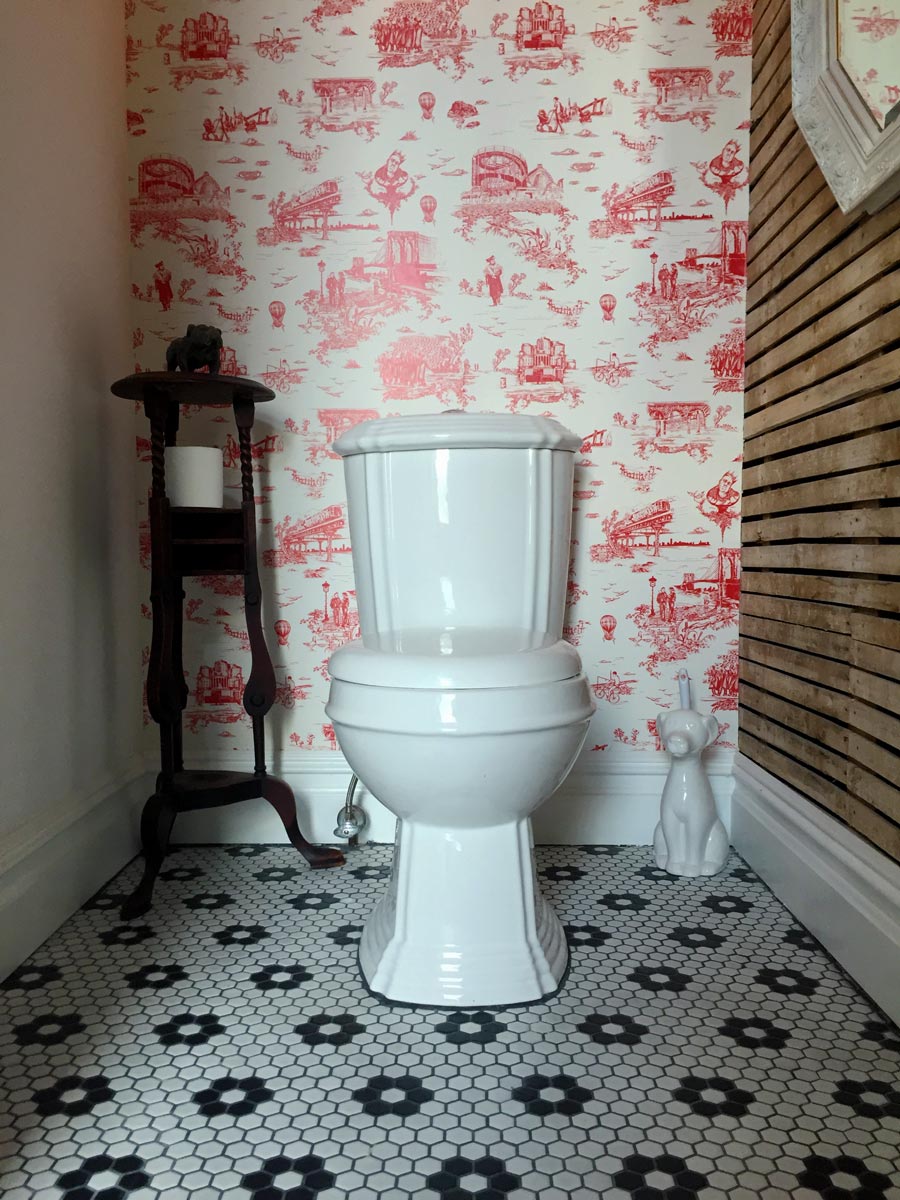
For the toilet, we found this vintage-inspired design from Signature Hardware (The Regent Dual). At only $230.00, it was a pretty decent price for a toilet with some personality.
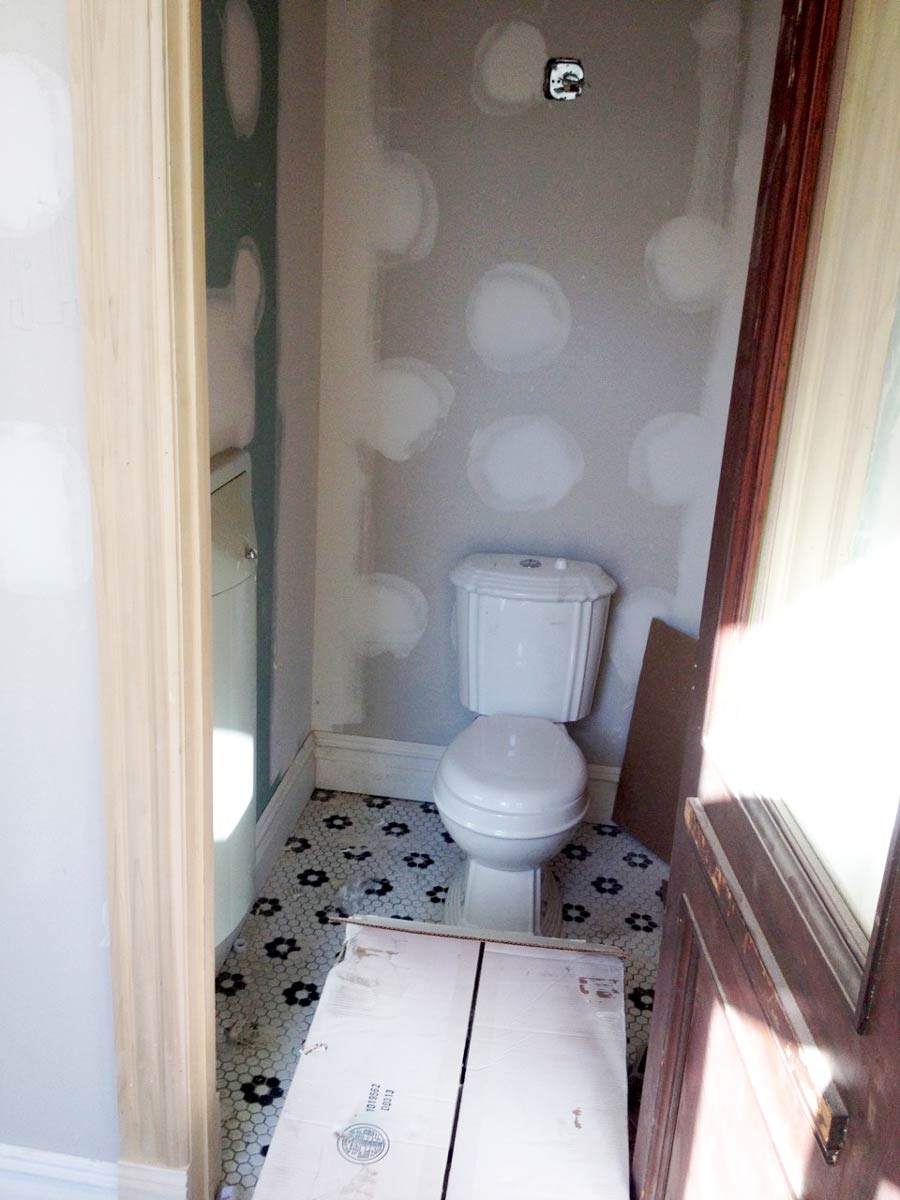
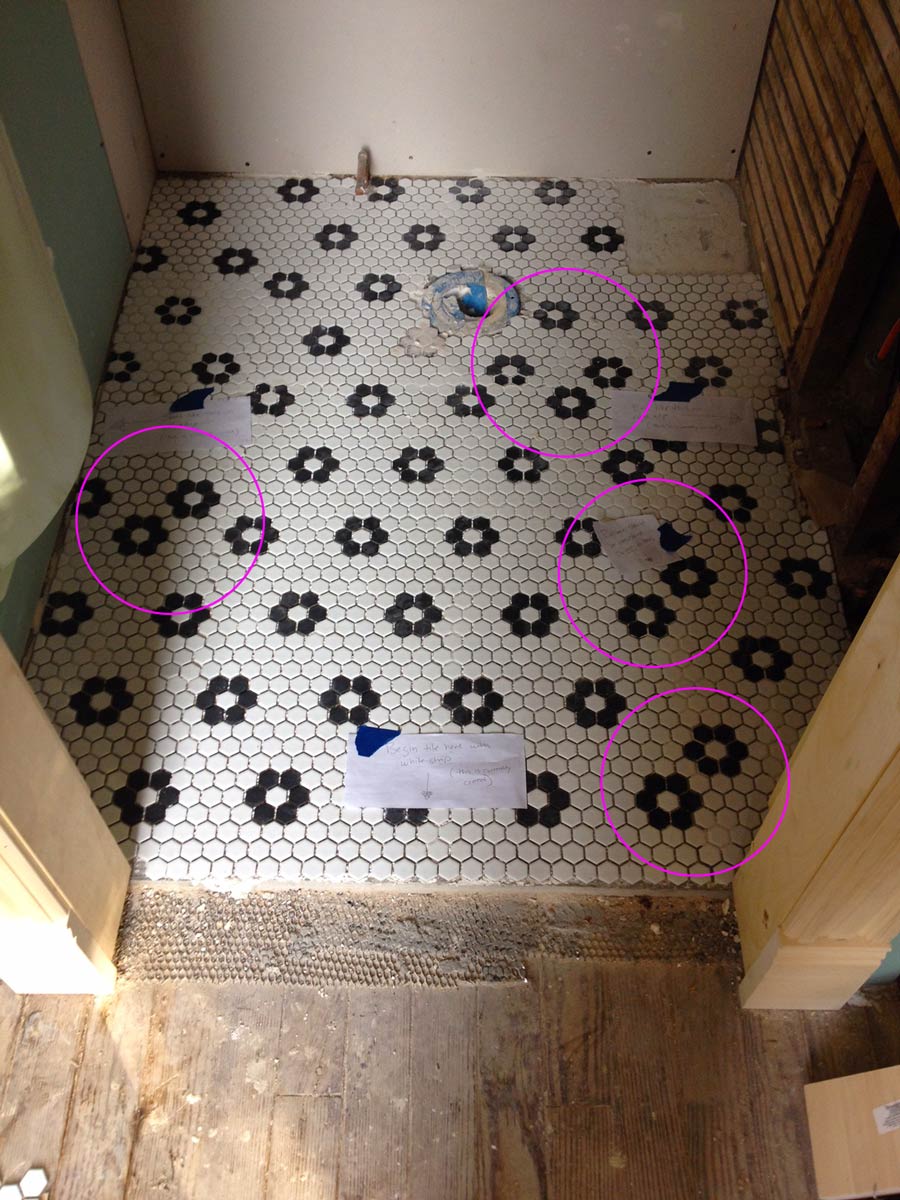
For the floor, we went with a simple black and white flower hex pattern from Classic Tile in Brooklyn. This next photo is kind of rant, and a reminder that you need to watch your contractors LIKE A HAWK. They hadn’t followed the pattern AT ALL in some places, so the floor has to be ripped up and done again (thankfully, at their expense). But, it looked good after the second try.
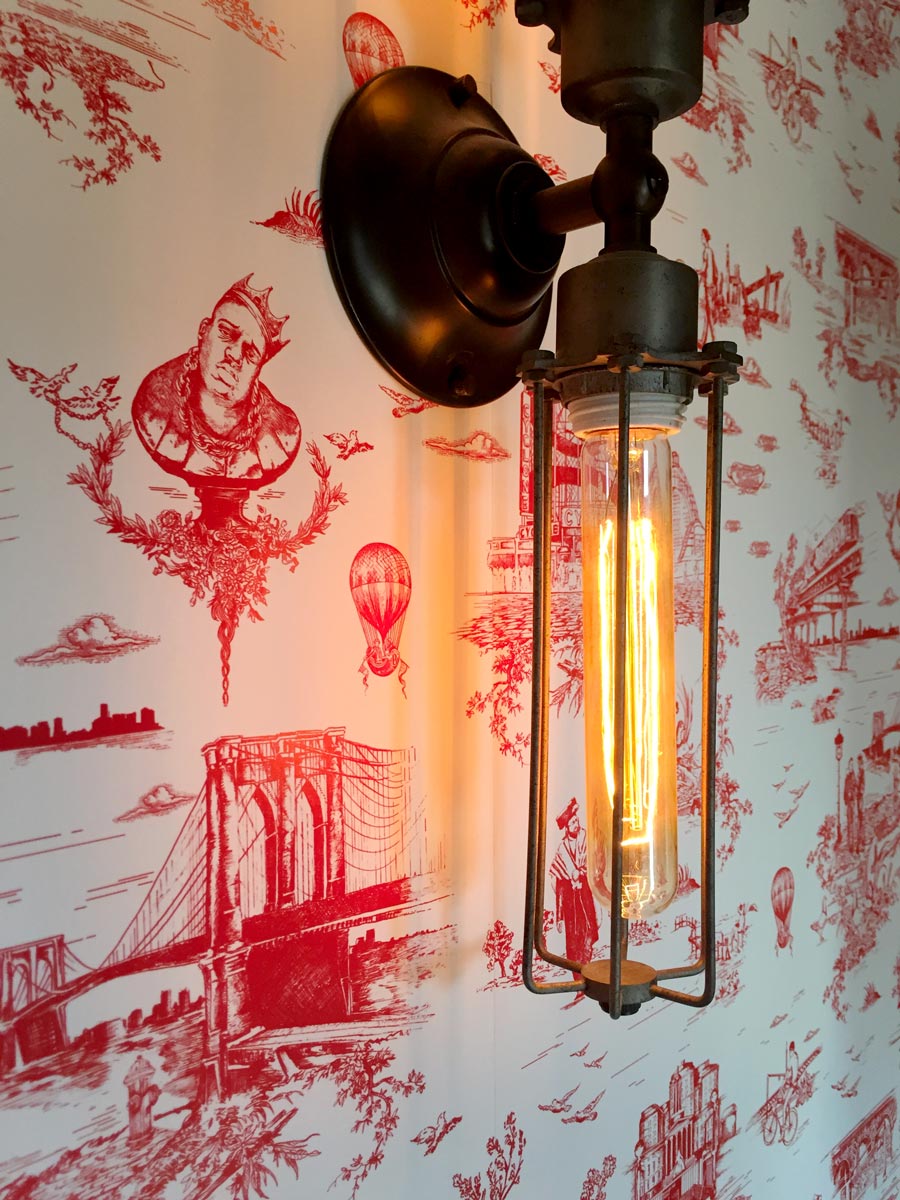
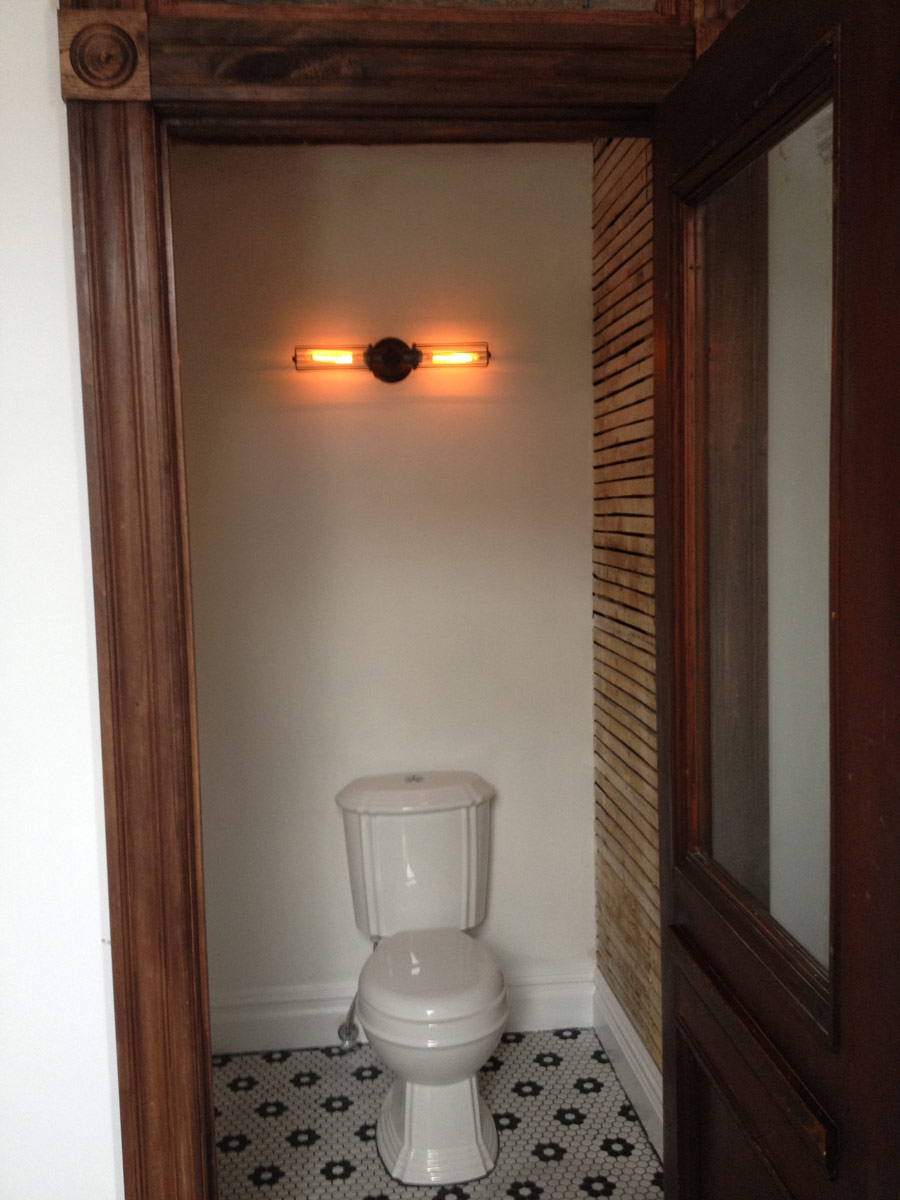
Here’s a shot of the assembled water closet, with finished tile floor and back wall lighting in place. Since the sink felt a bit industrial, we decided to carry on that theme in the light fixtures with this Edison Caged Inline Double Sconce from Restoration Hardware.
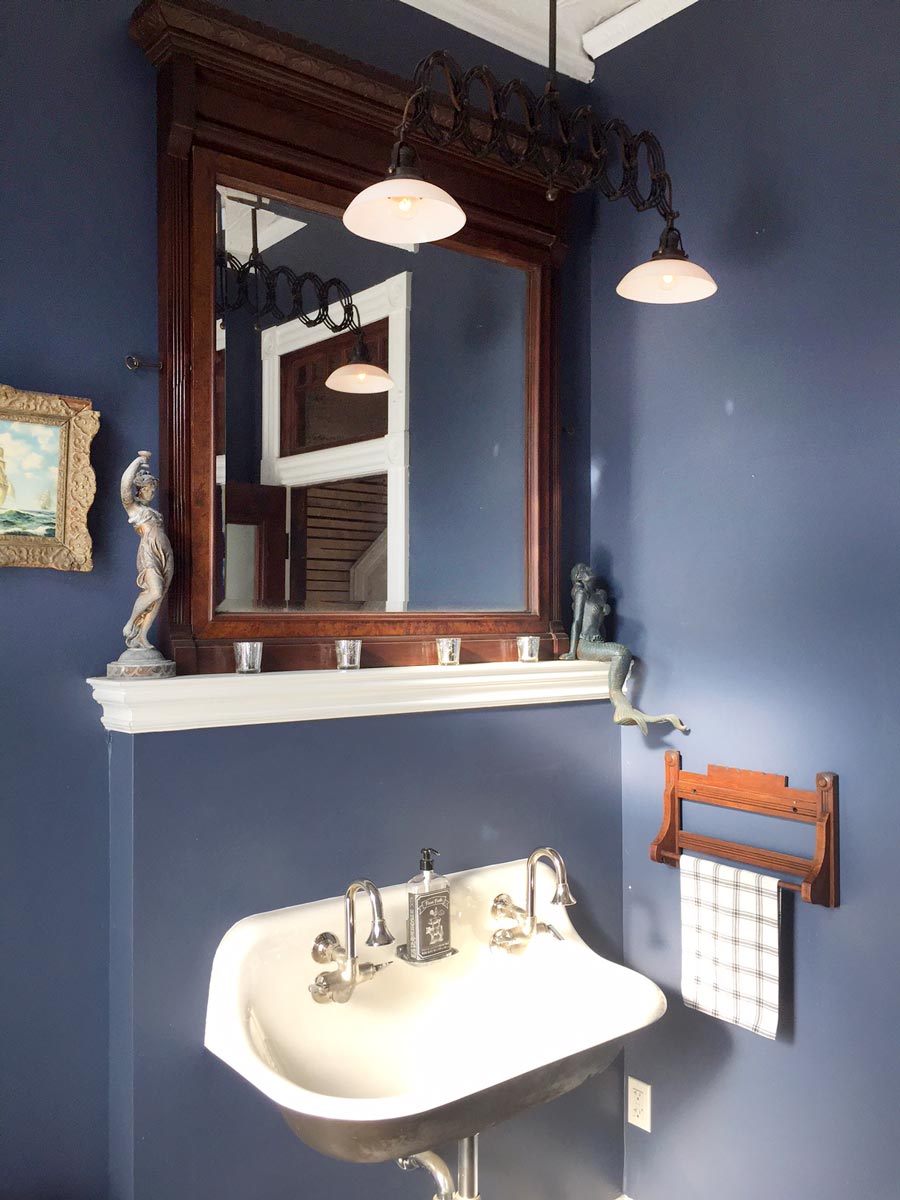
As the water closet construction was coming together, we started thinking about colors / finishings. The room gets a lot of light as it faces South, so we ultimately went with a dark blue. As for the mouldings, our eventual goal is to strip and stain all the original woodwork. But for now, we added a fresh coat of white paint to the original, and stained any new moulding. Here’s a shot of the sink once the walls were finished. You’ll see that the space above it is just begging for a mirror. After some searching, we found the perfect one, which you’ll see a little further down.
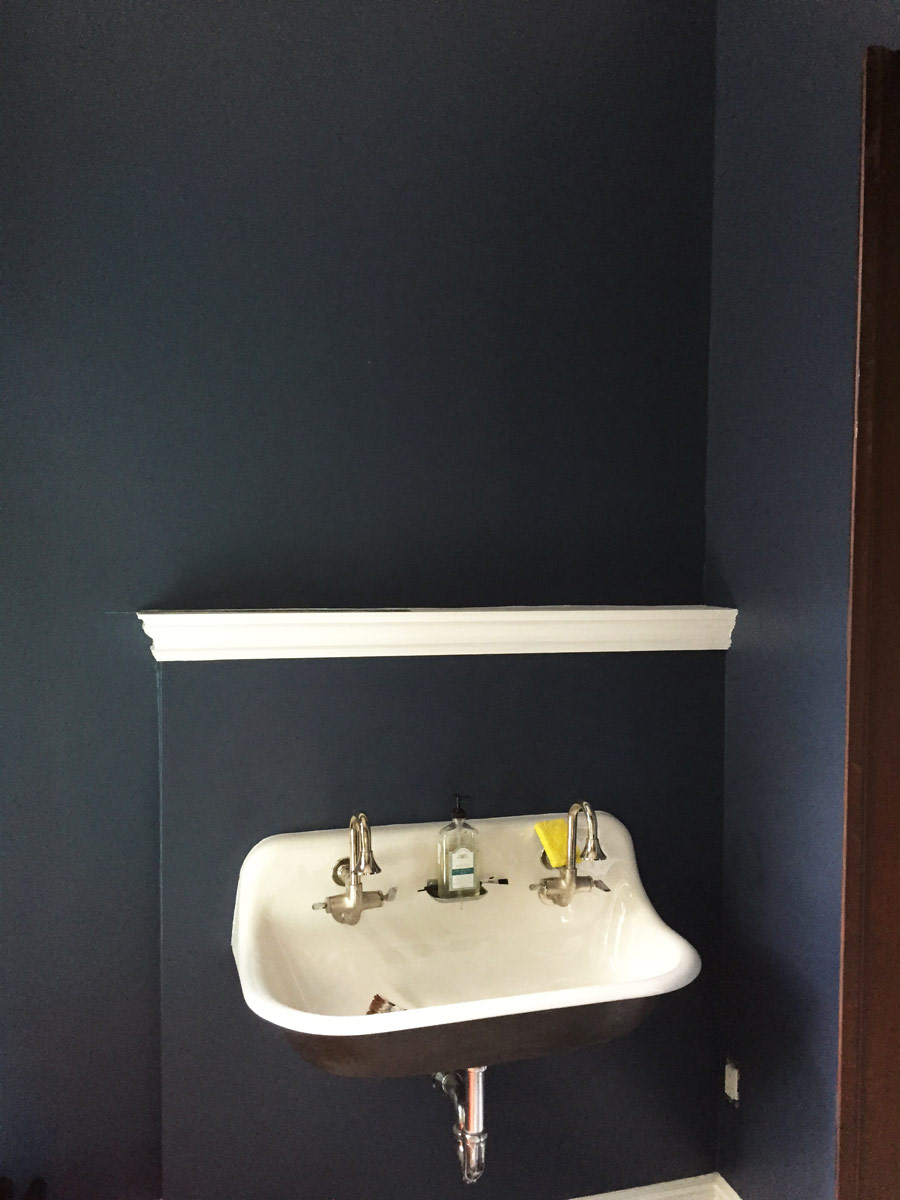
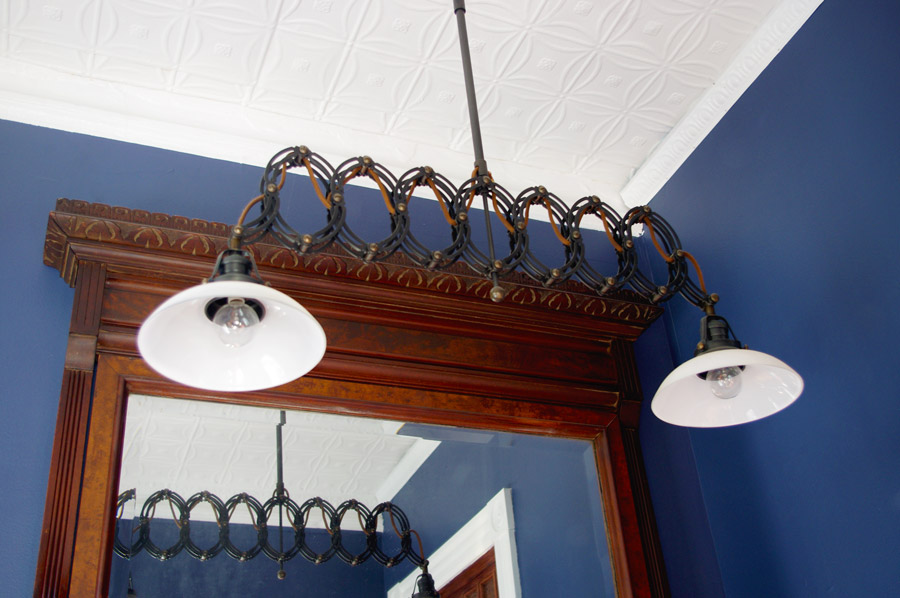
Continuing with the industrial theme, we installed this 1950s Factory Scissor Pendant from Restoration Hardware above the sink. Aside from looking awesome, we liked that it was adjustable, and that its two lights were in sync with the two sink faucets.
Also note the large mirror behind the light, which is mounted above the sink. It’s actually the top half of a large antique dresser we found at a salvage shop. Unfortunately, I don’t have before photos, but it was a bit dusty and drab. However a new coat of stain and polyurethane brightened it right up.
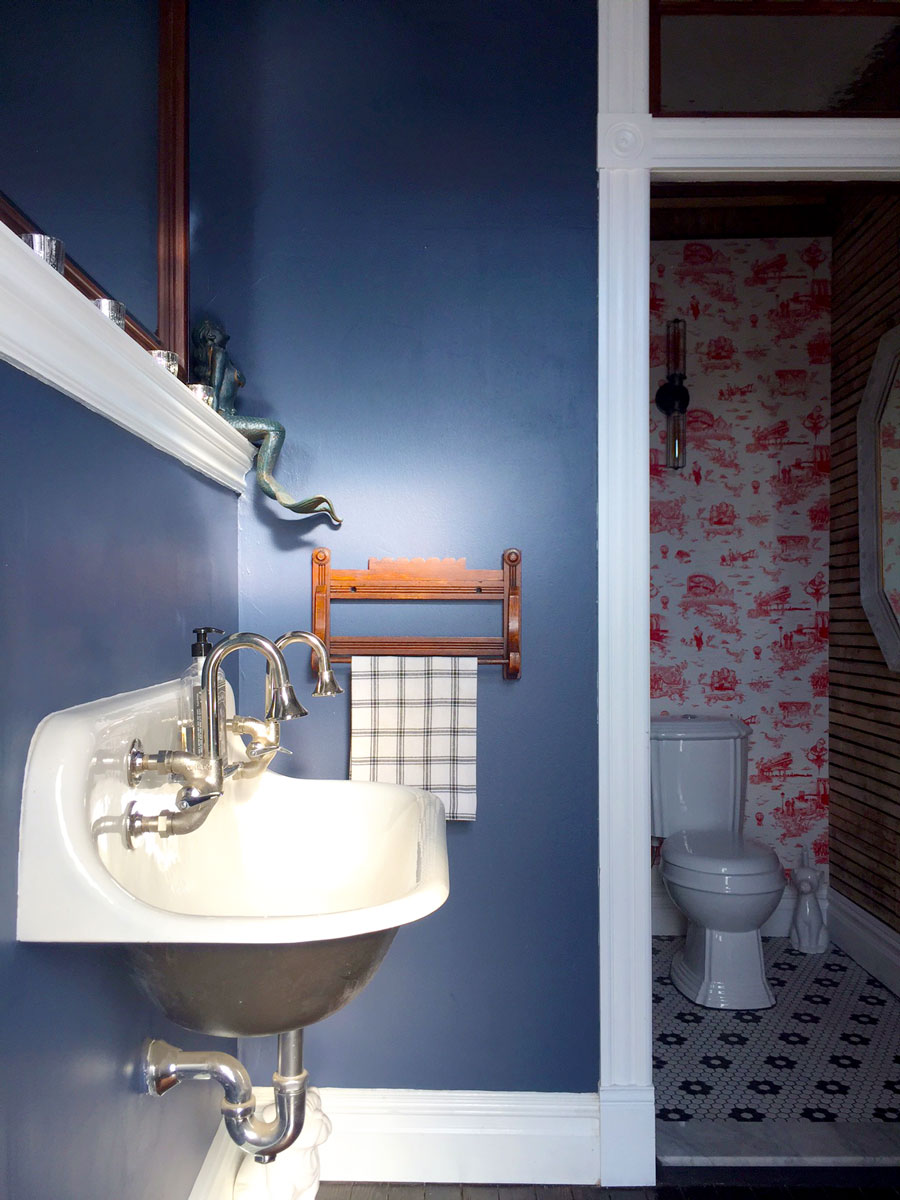
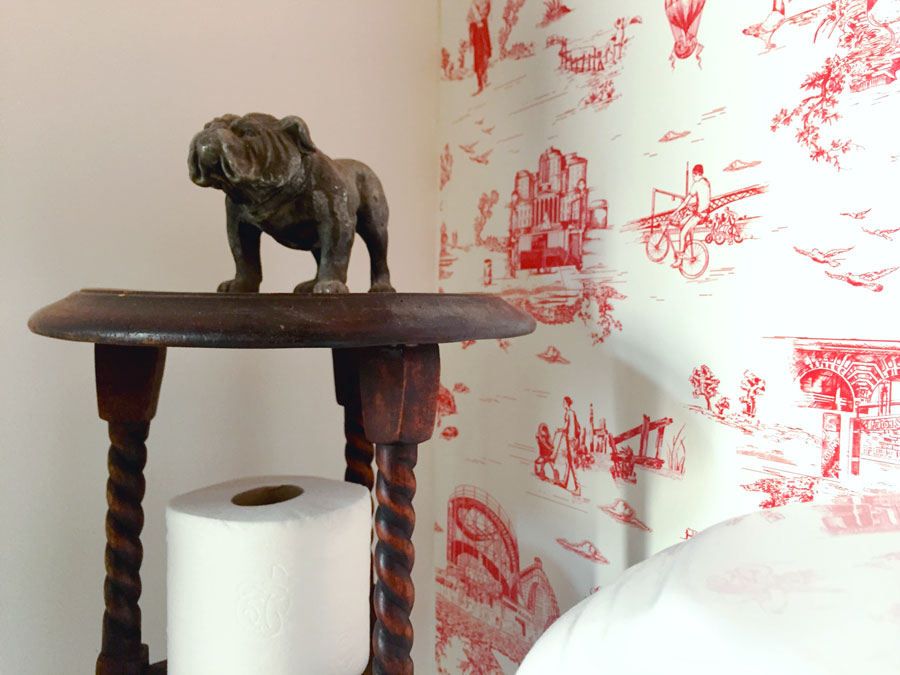
Moving back to the water closet (here it is again), we wanted make a splash with the wall behind the toilet (insert toilet splash joke here). Since it was a small, yet tall space, we decided on wallpaper. After much searching, we found and settled on this Brooklyn Toile from Flavor Paper in Diamond Red. We love its traditional feel and relevance to the neighborhood — plus, it features an homage to Bed-Stuy’s most Notorious resident, Biggie Smalls.

The Finished Product
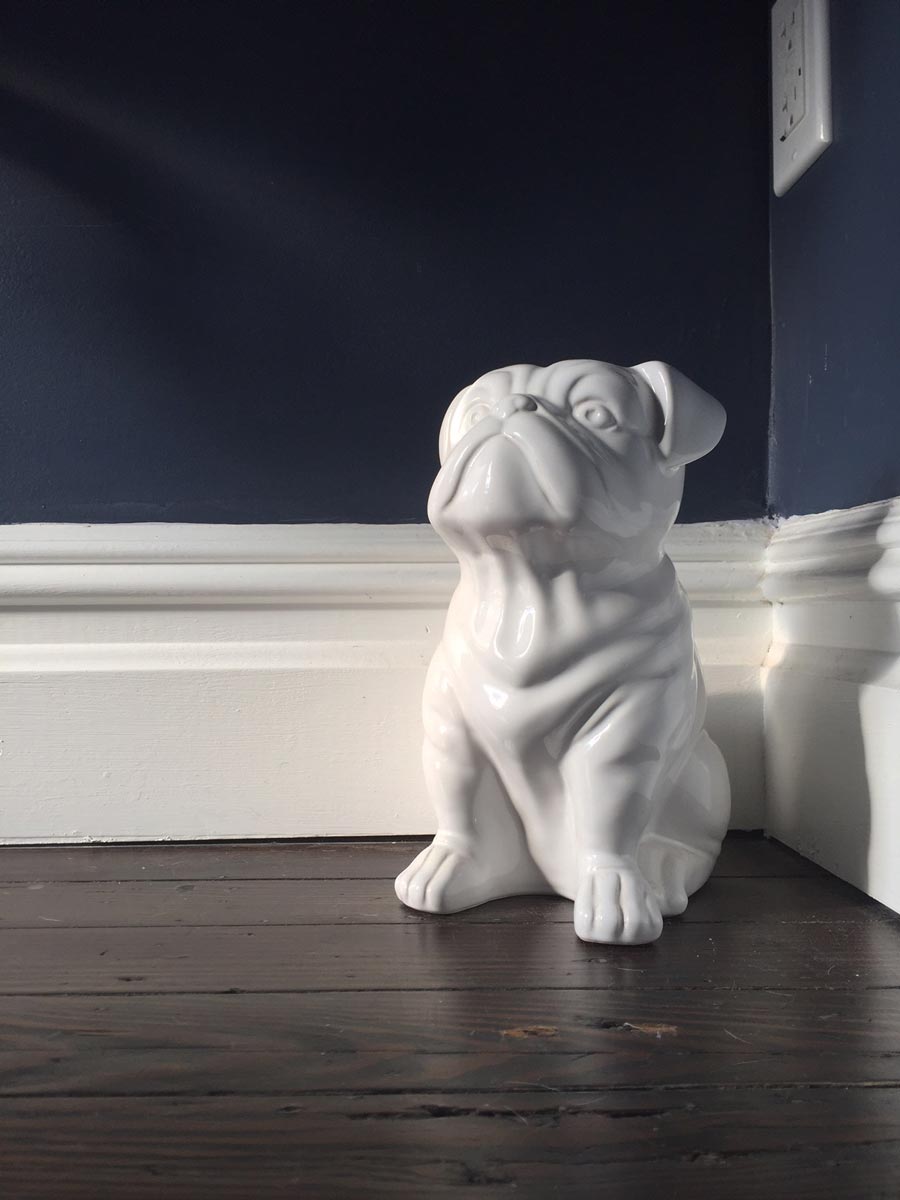
So, long story short (too late, I know), here is the completed water closet. We’ve added some decor here and there, but that aspect of things seems to always be in progress. Also note that we found a home for the little plant stand we rescued. Come on in and have a seat — just don’t forget to wash your hands!