A few years back, my parents retired and moved to the mountains of Virginia to build a house. One of the things on my Mom’s must-have list was a pantry. It turned out really nice, and inspired me to try and include one in our renovations.
The idea of considering a pantry came from looking at the space we had and figuring out the best way it could be used. While our house retained most of its original floor plan, some configurations had been changed over the years. Our goal was to maintain what was left and to restore the original floor plan as much as possible while factoring in our specific needs for a home.
I’ve got lots of before and after photos to show you, but let’s begin by taking a look at the floor plan as it was when we bought the house vs. the changes we made.
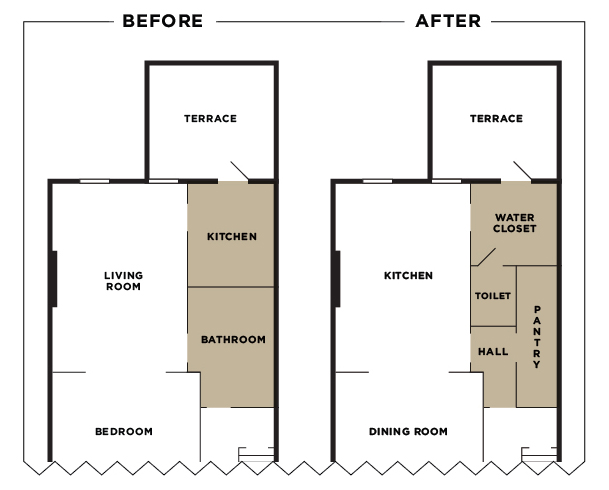
As you can see, the room that would eventually become our kitchen was a living room (to be covered in a future post). The parlor floor did have a kitchen, (though it was tiny, and not very complete) which butted up against a full bathroom with walk-in shower (that was again, incomplete).
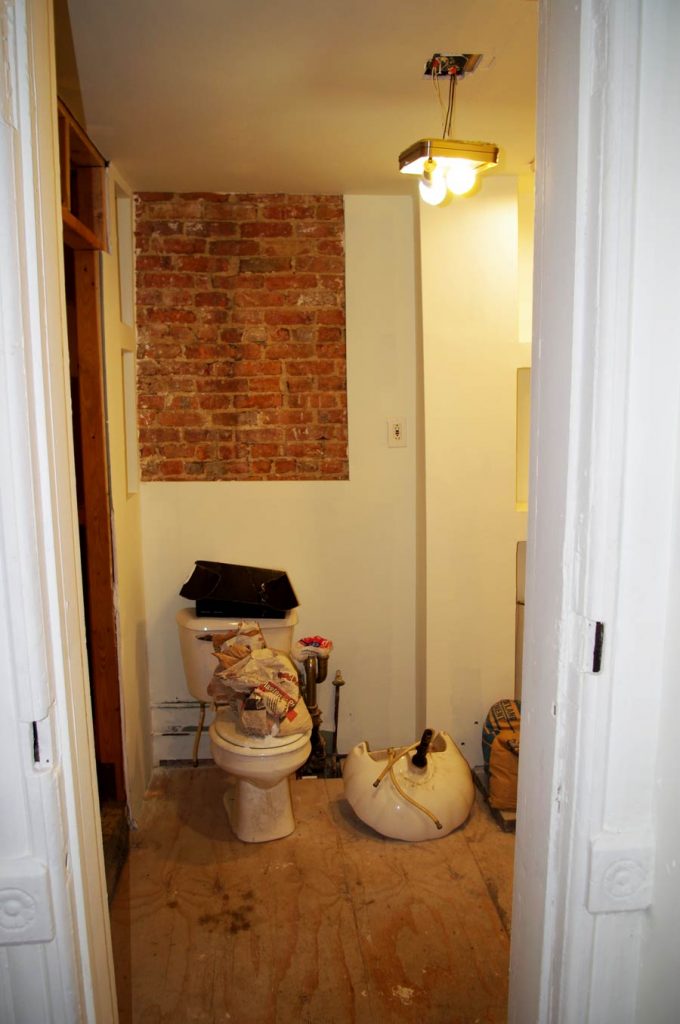
The bathroom was large but the ceiling was new sheetrock and rather low considering the heights of the ceilings on the rest of the floor. Here are a few photos of what the bathroom looked like when we bought the house:
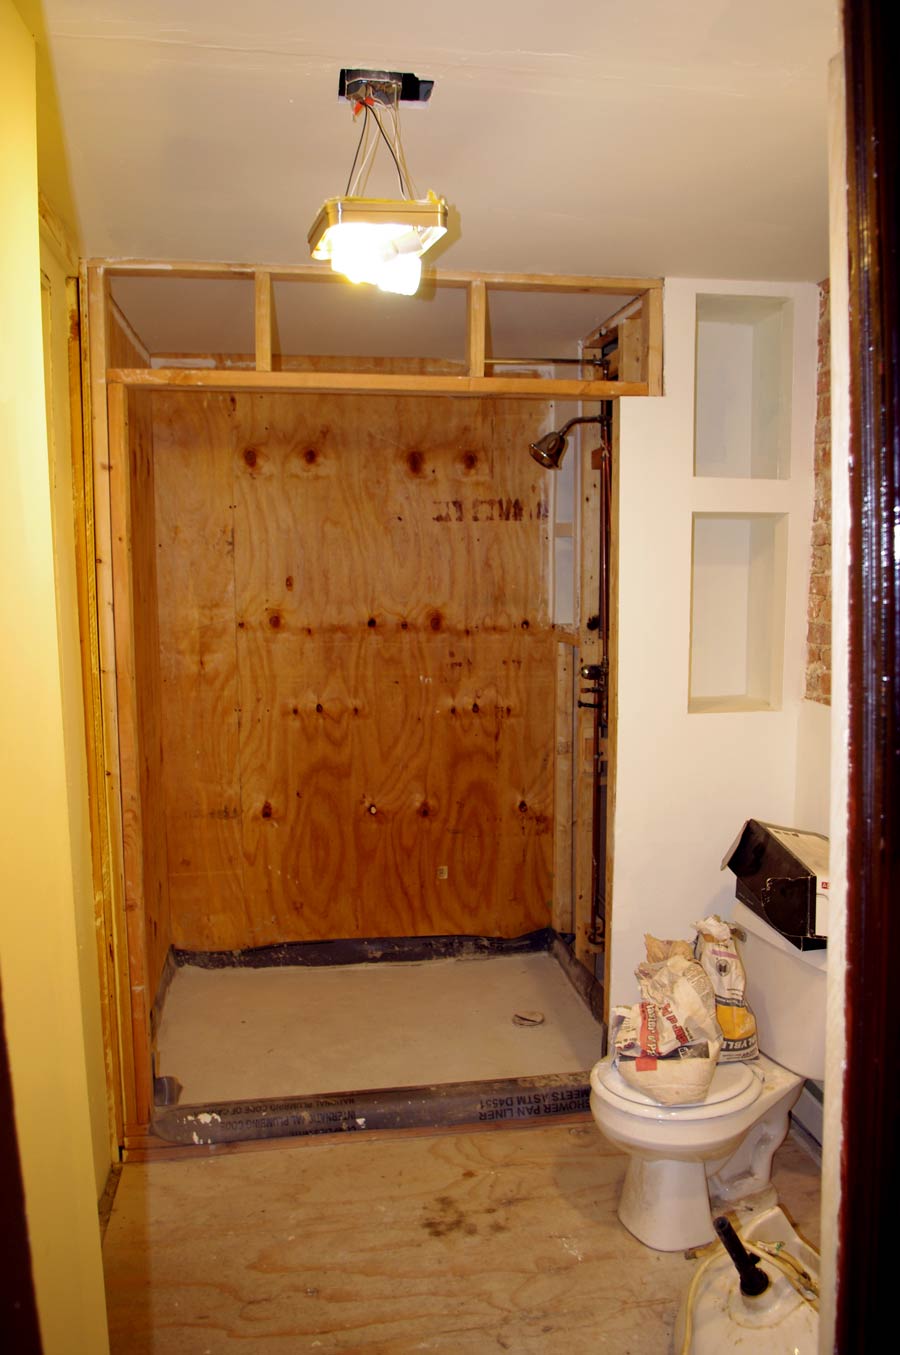
Since we planned on occupying the parlor and third floors, we determined there wasn’t a need for a full bathroom on the parlor level, but we did like the idea of a half-bath with toilet and sink. Plus, sizing down and repositioning the bathroom allowed enough room for the pantry.
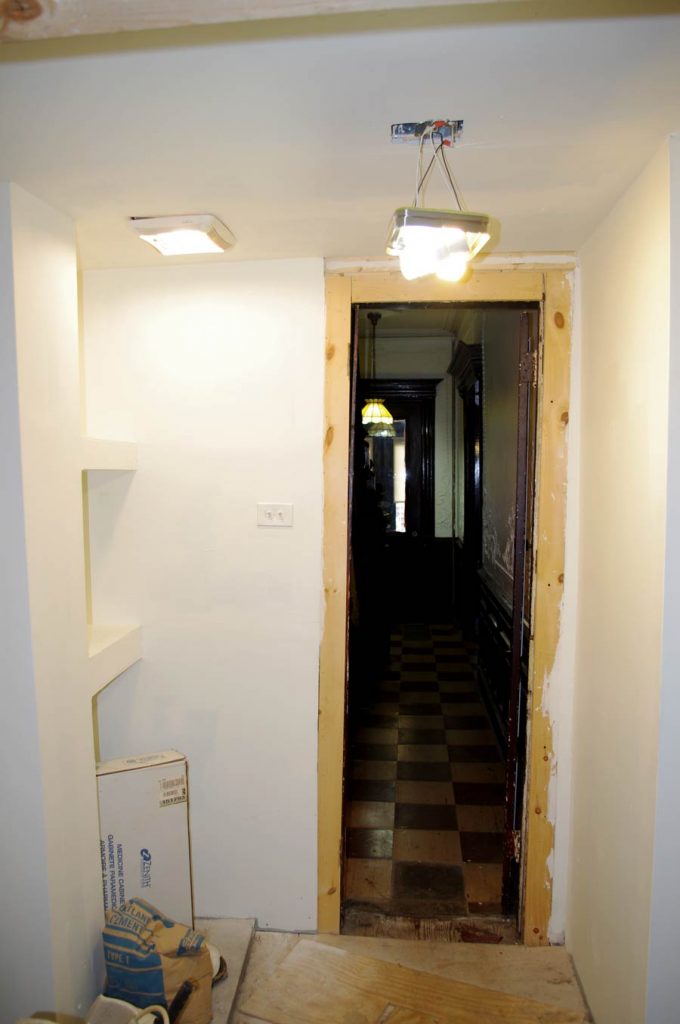
The first step was demo, as we needed to clear out the space and take down the wall separating the two rooms to see what we were dealing with. Here are a few shots of once the wall had been removed:
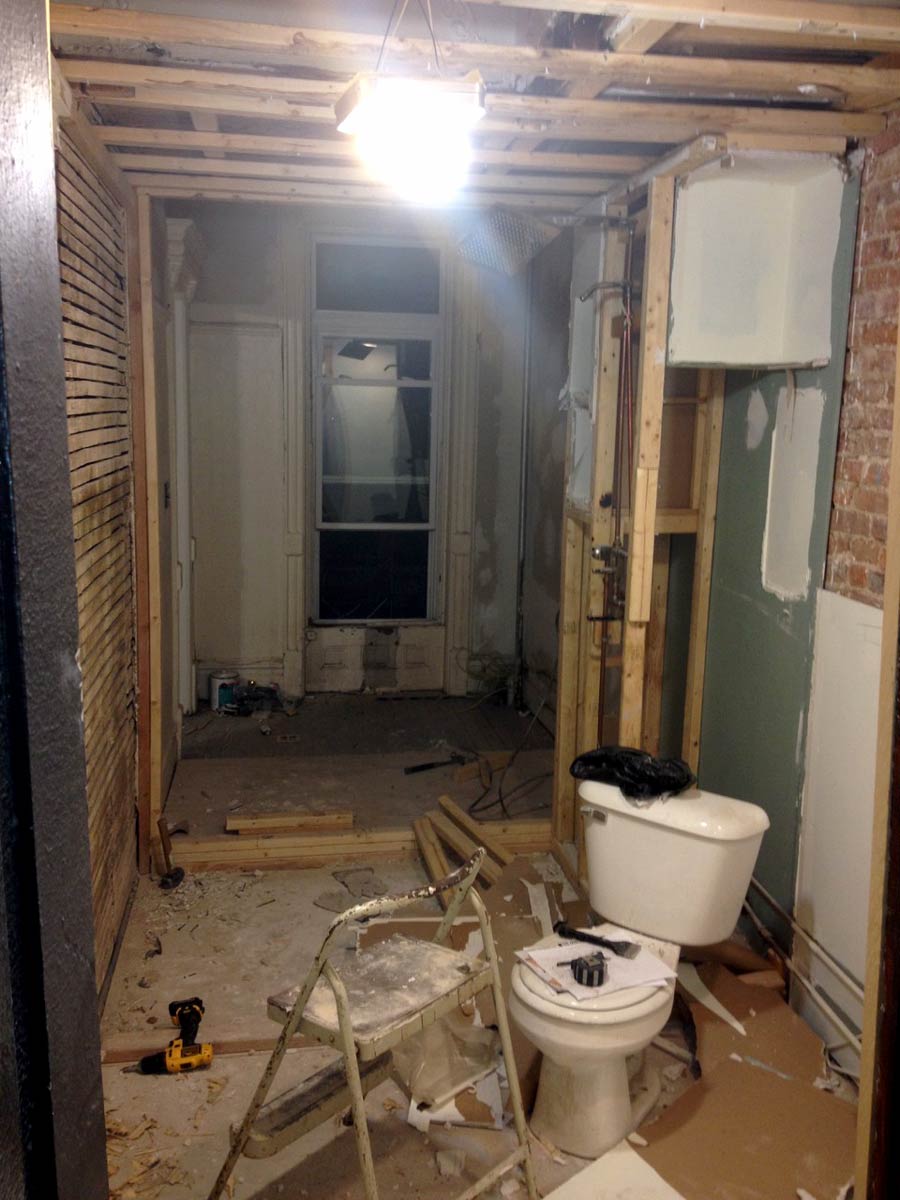
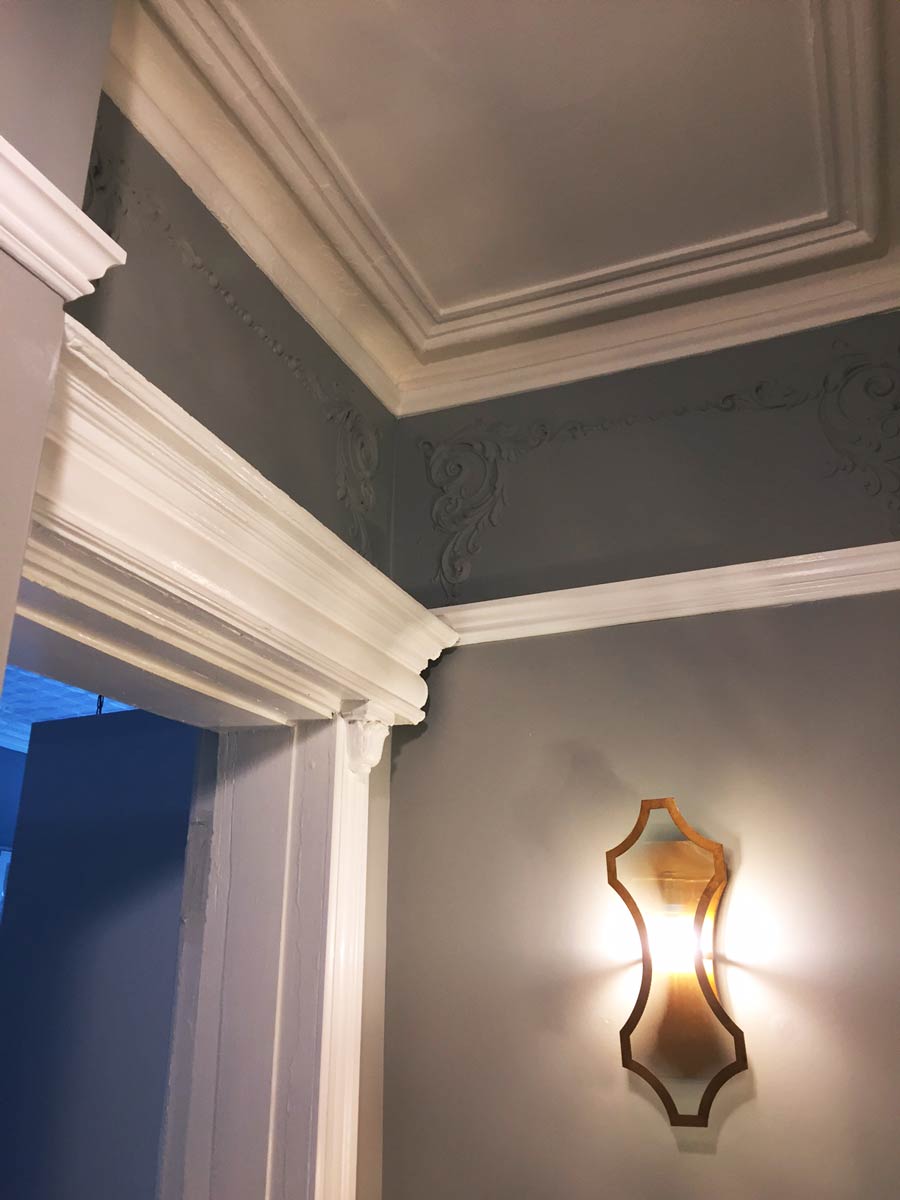
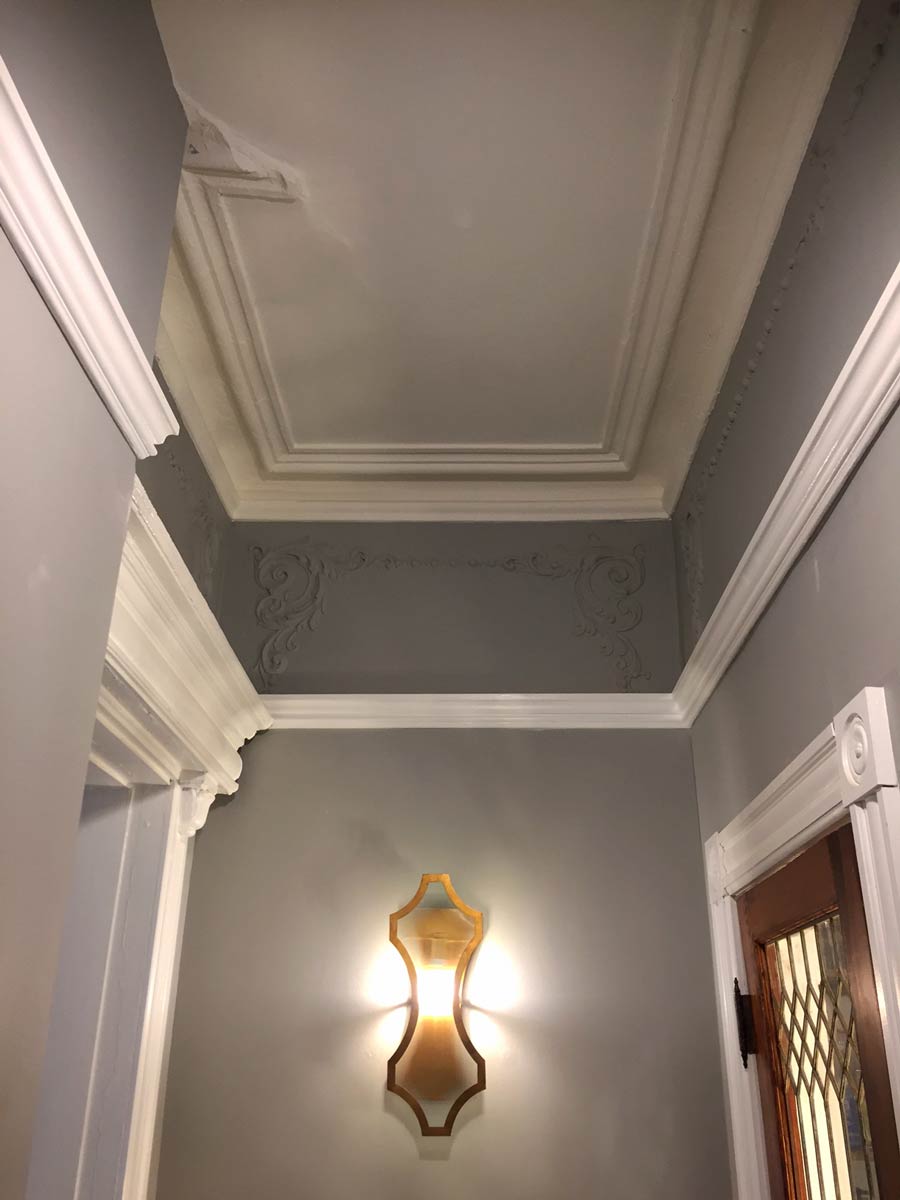
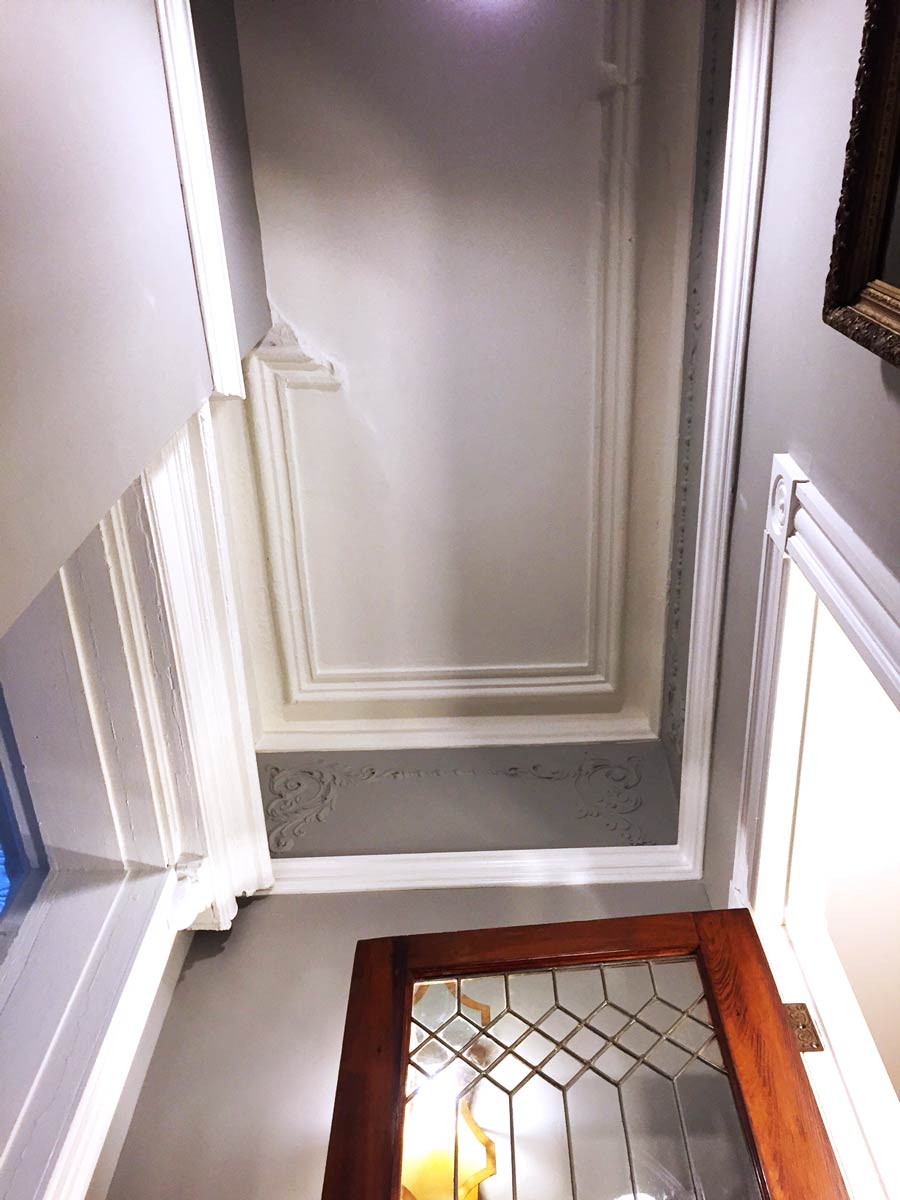
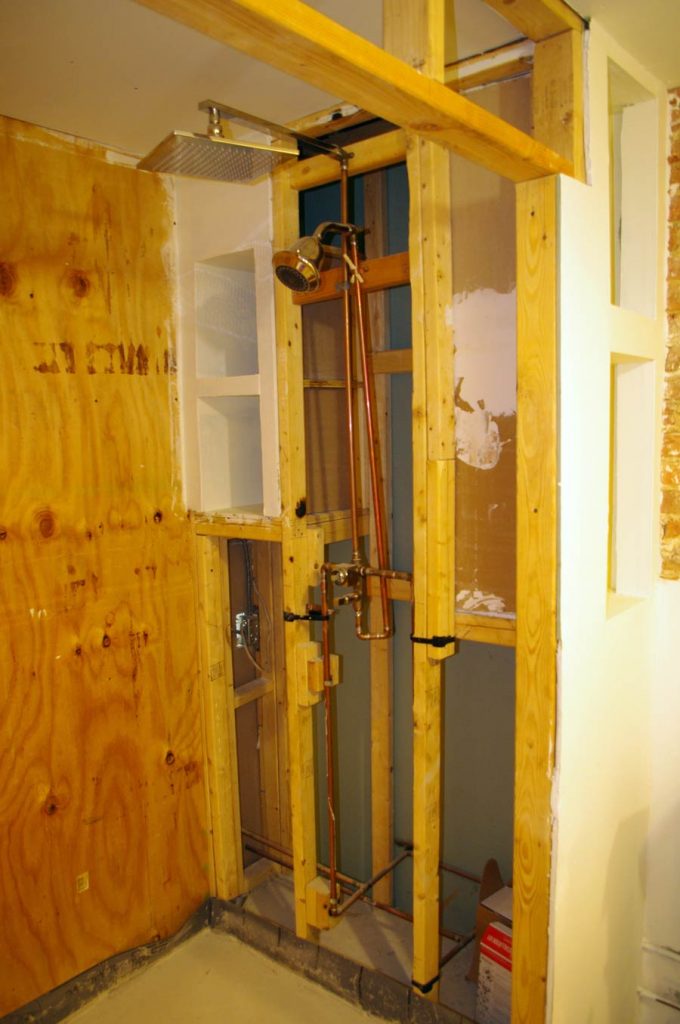
We also went to work tearing down the low ceiling in the bathroom but ended up making a discovery — plaster details and moulding on the original ceiling! Though in very rough shape, we determined they could be partially restored.
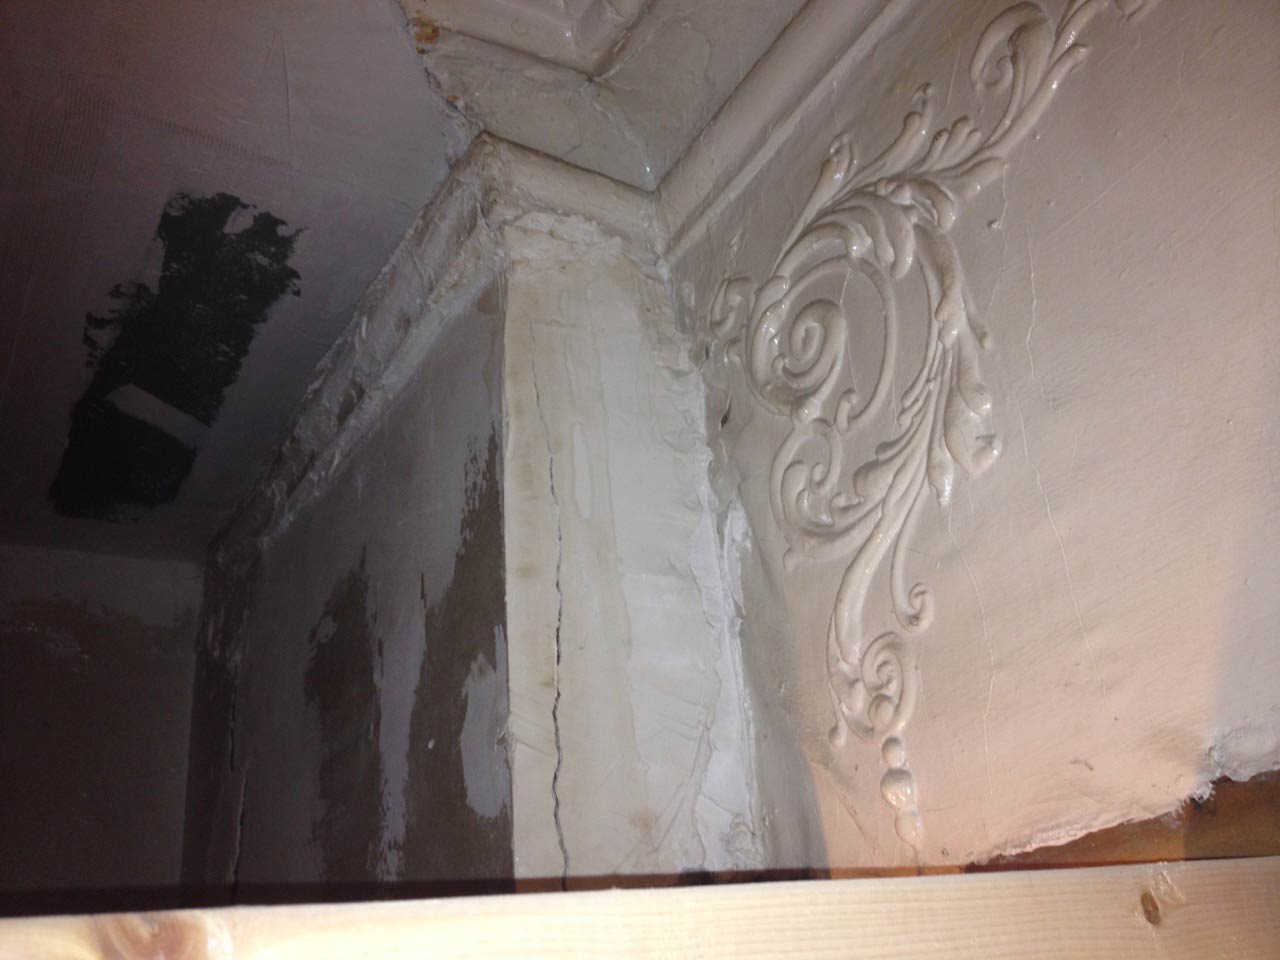
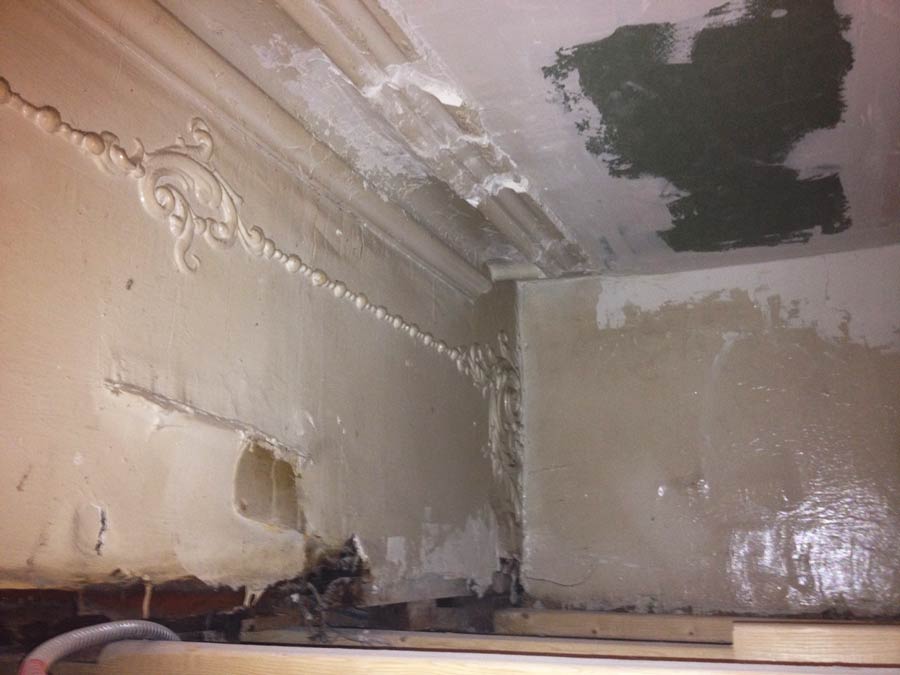
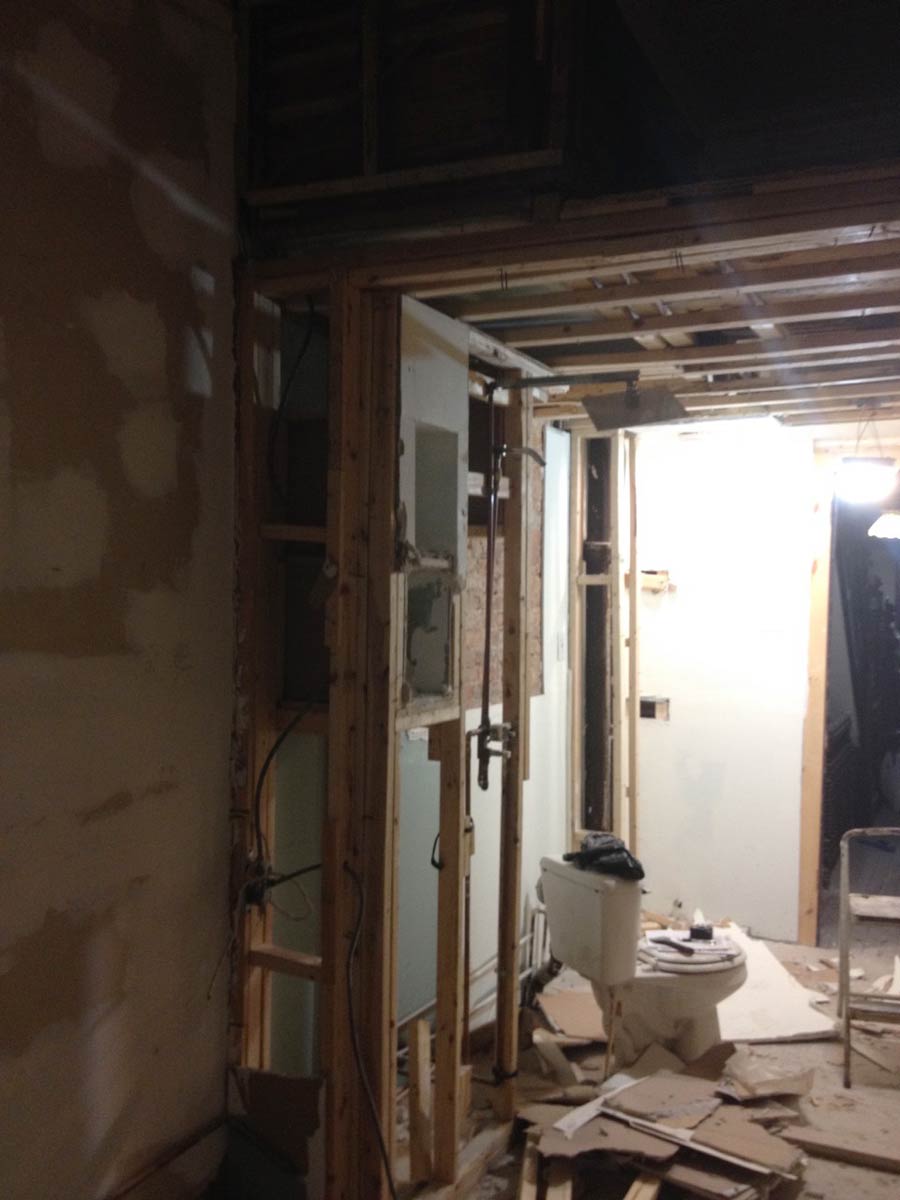
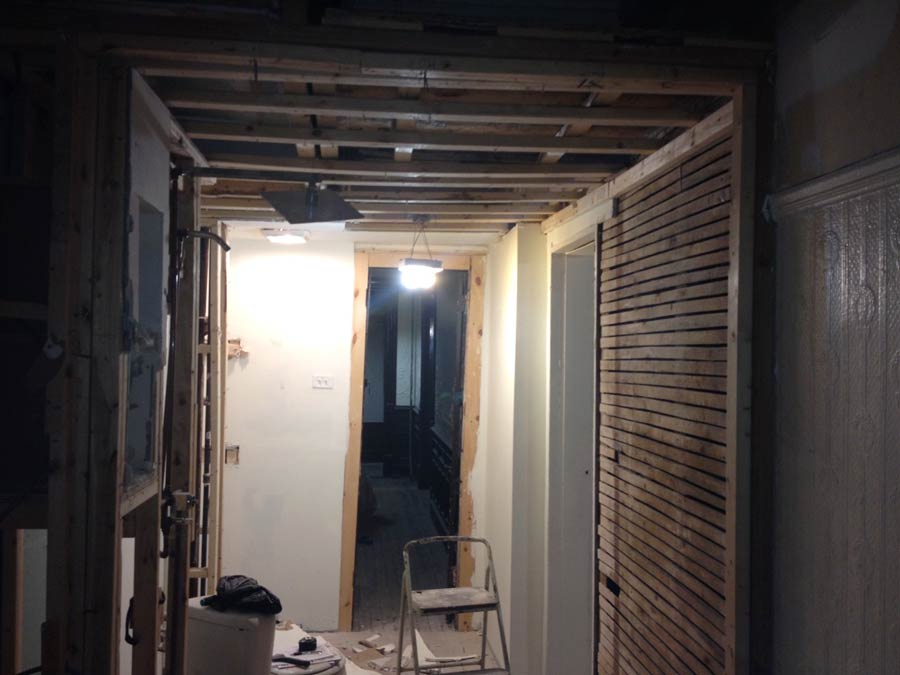
While it was great to discover the plaster details; more exciting was that the moulding revealed what had been part of the original floor plan. Using it as a guide, we discovered the layout created three spaces: an L-shaped room in what had been the kitchen, a short extension of the main hallway, and a long, awkward, narrow space.
The L-shaped space ultimately became the bathroom, and the hallway needed to remain a hallway, but the long, narrow room with partially exposed brick puzzled us. It didn’t immediately present itself for any practical use as it was so super narrow, but did seem like it could work for storage, such as a pantry!
Having determined a use for the room, the next step was to come up with a plan that maximized the space. Measuring 14′ long, but only 30″ wide, the pantry left little opportunity for storage beyond shelving at either of its ends. We toyed with the idea of purchasing shelving units to be placed along the 12′ wall, but couldn’t find any that were narrow enough to leave enough room to navigate the space.
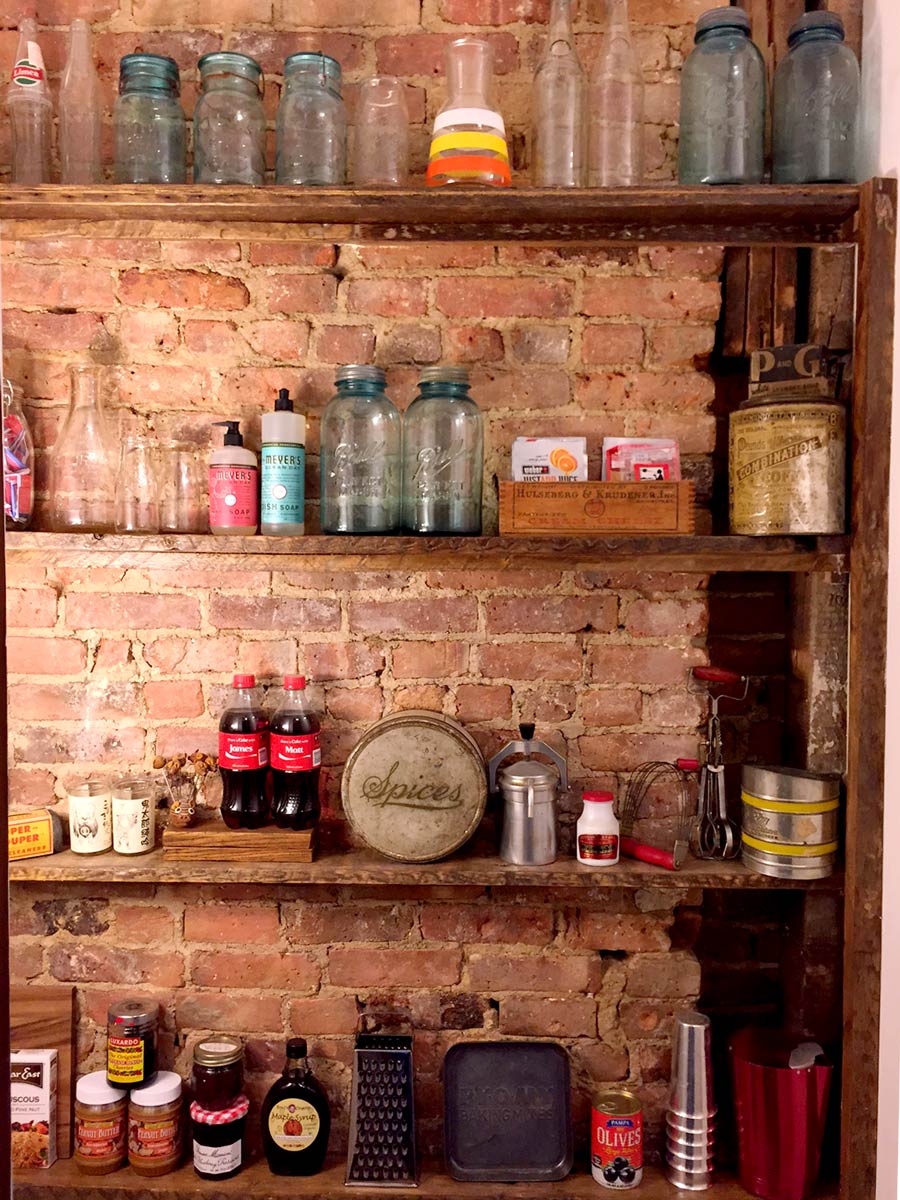
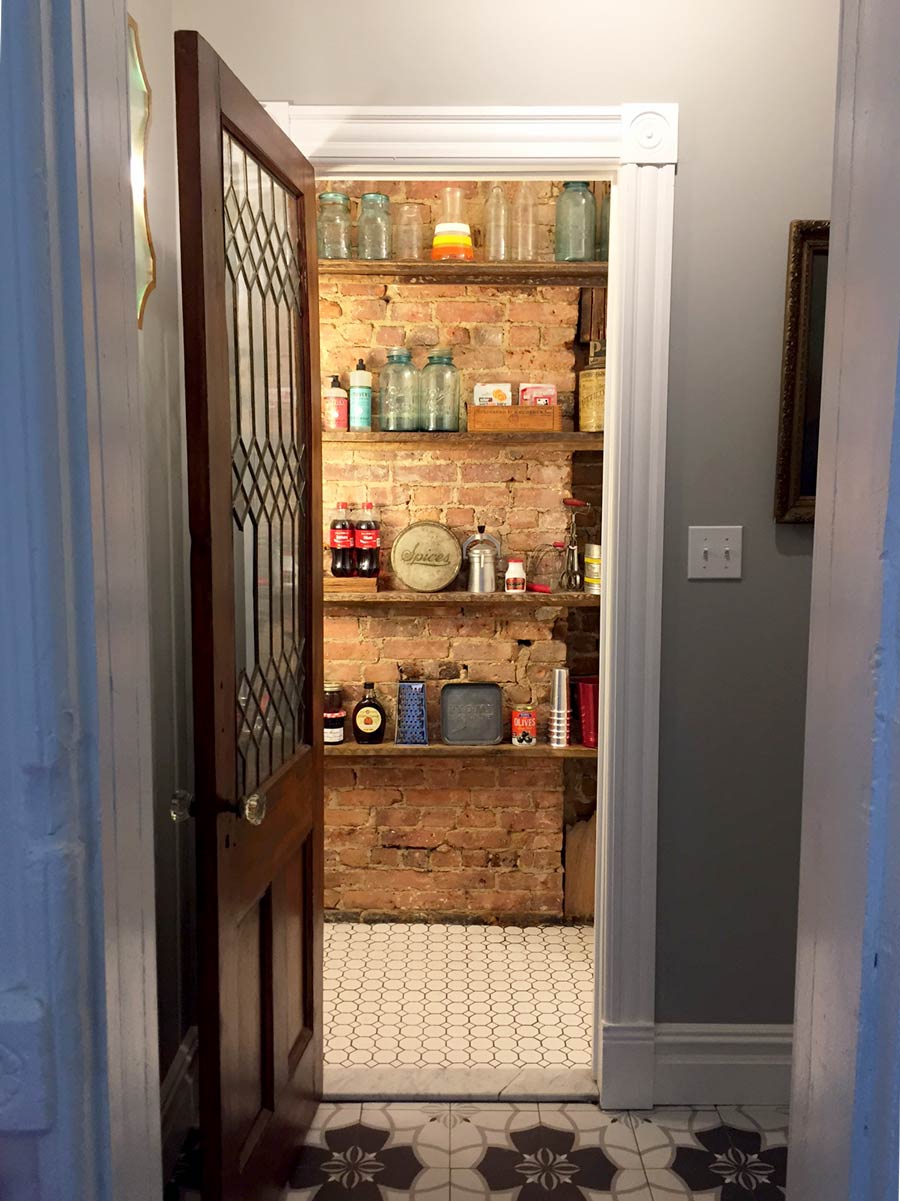
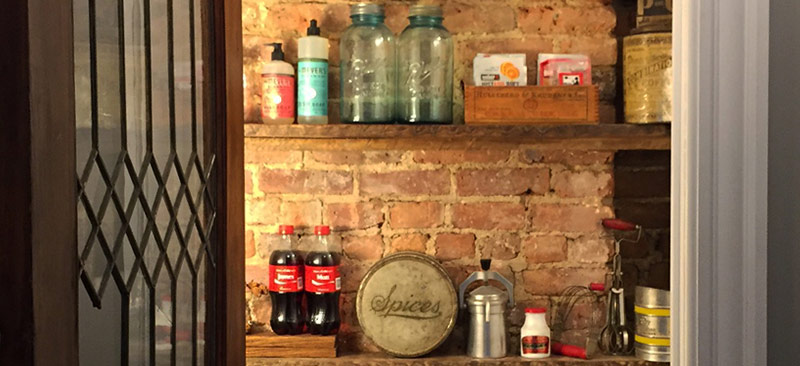
Looking online, we were inspired by photos of old country stores with products lined up on long shelves. Thinking further, we began to realize the pantry could become a space for display as well as storage. Given that most food products have relatively small footprints, we determined that long, but extremely narrow shelves could be put along to wall to maximize the space. At only 4″ deep, we would be storing our goods side by side rather than front to back.
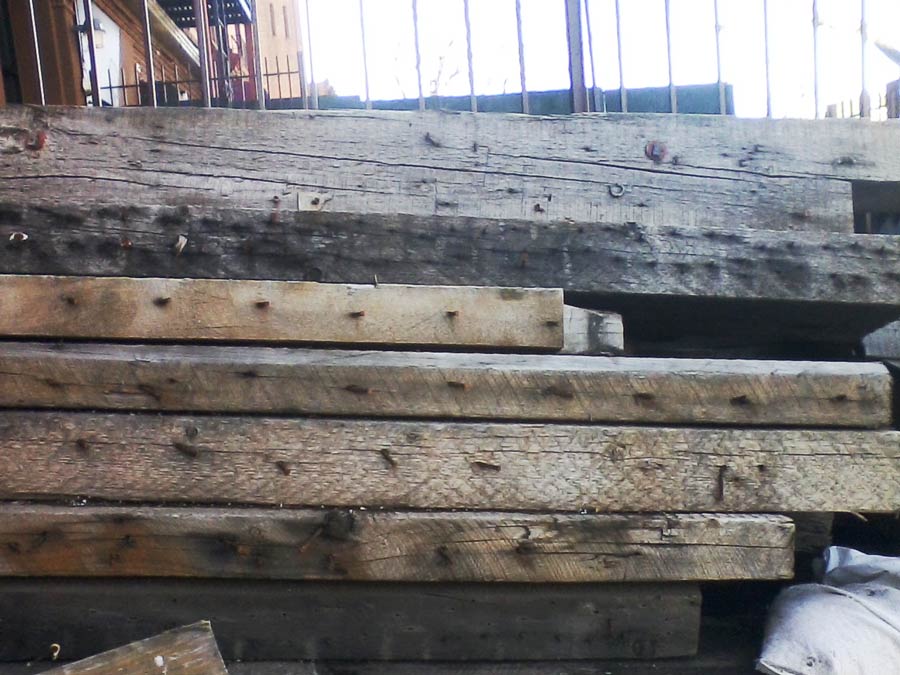
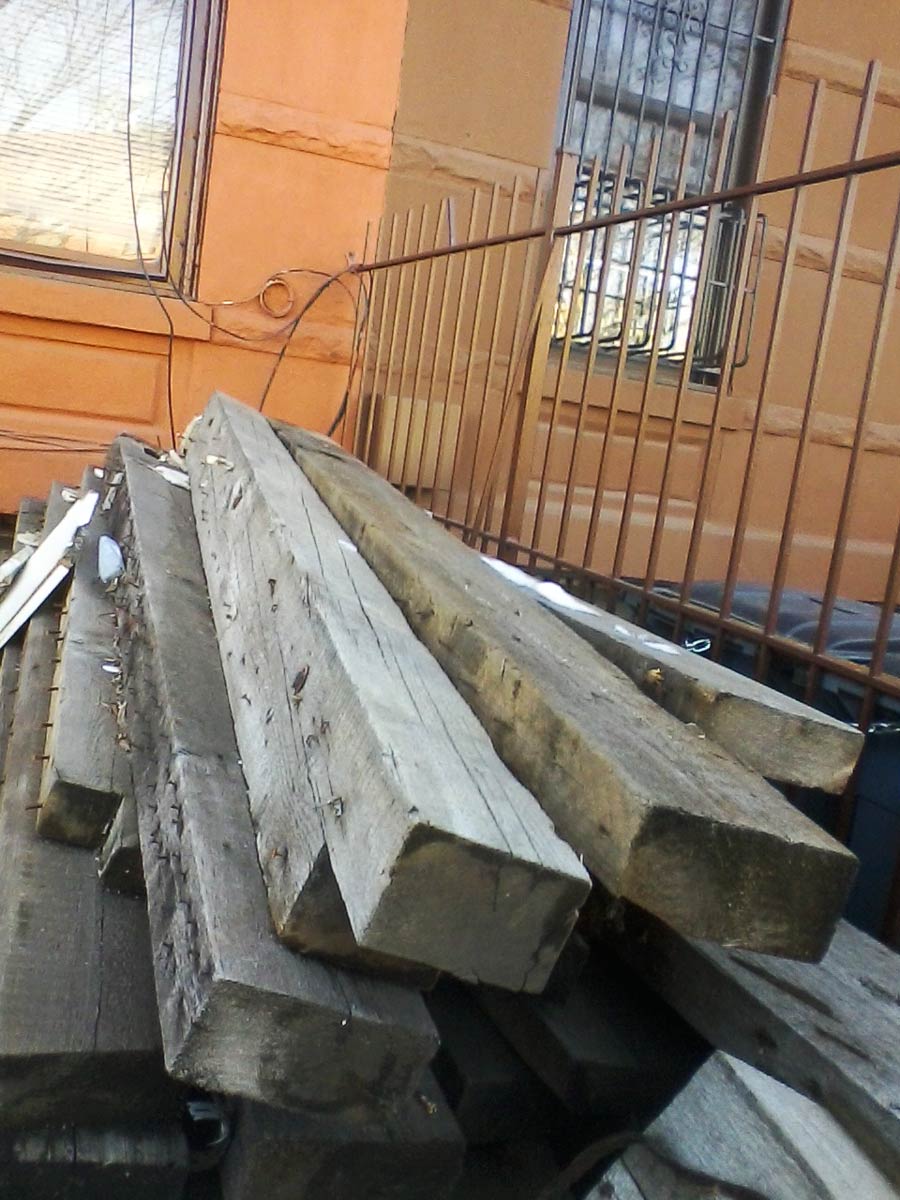
After taking some measurements, we drew up loose plans for four, 4″ deep shelves at 7.5″ long spaced about 18″ apart that would cover the entire back wall of the pantry. To create a more vintage aesthetic, we decided to completely expose the brick on the wall and to construct the shelving of reclaimed structural beams. Here’s a shot of the wood before it was milled into shelving:
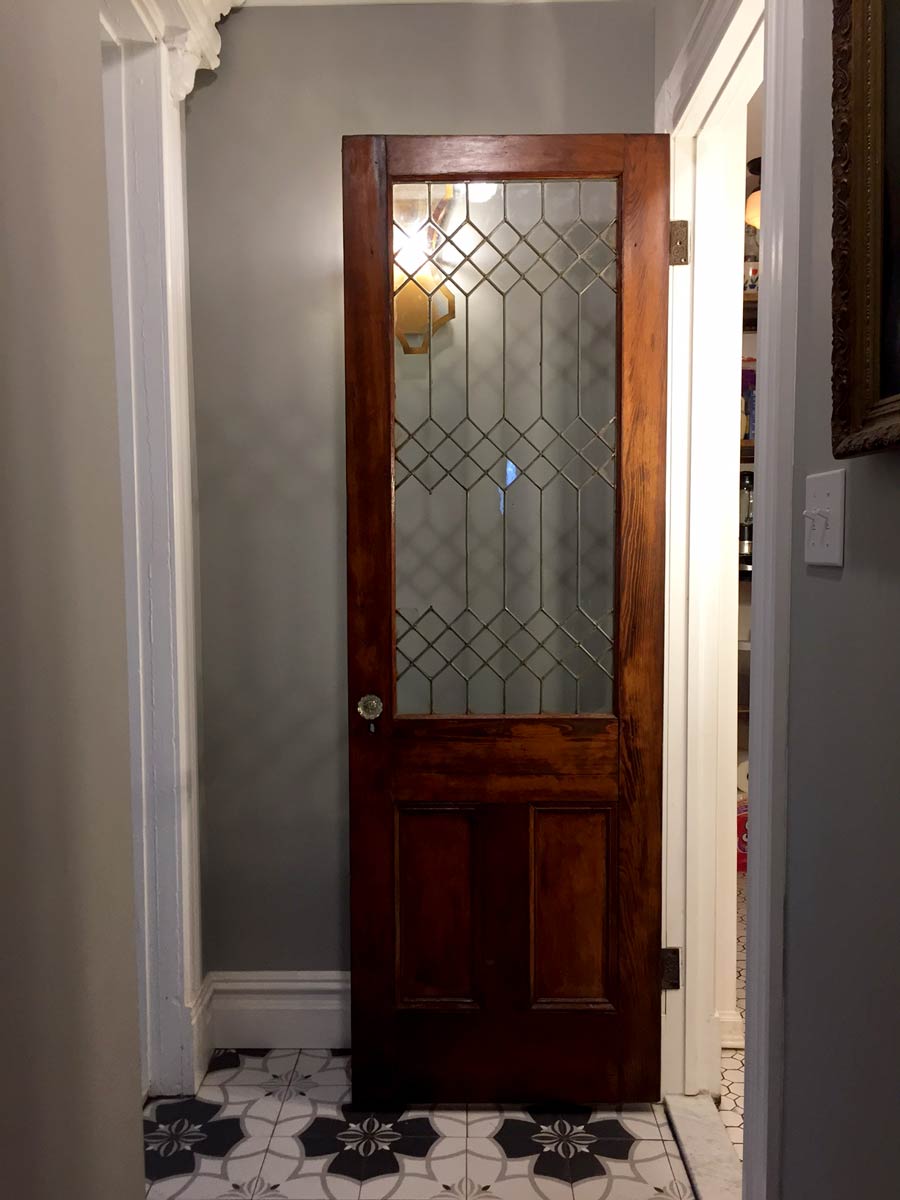
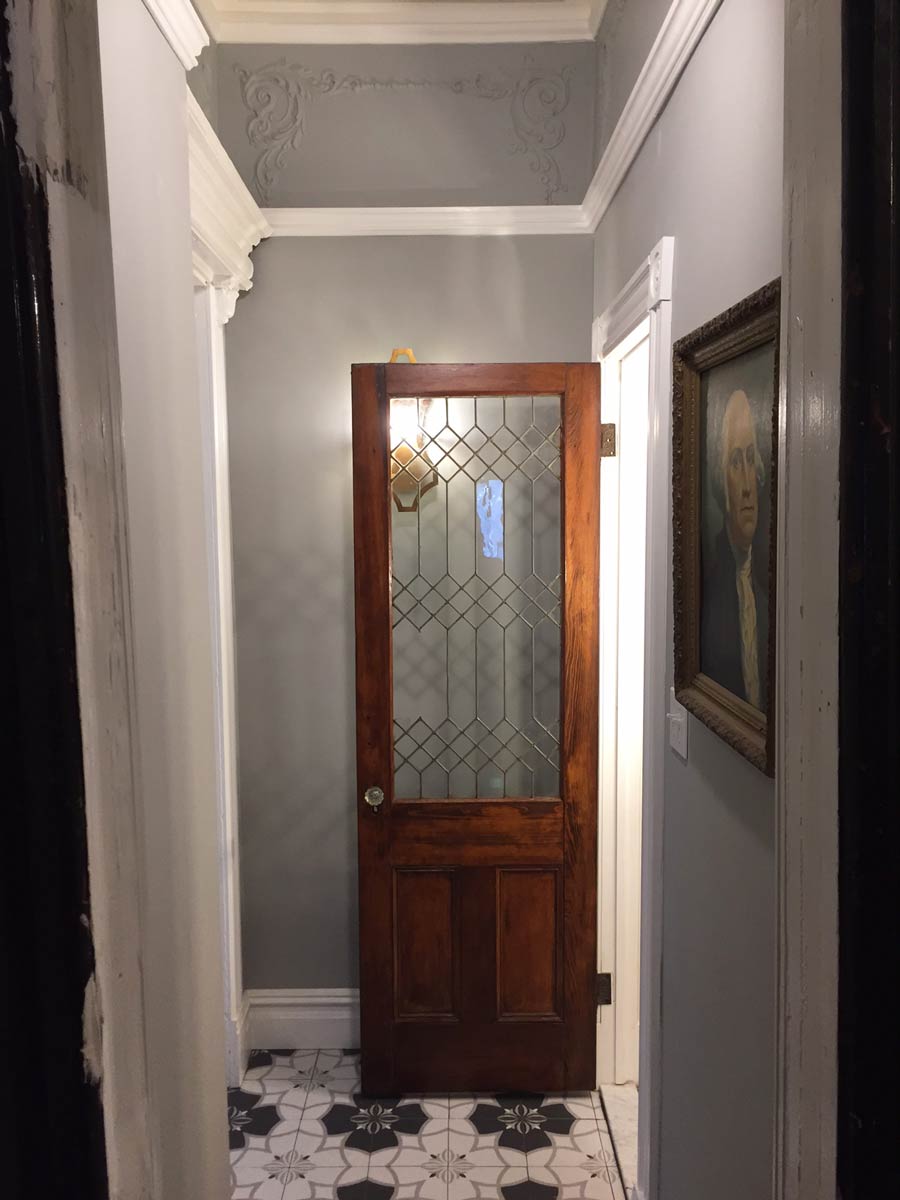
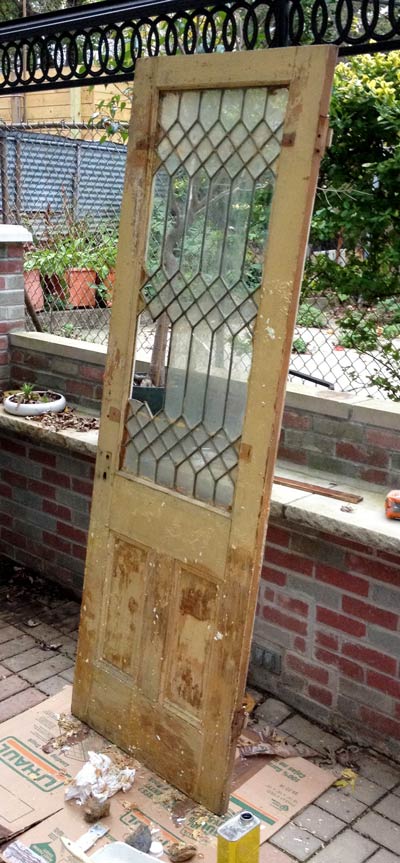 Our pantry also needed a door, as we were adding one where there hadn’t been one before. To further the pantry’s use for display as well as storage, we decided to install a lead glass wood door we had found in the basement of our house. It was painted, dirty and damaged, but we stripped it and cleaned it up for use as our pantry entrance. To the right is how it looked as we were stripping it outside. As you’ll see, two panes of glass were broken — and they still are — but that’s a project for another day!
The hallways (which we’ve come to call “the pantry hallway”) also needed work: new sheetrock, door moulding, baseboard, flooring, lighting and repair to the plaster details around the ceiling. We also put cornices over the two doorways from salvaged pieces we’d found in the basement.
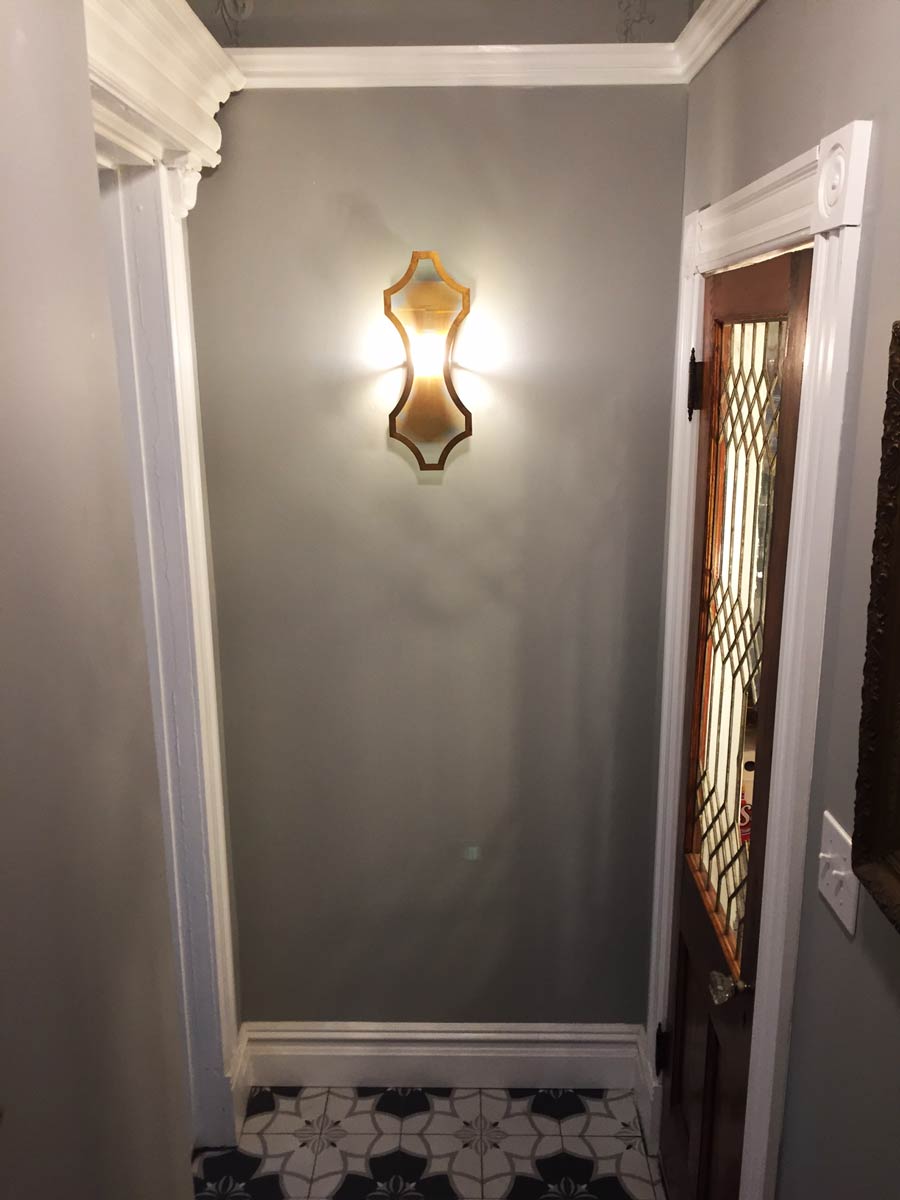
For flooring, we selected two different tile designs for the pantry and the hallway. Thinking of the pantry as more utilitarian, we chose a simple, white square and hex design. For the hall, we wanted something a bit more bold, and went with a deco inspired design called “Thirties Crest Ceramic Floor and Wall Tile” by SomerTile. To compliment the floor, we painted the hall woodwork white, and the walls Coventry Gray from Benjamin Moore.
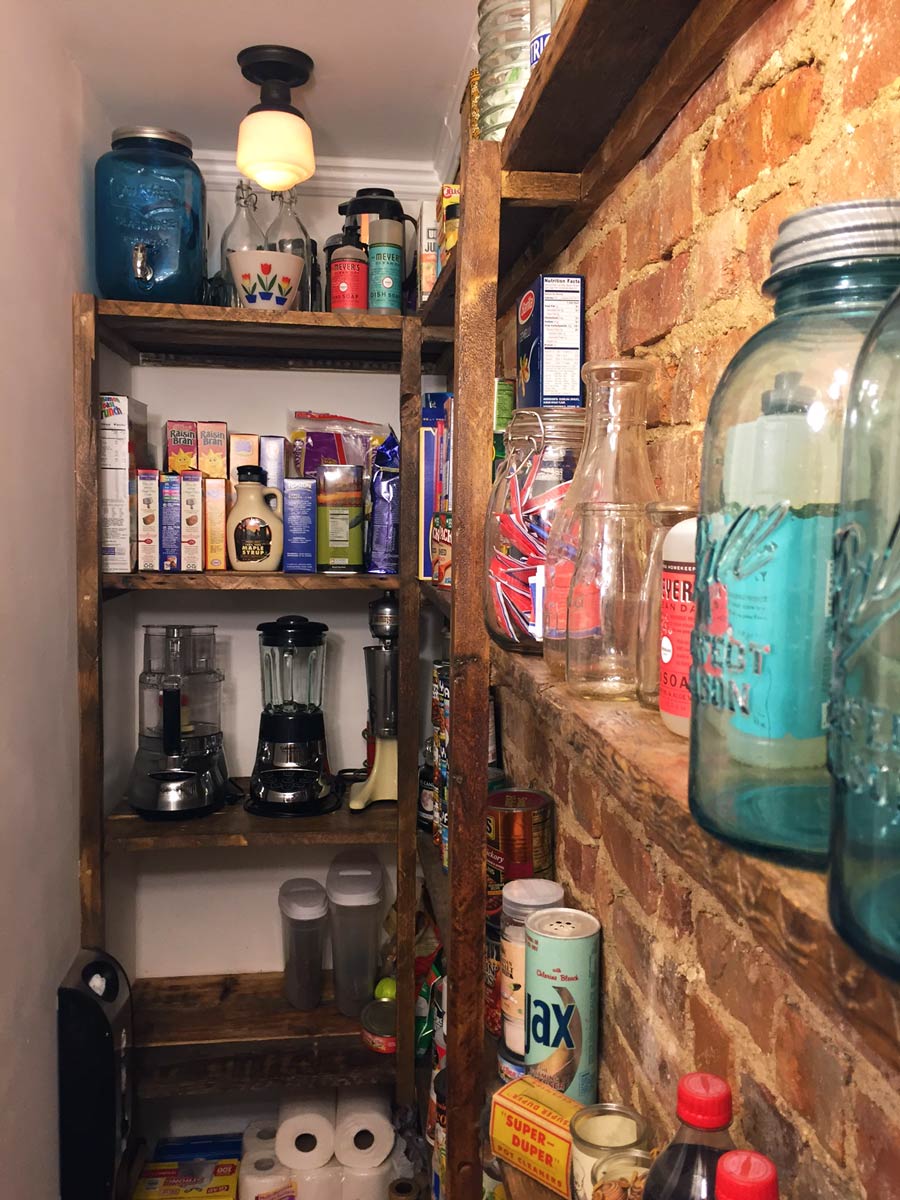
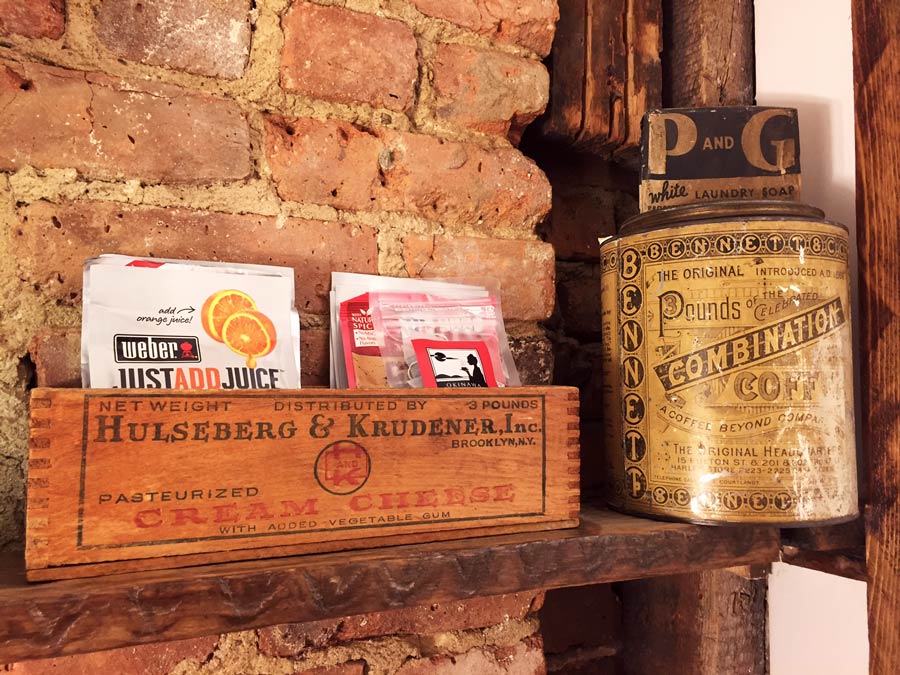
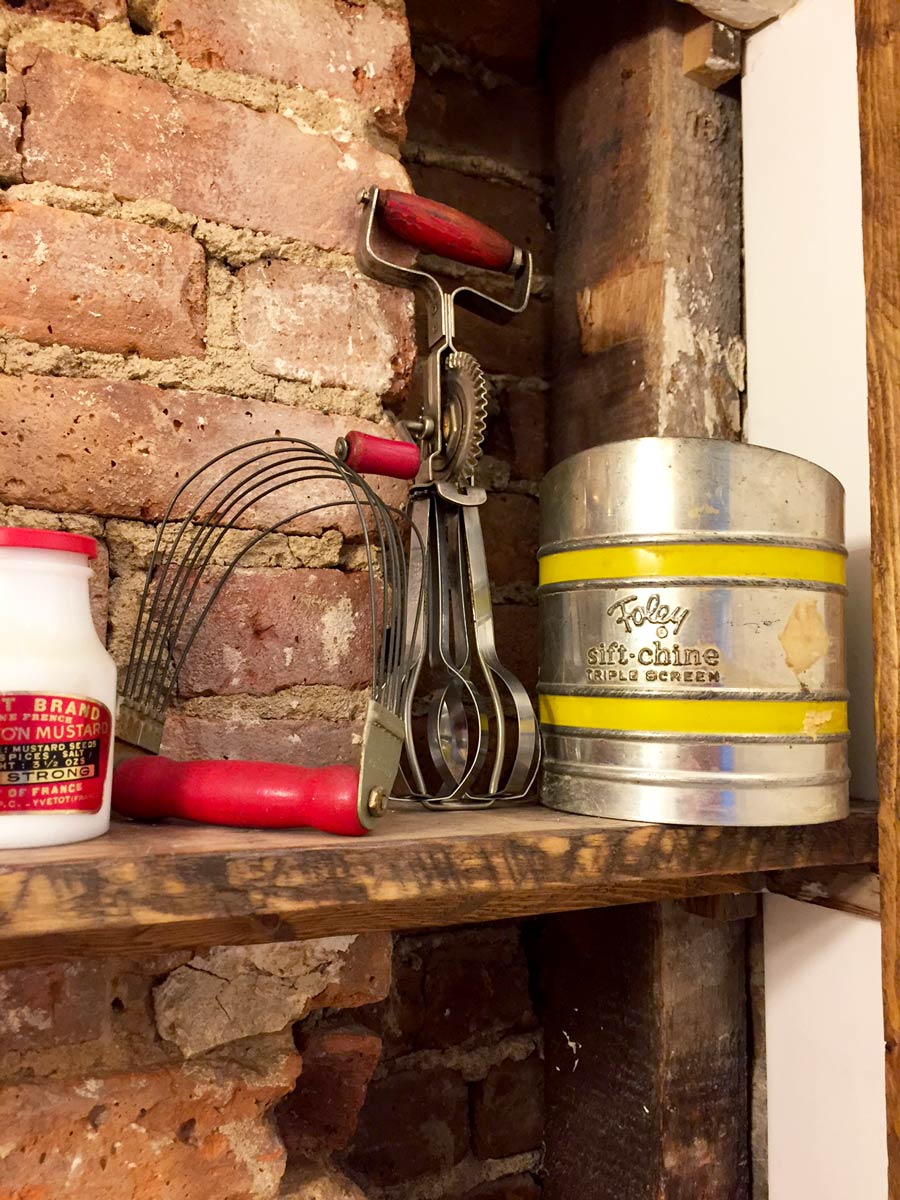
For lighting, we installed two basic drop down globe lights in the pantry, and a decorative sconce in the hallway. In addition to the narrow shelving on the walls, there are a set of deep shelves at the end to store larger items. As for display, we use the shelves right behind the door for prettier food packaging and vintage items, with everything else remaining out of sight until you actually enter the pantry. Have a look at how it turned out!