When James and I set out to renovate the tenant apartment, we really wanted to do it right. Basically, we pretended we would be the ones living there and made our design decisions with that in mind. You may have already read about the renovation of the Tenant Kitchen — today, I’m taking you through the tenant bathroom remodel.
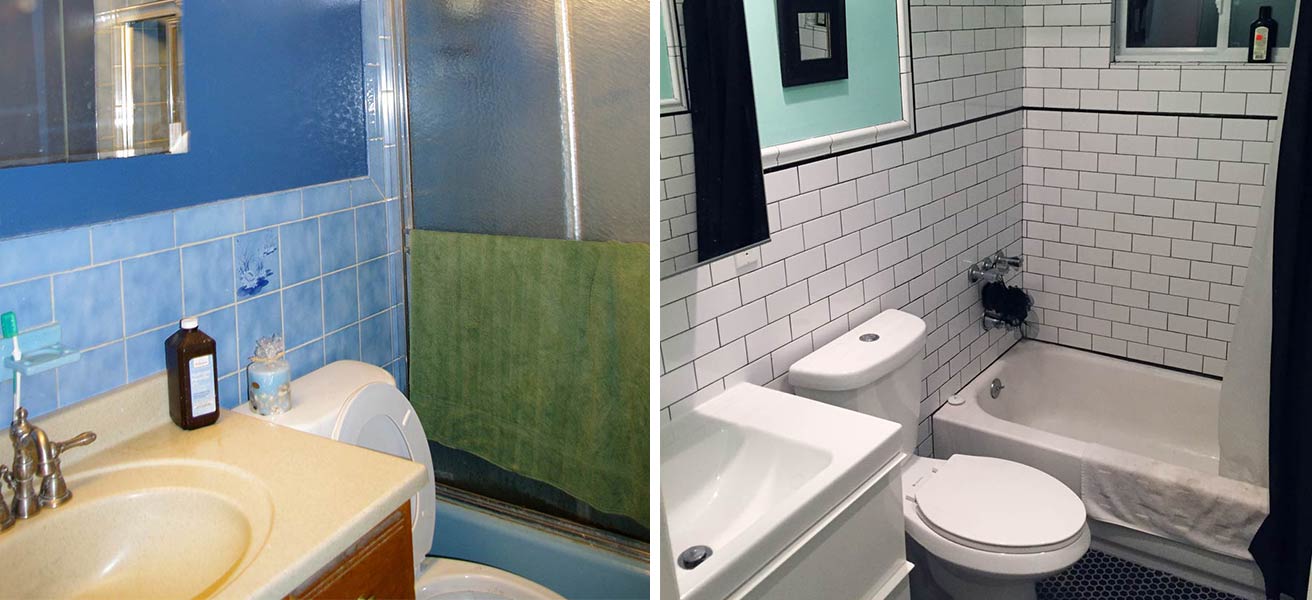
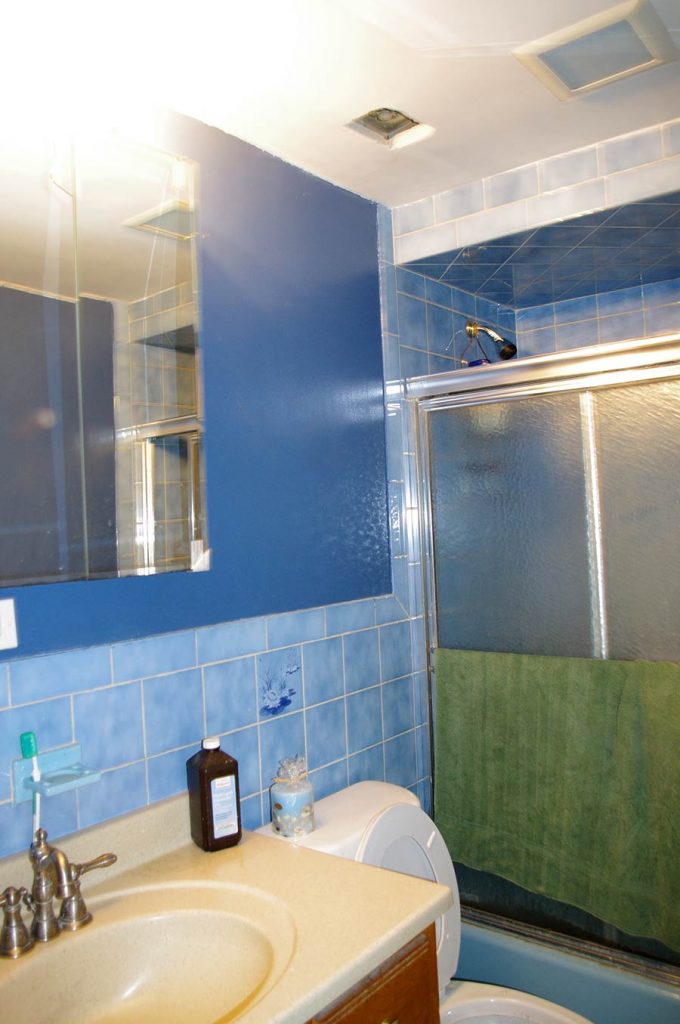
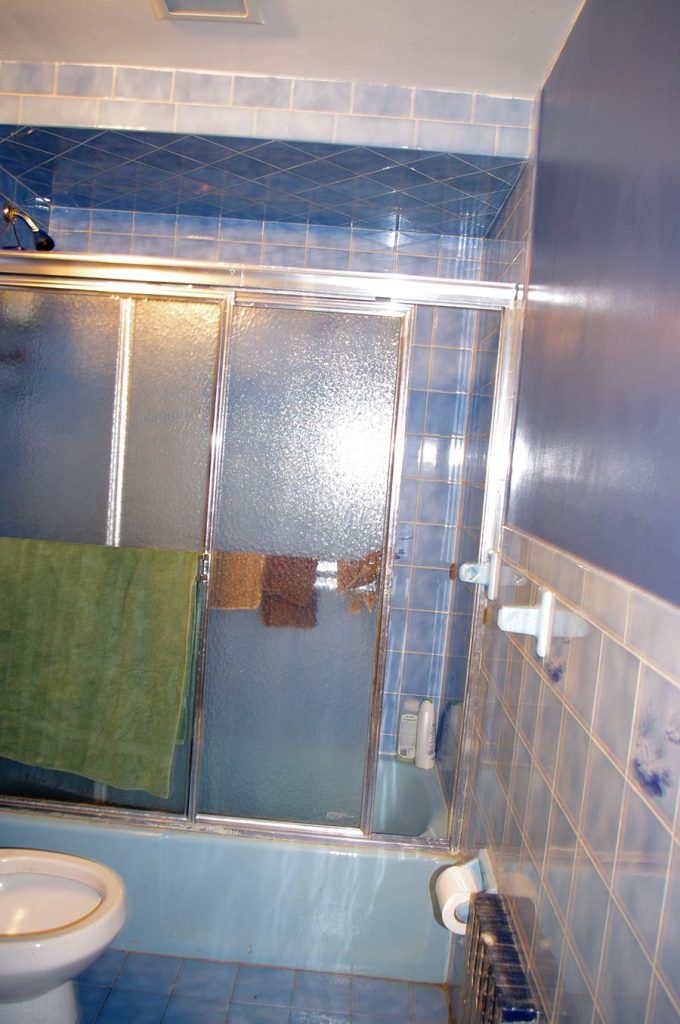
I only have a few before photos of the bathroom, but as you can see it was definitely not original, yet definitely outdated. The 70’s blue tile was vintage, but not in a good way, and the room was dark and felt small.
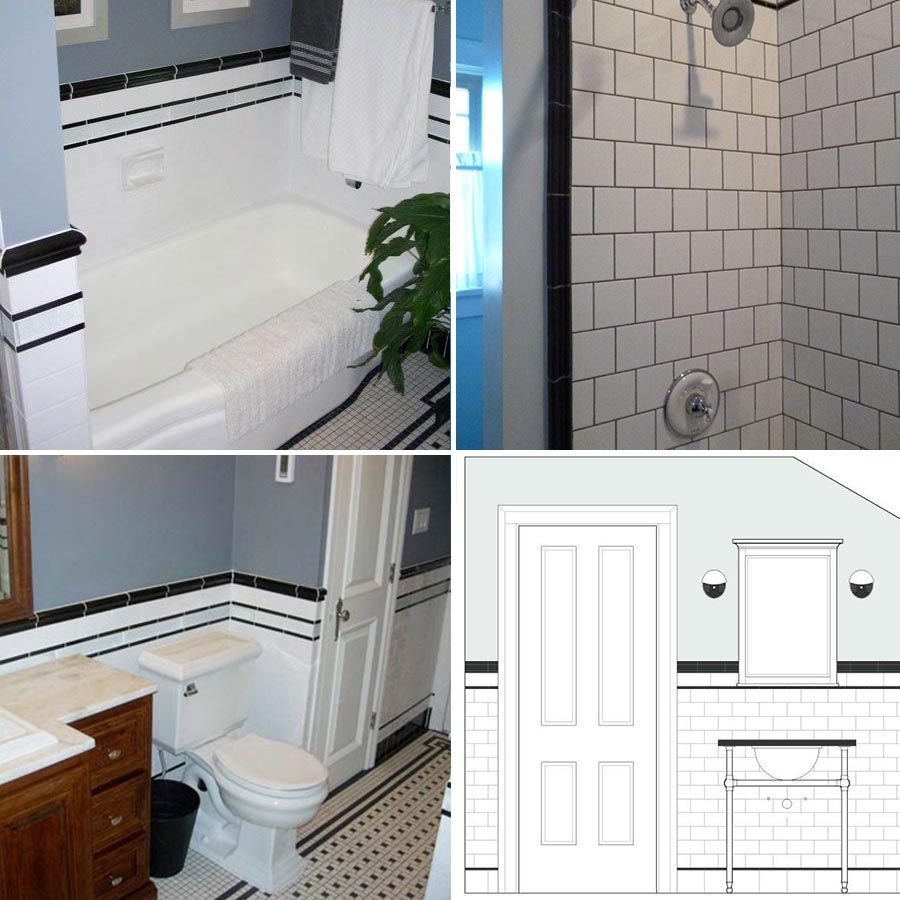
Given how dated everything was, we decided to completely gut the bathroom and start fresh. We wanted something simple, yet stylish and decided on classic black and white. Looking on Pinterest, we came across these photos for bathroom remodel inspiration:
The first step, as always, was demo. This project actually coincided with the kitchen renovation so most of the work happened at the same time. This is the same demo photo I showed in the Tenant Kitchen Renovation Rewind. I’m including it again as it shows the mountain of blue tile that was pulled out of the old bathroom!

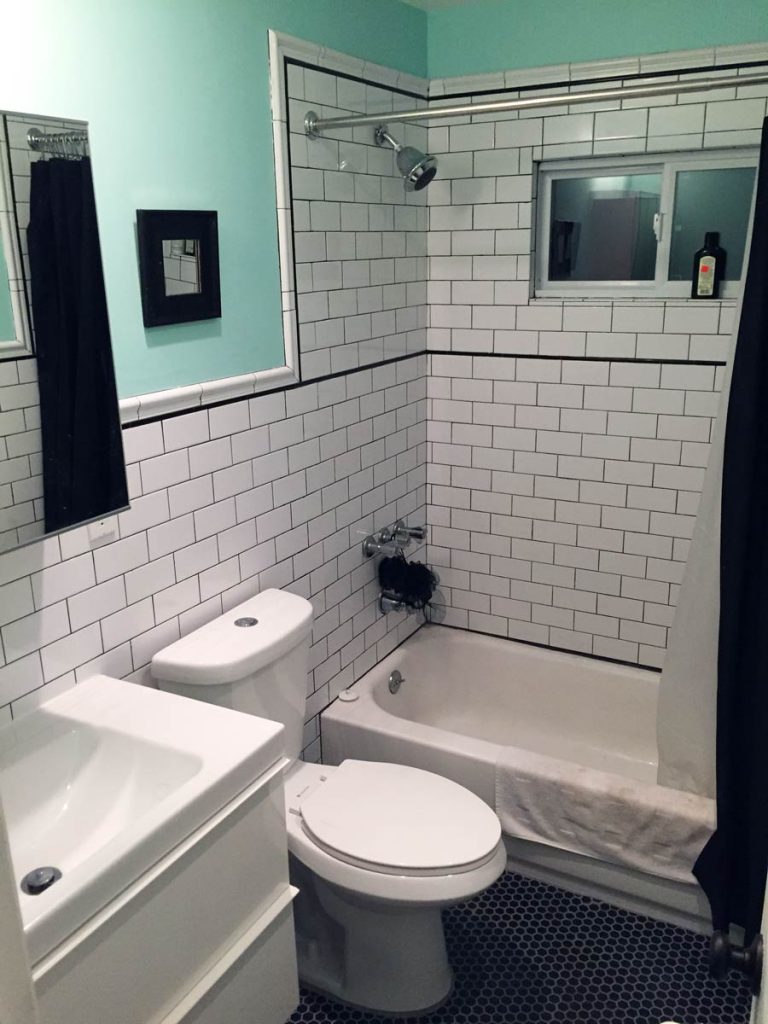
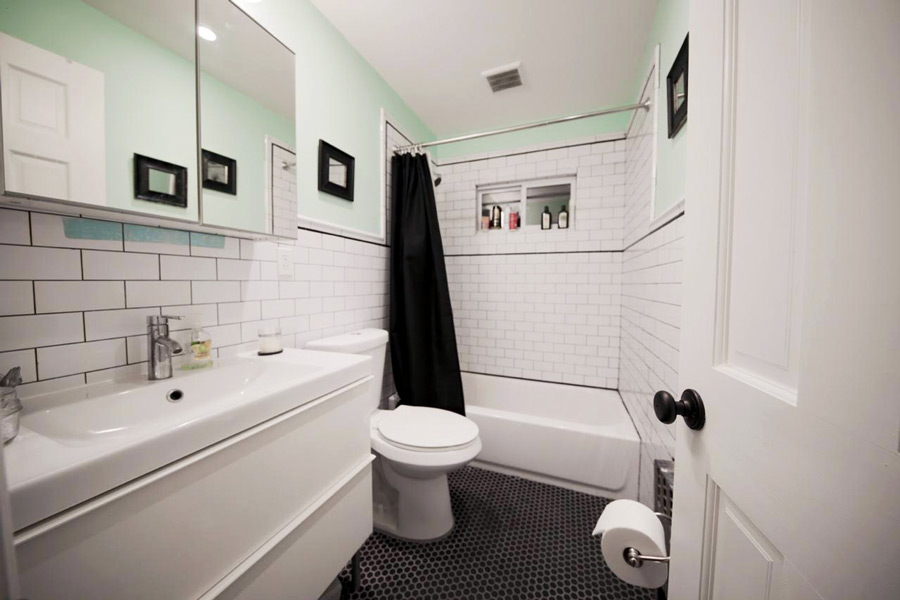
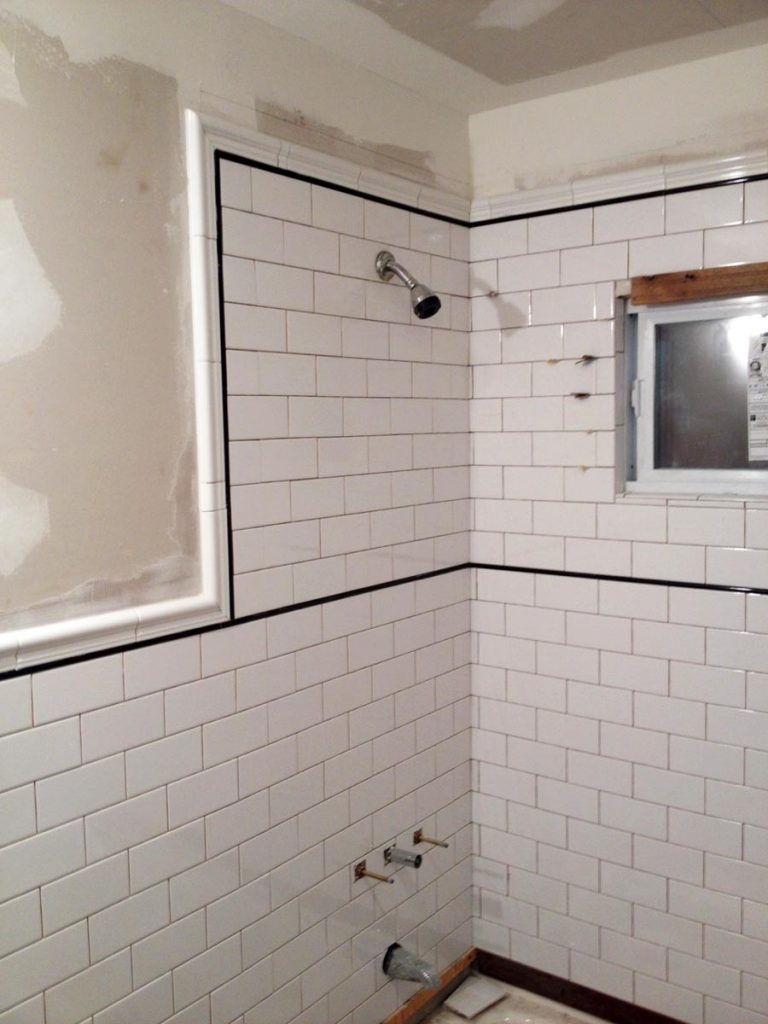
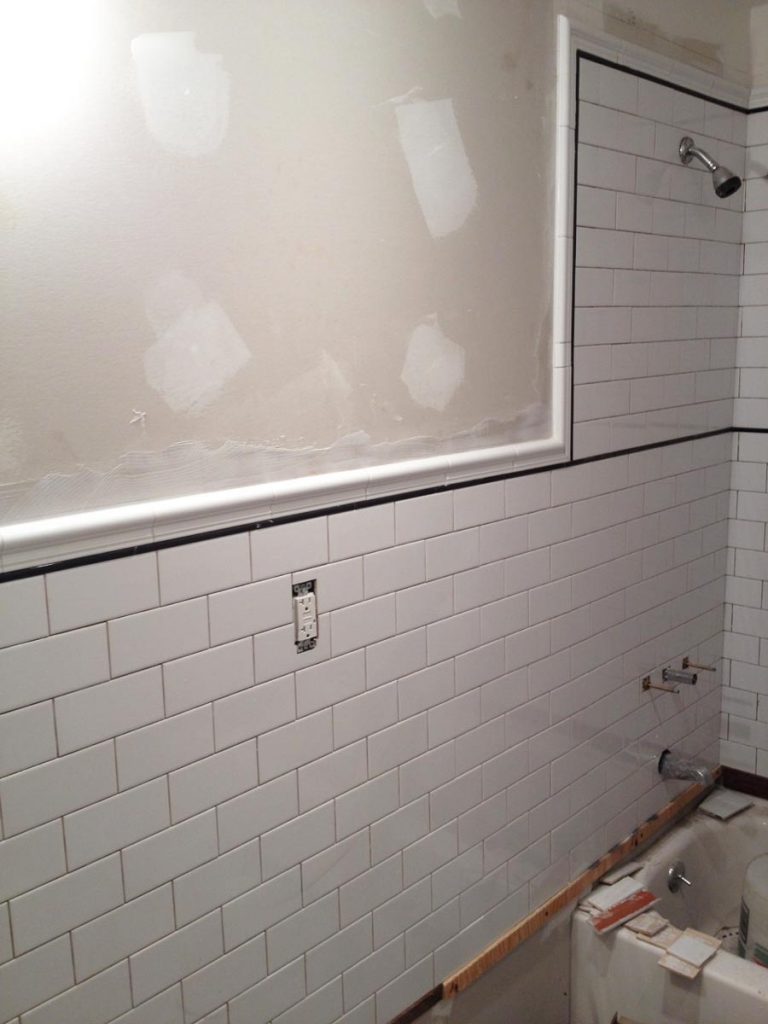
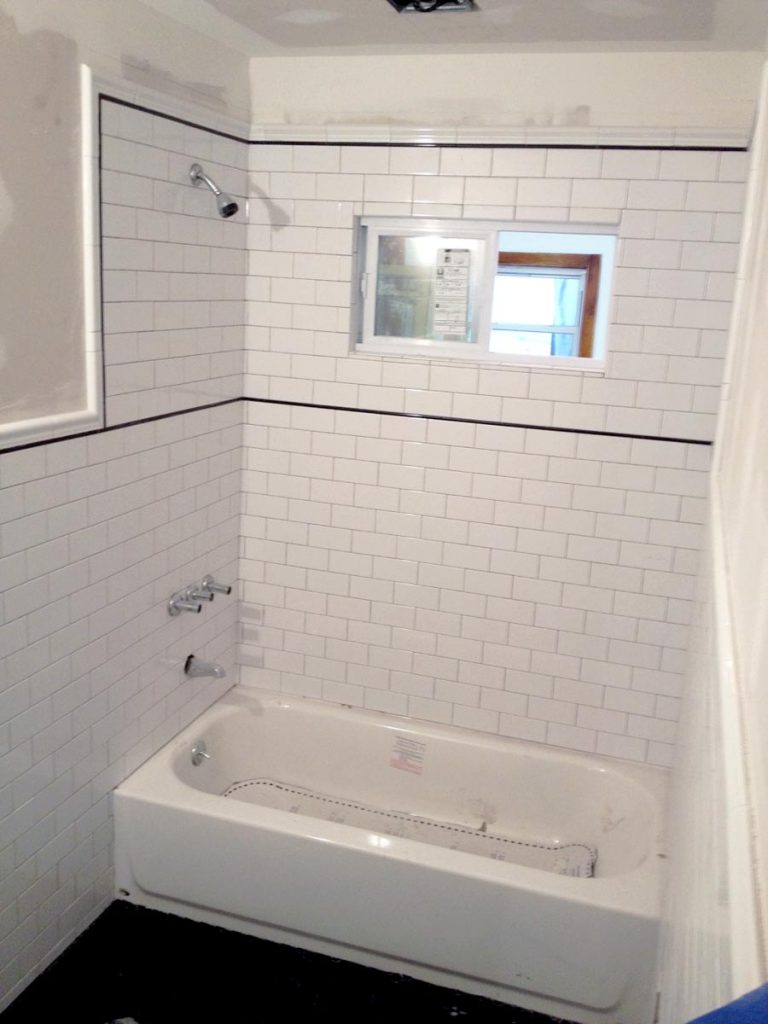
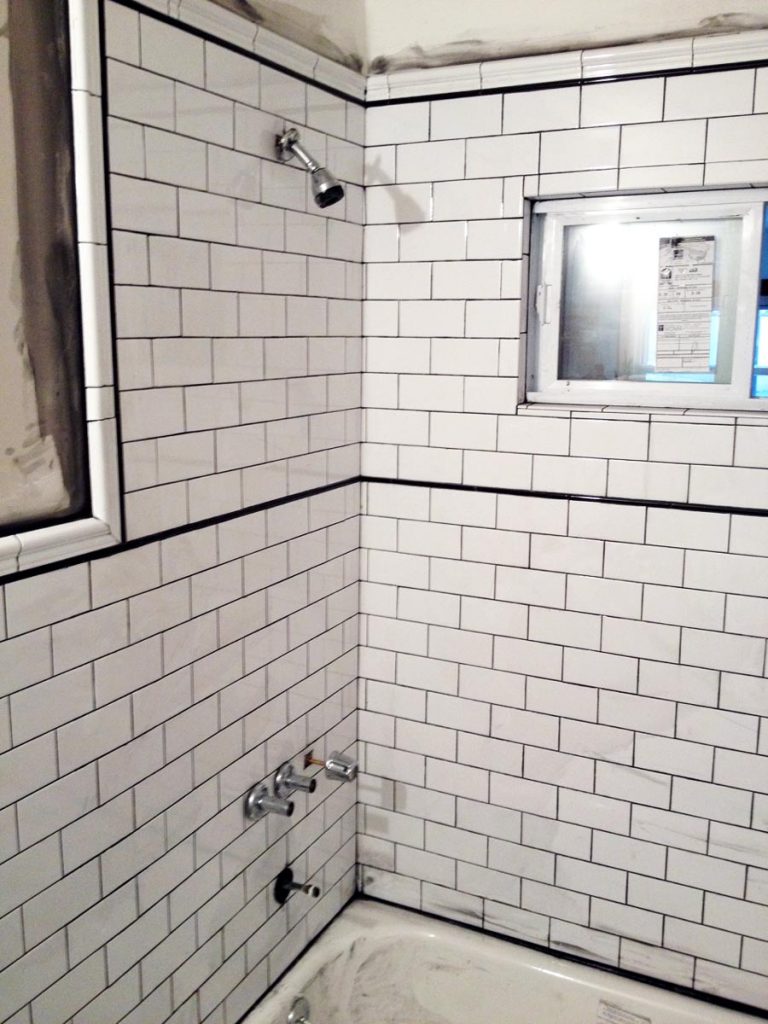
We wanted the design of the new bathroom to be classic, with a touch of modern. The classic comes in through the white subway tile that surrounds the shower and wrap the room about 4 feet from the floor. To give some personality, we added a black pencil tile border and a decorative ceramic cap to finish off the top. All the tile came from a really great store in Brooklyn called Classic Tile Inc. They had a huge selection of both modern and vintage tiles, with most of it in-stock, so we were able to pick it up right away. If you’re doing a project in the NY area, definitely check them out!
As for the modern touches, we installed a floating sink basin from IKEA with two huge drawers, a simple, but large and deep mirrored over-the-sink cabinet (also from IKEA) and an elongated toilet with super-fancy push button flush.
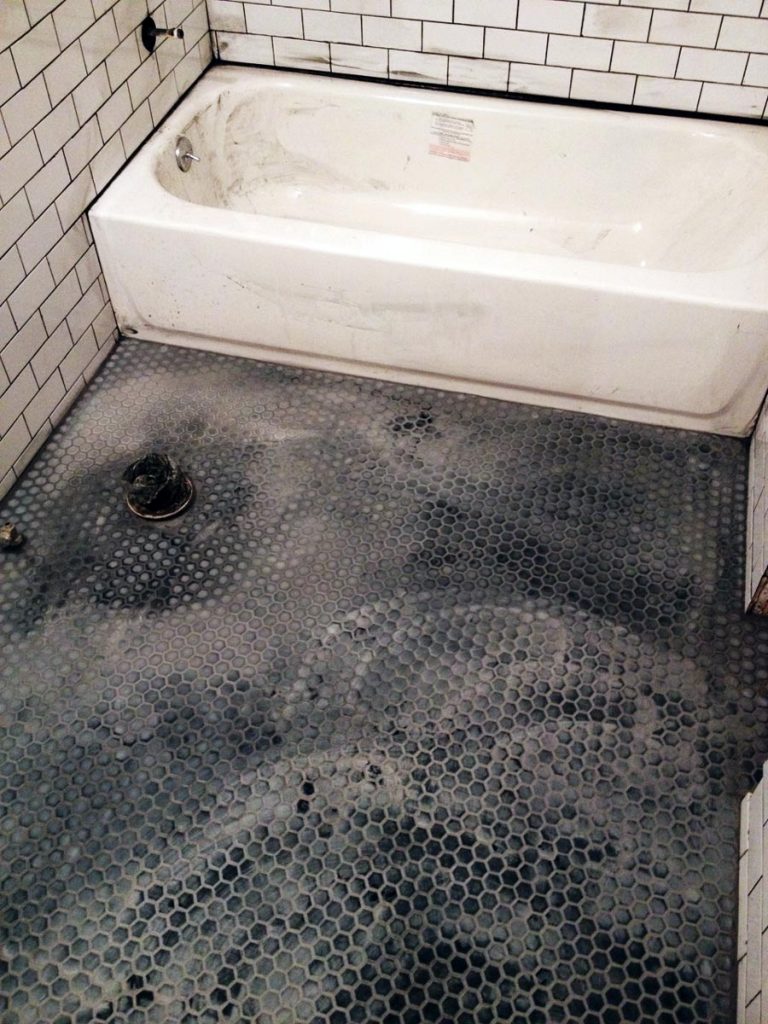
For the floors, we went with black hex tile and gray grout for a classic yet modern look with a sophisticated feel.
The bathroom originally had no windows, and wasn’t positioned on an outside wall, so there was no opportunity to bring in direct natural light. However, we decided to add a small sliding window in the shower that looked into the back bonus room. The bonus room has two windows that get good natural light, so this new window would allow a bit of ambient light to reach the bathroom. Plus, the window is high enough that if someone were to be in the bonus room while you were showering, they wouldn’t be able to see your naughty bits.
I don’t have photos of when the room was gutted — only after the tile work had started. Here’s how the bathroom remodel progressed:

When everything was installed, the last step was painting. We went with a Valspar mint green for the walls, flat white for the ceiling and bright white semi-gloss for the trim. It turned out beautifully and the tenants have all loved it so far. Here are a couple photos of the bathroom remodel once it was complete!