

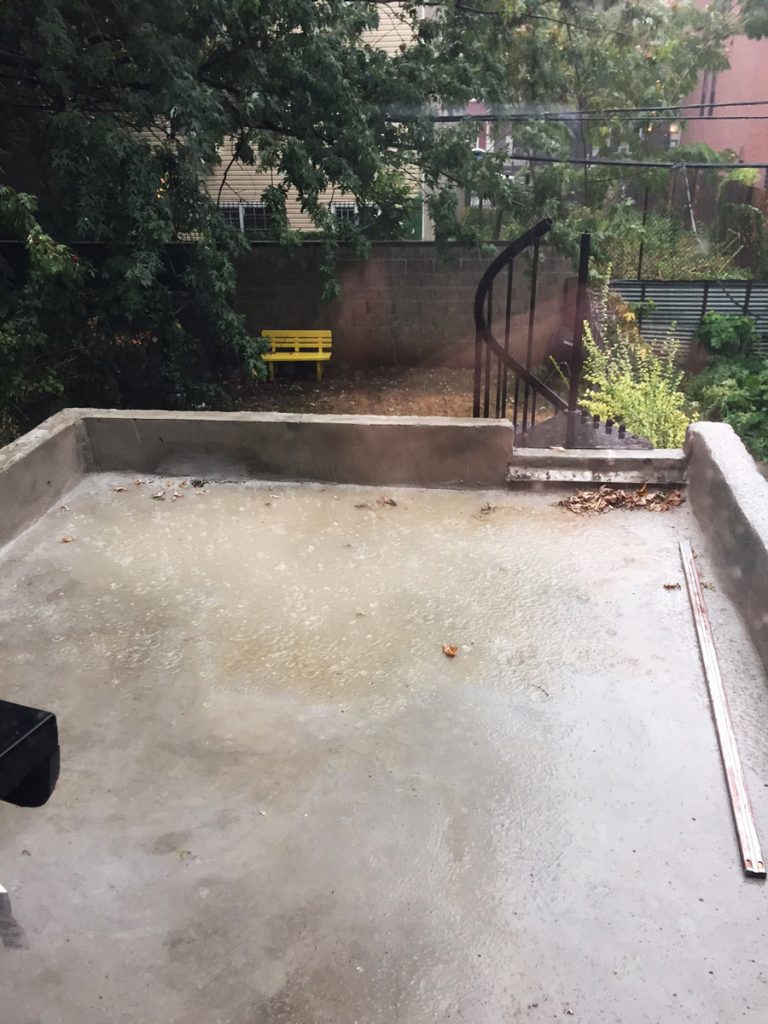
So, this is my first post about one of our several in-progress projects, happening right now. As you can tell from the title photo, this project hasn’t exactly gone smoothly.
If you’ve had a look at the floor plans on The House page, you may have noticed the extension on the back that serves as a bonus room for the tenants — and as a back terrace for us. These kinds of extensions seem to be pretty common on Brooklyn townhouses, as most of the homes we looked at during our hunt had them.
While our extension seemed like a win at first, it quickly became a huge headache that we’re still dealing with today.
From day one, the room leaked and was constantly cold / damp / hot / humid. After some assessments, we determined that it had simply been poorly constructed and not properly insulated. Whoever built it basically put up 3 walls and roof without much consideration to keeping out the elements. Here are some interior and exterior photos of how it looked when we bought the house.


Note the sideways light switches and upside down plugs. ಠ_ಠ


As you can see, the exterior was built from un-sealed, raw cinderblock. The cross beams that extended from the interior to the exterior were untreated lumber that would certainly rot if left untouched.
Our first stab at repairing the room occurred over a year ago with the original contractors we had hired for various work around the house. They claimed they knew what was causing the leak and how to fix it, so we let them have at it. Their work included finishing the outside of the building with a stucco-like material, cutting back the extended cross beams, capping the roof perimeter with aluminum flashing, and pouring a new pad of “waterproof” concrete on the roof. They also removed / patched in the roof-hatch seen in the above pics, as water was coming in there too.
I only have these three pics showing this work, but you can see where the exterior walls were stuccoed, the aluminum flashing perimeter put in place and the concrete pad poured.


After the repairs, things seemed fine for a while, until…


To fix the above leaks, the contractors came back to seal cracks that had developed in the new concrete roof. Later, we also discovered water was coming in from the foundation. The backyard had a brick patio that ran right up next to the extension, but the brick was just sitting on top of soil. And given that the back room was about a half foot deeper than the ground around it, water was seeping in every time it rained.
To fix this, we need to remove the bricks and pour a concrete perimeter around the foundation of the extension.


Once the new concrete pad was poured, leaking from the foundation stopped. With things seemingly fixed, we moved on with sprucing up our rooftop terrace. At its best, it looked like this.

Note that we had painted both the concrete and aluminum flashing, planted some herbs, and had started looking into some railing options. Everything was just lovely until…

MORE LEAKING! Fed up with the original contractors, we searched and found another team. Work began, and our once blossoming back terrace was turned into this 🙁


After some investigation, it was determined that the roof need to be completely replaced, as water had already seeped in and was rotting the cross beams and plywood subfloor. In addition to repairing the roof, we tasked the new team with converting the back room into a livable space for the tenant apartment. Up until then, it had basically been a storage / laundry room with a concrete floor and no climate control.
The renovation plan included proper insulation for the walls and floor, sheetrock for the walls and ceiling, recessed lighting, window moulding, baseboard, gray slate tile for the floor, a penny-tile backsplash for the laundry area and new baseboard heating.
All this work began this summer (June 2016) and is still ongoing. One thing to keep in mind about contractors: whatever timetable they give for project completion— triple it!
Despite moving at a snail’s pace, there has been progress. Most importantly — the roof is now leak-free (yay!). Plus, the interior walls, subfloor and recessed lighting are in place. Here are some shots of where we’re at currently:


Stay tuned for updates. Our contractor just started laying slate tile and says he should be done early next week. But we heard the same thing 3 weeks ago…
